Overview
DDOE allows you to deploy custom container images within the application module, enabling you to enhance your application with any functionality needed for your project. You can seamlessly use both public and private Container registries from AWS, GCP, Azure, or Docker Hub.
-
Container Registry: A container registry is a storage and distribution system for container images (e.g., Docker images). These images contain everything needed to run an application: code, runtime, libraries, and system tools.
-
Public Container Registry: A registry that allows anyone to access and pull container images without authentication. Examples:
- Docker Hub (e.g., nginx:latest, pytorch/pytorch)
- Google Container Registry (if public permissions are set)
-
Private Container Registry: A secured registry that requires authentication (username/password, service account, or access token) to access or pull container images. Examples:
- Amazon ECR (Elastic Container Registry)
- Google Artifact Registry / GCR
- Azure Container Registry (ACR)
- Private Docker Hub Repositories
Note: You must attach the correct integration or secret in the Secrets and Integrations section of the service configuration.
Container Registry Integrations
This integration allows DDOE to interact with Container registries, enabling the platform to pull and push Container images. These images can contain models, training scripts, or any other components required for running tasks or deployments.
It simplifies the deployment of machine learning models or services that are containerized, making it easier to deploy workflows or production environments directly from Container containers within DDOE.
DDOE enables you to utilize your private Container images stored in cloud-based Container registries such as AWS Elastic Container Registry (ECR), Google Artifact Registry (GAR), and Docker Hub Container Registry.
To begin, integrate your Container registries in DDOE with services like AWS ECR, Google Artifact Registry, or Docker Hub Container Registry. For detailed instructions, refer to the following guides:
Linking Your Private Container Registry
Once the integration is complete, follow these steps to create an application and connect your private Container registry:
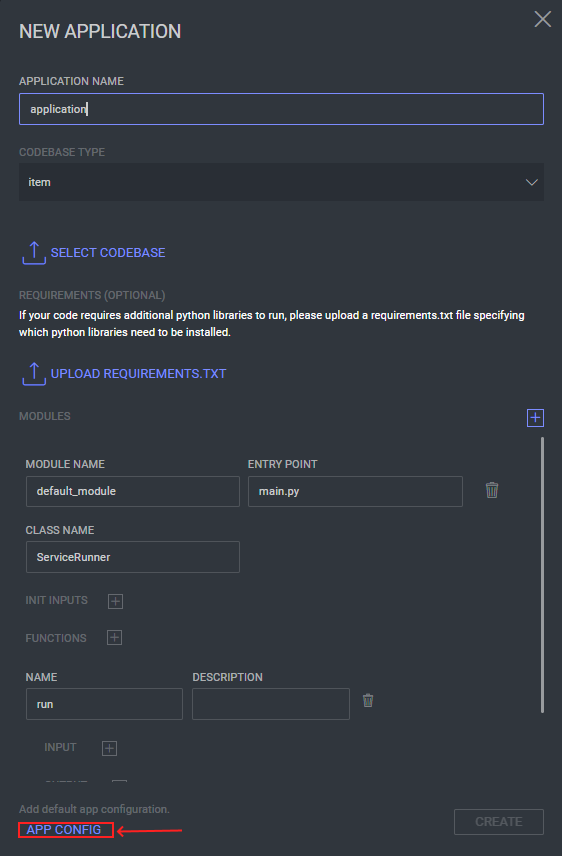
- Navigate to the Marketplace and click Create Applications.
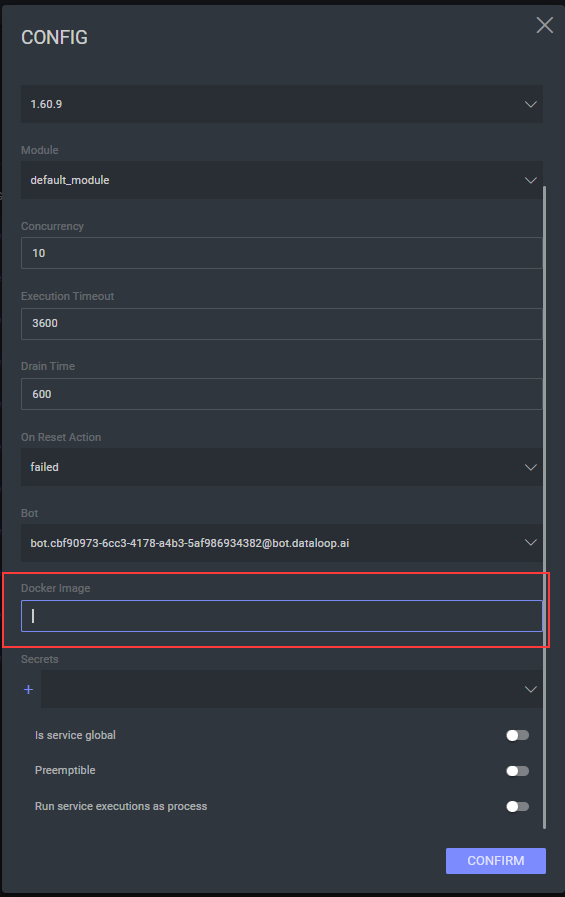
- In the App Config section, update the Docker Image with the URL of your private Docker image registry.
Your application will now be connected to your private Container registry and ready for use.
Deploying a Container Image
Deploying a Container image is simple—just provide the Container image path when setting up the service.
service = package.deploy(
    service_name='my-service',
    runtime=dl.KubernetesRuntime(
      runner_image='gcr.io/google.com/cloudsdktool/cloud-sdk:latest'
    )
)
Use Your Private Container Registry by Deploying it to an Application Service
To deploy your container image, ensure you have integrated them with DDOE platform, connect your Container to DDOE using private container registries. We support the following Container registry integrations:
After the cloud storage connection, its deployment is performed as follows:
- Select Marketplace from the left-side menu.
- Click Actions -> Create an Application.
- Perform the steps mentioned Create an Application.
- Verify you are in the Services tab, and click Create Application.
- Click App Config.
- Insert the relevant URL in the Docker image field.
- Complete the remaining steps.
PIP vs PIP3
When the service runner installs its requirement, it uses pip to install, therefore the service can fail if you do not migrate packages installed via pip to pip3. To avoid installation issues, add the lines below to your Docker file.
RUN apt-get -y update \
  && apt-get install -y python3-pip python3-dev \
  && ln -s /usr/bin/python3 python \
  && ln -s /usr/bin/pip3 pip \
Root Access
When building a Container image indented to work with the DDOE application, all packages must be installed using the --user option, to have root user permissions.
RUN pip3 install --user
  asynctest==0.13.0
  boto3==1.21.45
  dtlpy \