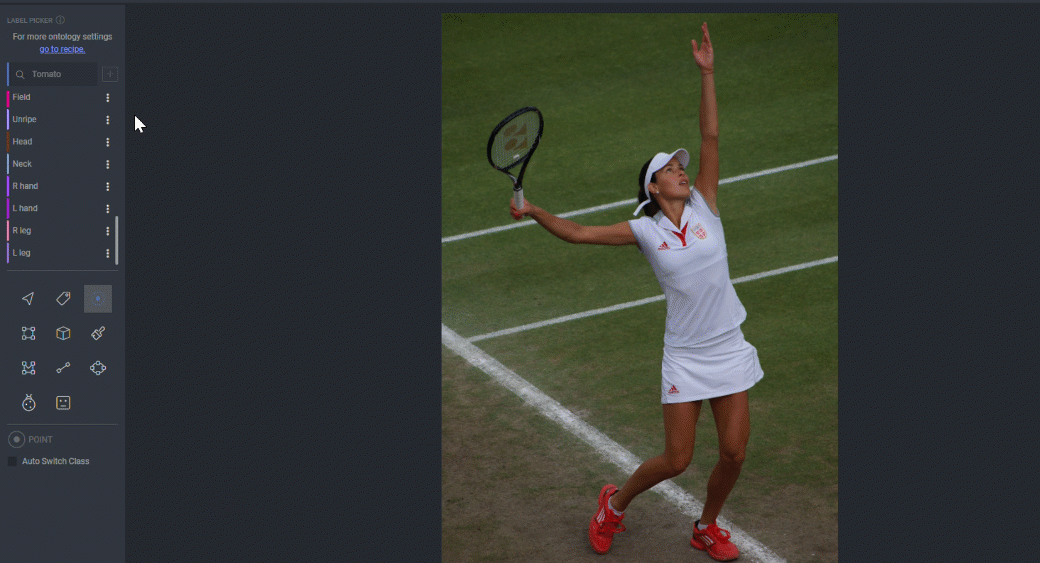
Point Annotation
The point annotation tool is used to annotate small objects and shape variations by creating dots across the image. This type of annotation is useful for detecting facial features, facial expressions, emotions, body parts, and poses.
Point annotation is available on image and video items.

- Open the Annotation Studio.
- Select the Point tool.
- Select and click a class/label from the label list (label picker) to create a point annotation.
- The newly created annotation is in the annotation list and over the image, when you click the mouse.
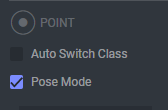
Auto Switch Class
Enable Auto switch class to accelerate work when annotating points sequentially. When checked, every time a point annotation is created, the next label in the label list is selected, allowing the user to create point annotations without having to manually select the next class each time.
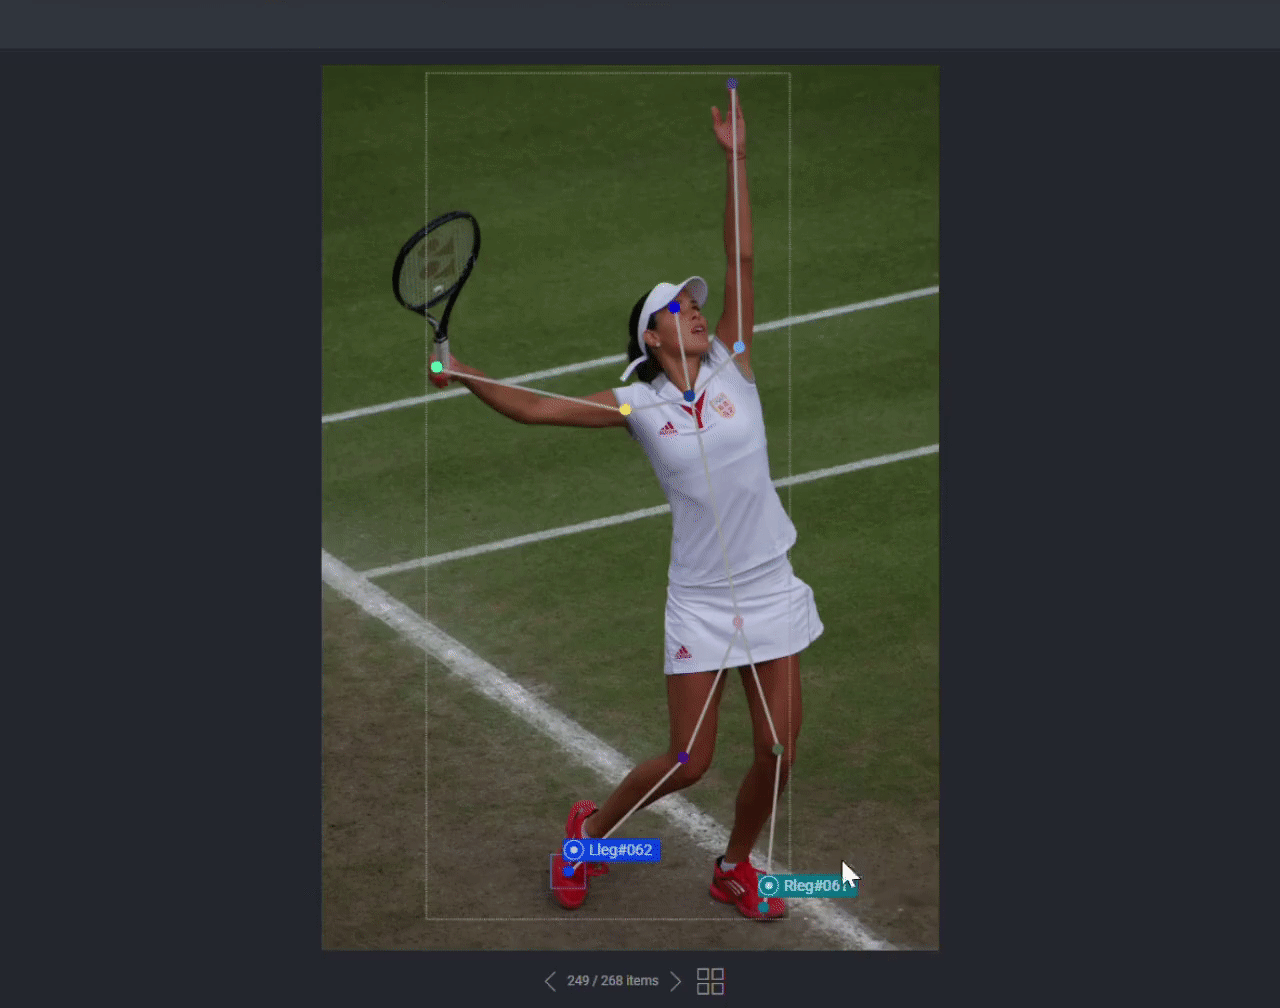
Pose Annotation
Pose annotation is a predefined collection (template) of points created in a certain order. Since you can create templates with any number and position of points, the pose is a powerful tool to enforce annotation requirements (for example, a 5-point polygon).
Pose annotation is available on image and video items.
Creating a Pose Template
Pose templates are created by managers with permission to edit recipes.
- Go to the recipe page and switch to the Instructions tab.
- In Annotation Templates tab, click Create.
- Enter a name and click Create. An empty template will be created.
- Locate the newly-created template in the list, click the 3-dot icon to the right of the template for more options, and then select Edit template.
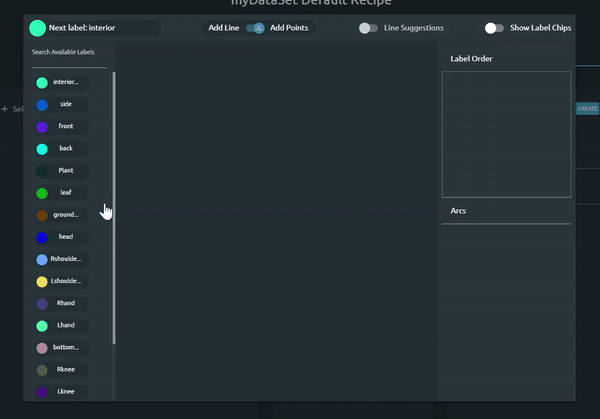
- Add your key points from the label list on the left, choose the label, and click a position on the canvas.
- Create your template:
- Click on the canvas to form the shape you wish to have. With every click, the currently selected label is used and removed from the list of available labels.
- You can add lines connecting the dots – toggle from Add points to Add lines and draw lines between points. Toggle Line suggestion ON to add lines in a single click.
- The template is documented on the right-side panel:
- Points are listed in the Label order menu.
- Lines are listed in the Arcs menu.
Create Pose Annotations
- Open an item in the Annotation Studio.
- Select the Point tool.
- Check the Pose mode checkbox.
- Select a template from the drop-down list.
- Click Add new pose and begin clicking on the canvas to place the template points.
- You can skip a point in the template (for example, if the object is hidden in an image) by clicking the arrow key for label switching.
- You can add a skipped point later on by selecting the pose annotation and adding the missing point.
- On the annotation list, you will see:
- Pose annotation, serving as a parent to all points.
- Point annotations, as the children of the parent pose annotation.
- On the canvas, a frame will border all points of a specific pose to show the user their location and allow working with the pose annotation.
- Start a new pose annotation by clicking again on the Add new pose button.
- Use the dedicated keyboard shortcuts to accelerate your work.