Overview
The polygon annotation tool is often used where complex polygons are needed, rather than rectangles, to define the shape and location of the object in a more precise way.
2D Polygon
2D polygon annotations involve marking and delineating areas within a two-dimensional space. These annotations are frequently used for image annotation, where the goal is to highlight or outline regions of interest in a flat image.
Creating Polygon Annotation
- The Polygon tool must be enabled in the recipe.
- Go into the annotation studio and select the Polygon tool.
- Draw the polygon on the canvas:
A. Straight lines: Click multiple points on the canvas to create a polygon around your target object/item.
B. Free-hand: Hold the mouse right-click and move it to draw polygon vertex. Delete free-hand dots by holding Shift and dragging the mouse cursor. - Close the polygon to finish its creation phase:
- Right-click anywhere to have the last drawn point connected with the first.
- Click back on the first point of the polygon to have it closed.
- Press Enter to close the polygon.
- Press Esc to cancel polygon creation.
Free-hand sections are created as bulk operations, therefore, undo/redo operations will affect an entire series of points and not just the recently created ones.

Editing Polygon Annotations
- The Polygon tool must be selected to edit polygon annotations.
- Click on a polygon to have it selected.
- Drag and drop a polygon to move it on the canvas.
- Hold Shift+Arrow key to make fine position adjustments to the polygon position.
- Double-click on a polygon to put it in editing mode.
- Hold any of the polygon's points and drag and drop to change the polygon's shape.
- Draw a freehand line (click and hold the mouse button and move the mouse to draw).
- Draw a line that starts outside the polygon, goes through the polygon, and ends outside the polygon. For example, cutting a slice of the polygon, to have that slice/part removed.
- Draw a line that starts inside the polygon, goes out of it, and then comes back into it. For example, adding a slice to the polygon to have the polygon extended to include the additional part.
Clip to Pixel
Since pixels are enlarged when zooming in, it creates the impression that a polygon point can be placed anywhere over them. However, this is not the case, a single pixel is the highest possible resolution, and there's no real option beyond that, despite the impression created during zoom-in.
To prevent this false impression, the Dataloop system clips polygon points onto pixels starting at a certain high zoom level. This makes certain polygons look rectangular and not curved, as it might seem to be possible, but this feature is there to enforce the reality derived from the pixels themselves.
Polygon-Related Features
Polygons can be used with several related features that convert the polygons into other shapes/tools or adjust/align neighboring polygons.
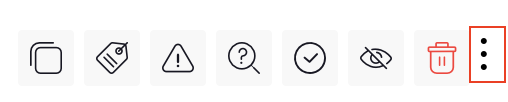
Polygon-related features can be selected from the Ellipsis above the annotations list for one or more selected polygon annotations.
Polygon Edge Sharing
The Polygon tool now lets you interactively create a polygon that shares its edges with other Polygons, so there will be no overlap between them.
To enable this option:
Click on the Polygon tool and select Edge Sharing.
Once you finish drawing a polygon that overlaps with other polygons, it will be updated automatically to share the edges of the overlapped polygon.
Reminder: You can draw polygon lines starting inside other polygons by holding the Shift key down.
Polygon to Mask
Convert a polygon to a semantic segmentation mask. After converting the polygon to a semantic segmentation mask, you can continue editing the semantic annotation by switching to the semantic segmentation tool.
The action can be reverted using the Mask-to-polygon feature.
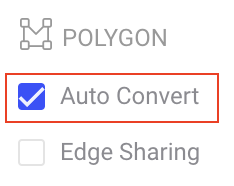
Use the Auto Convert option to automatically turn every new polygon into a semantic layer.
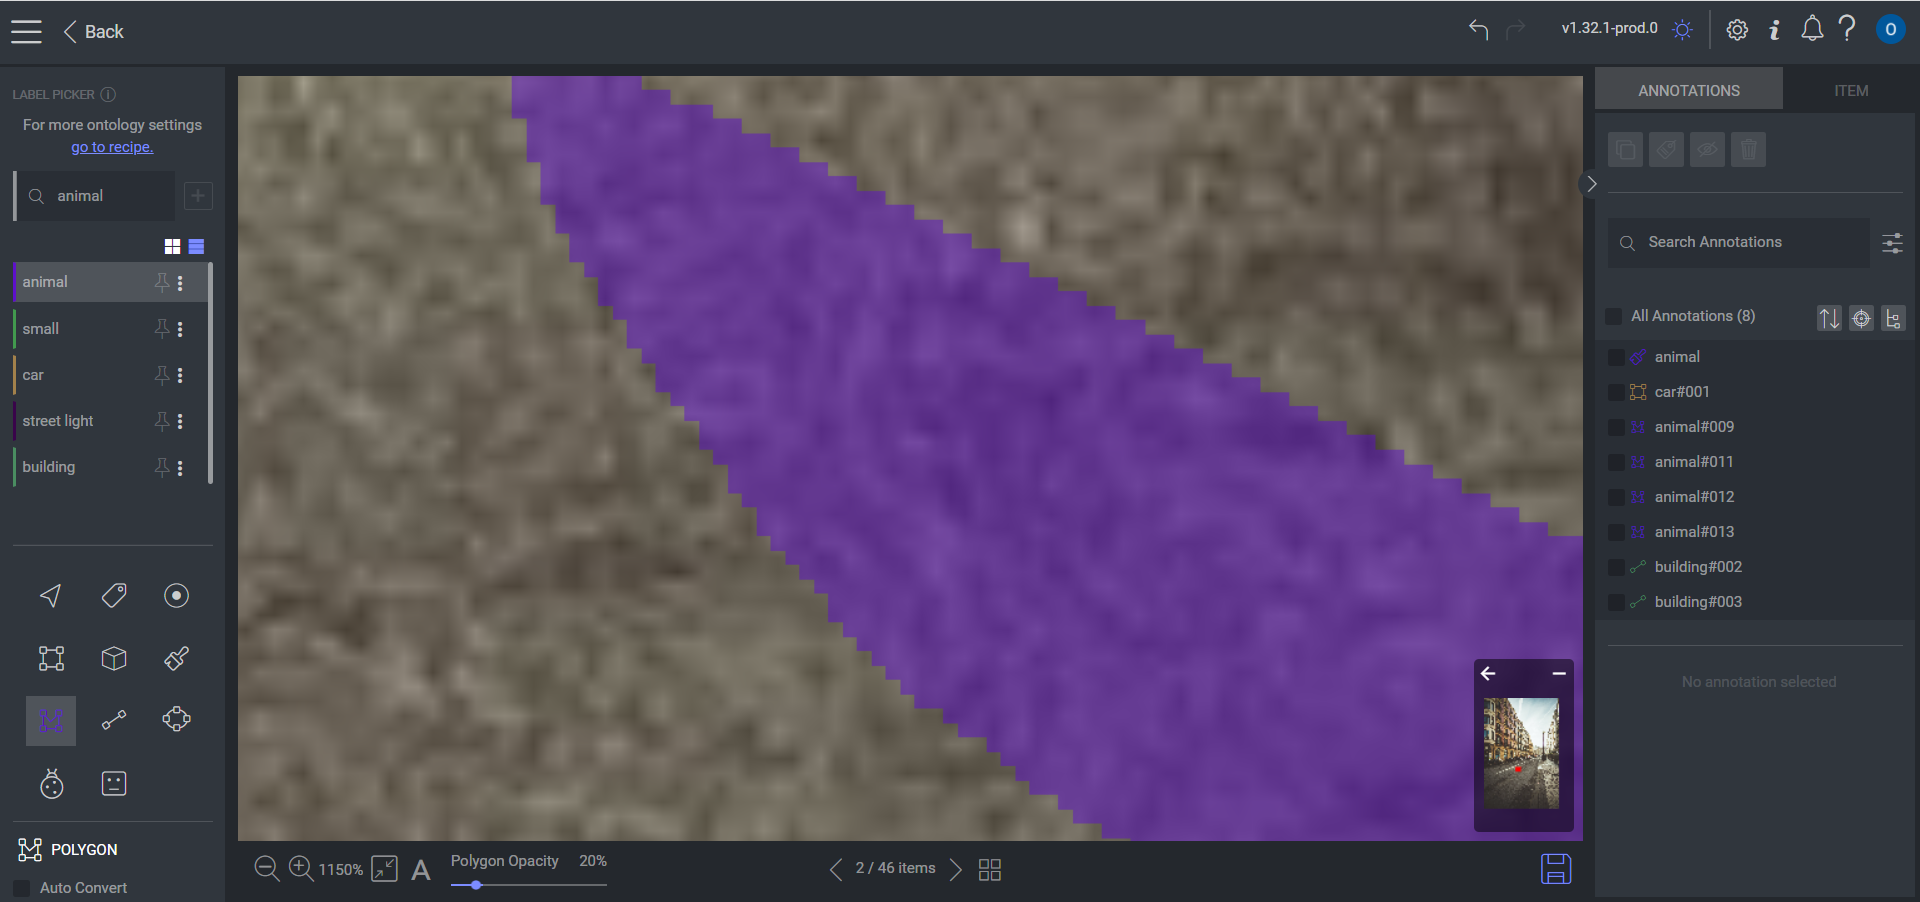
Note: When converting a polygon to a mask, each pixel of the polygon is filled (painted).
Since pixels are square, this results in the round/circular outline of the polygon (where pixels were partly painted) becoming jagged. This is more apparent in low resolution and when zooming in.
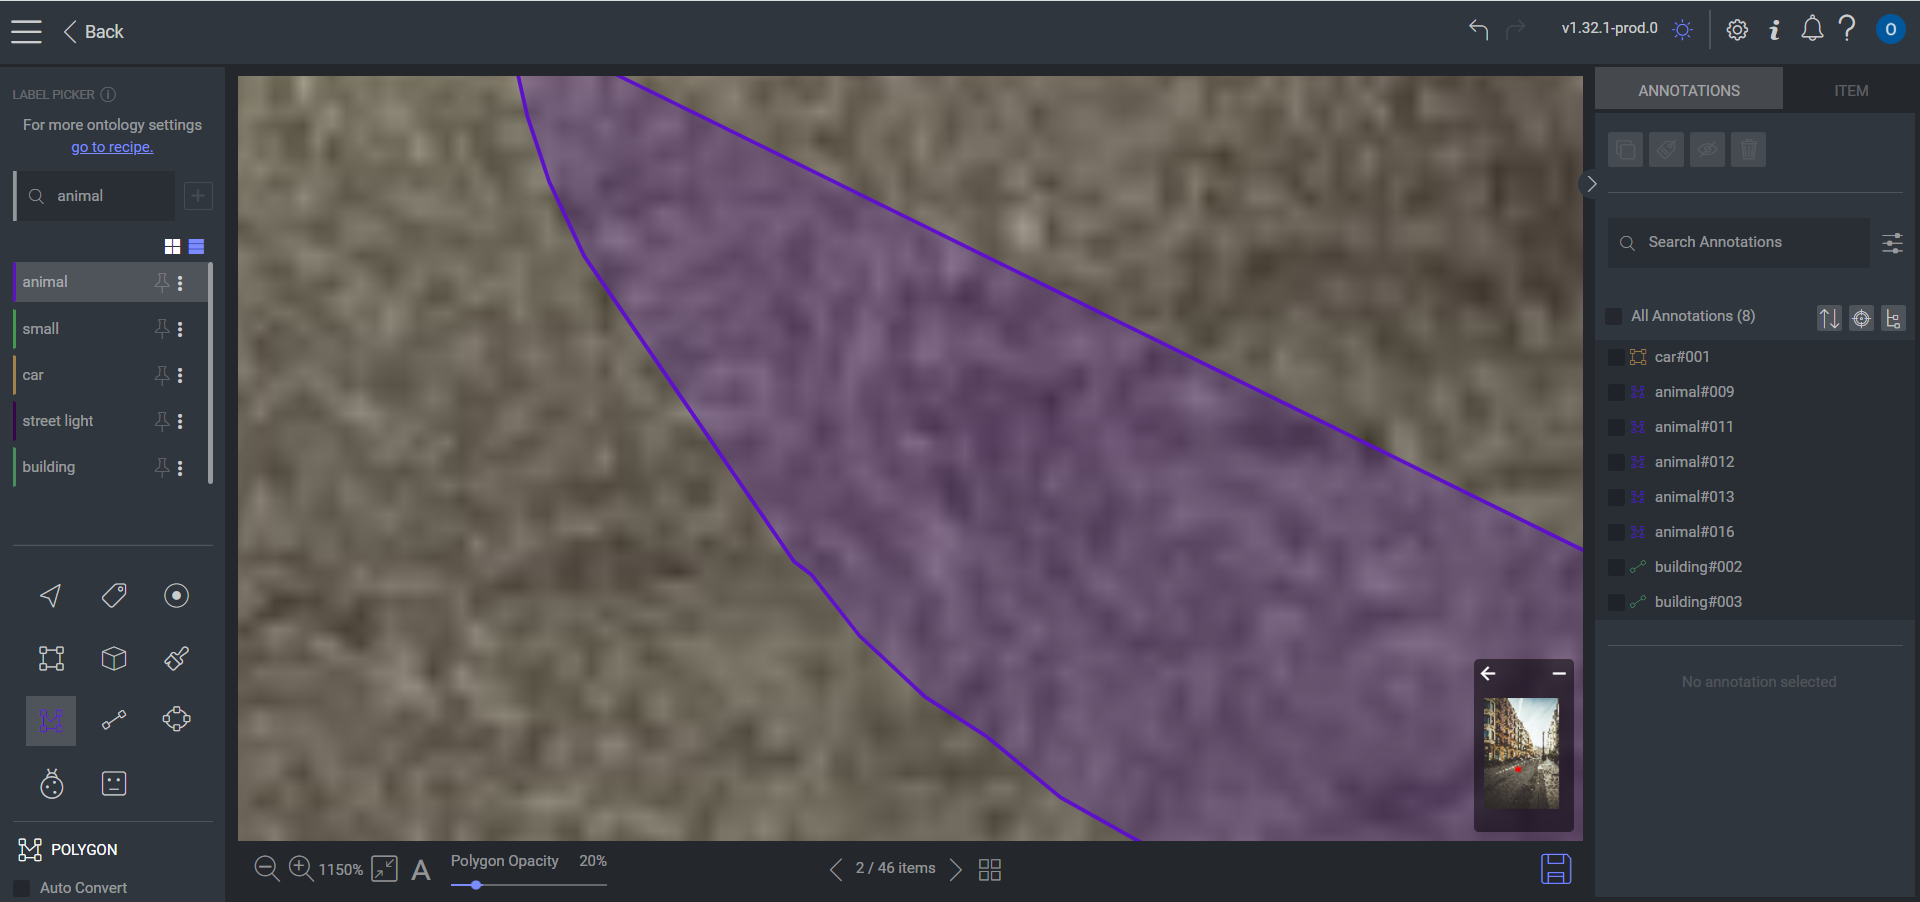
Polygon before conversion to mask:
Polygon after conversion to mask:
4-Points to Polygon Magic Tool
Automatically convert a 4-point polygon to a more accurate, tight contour polygon around an object by using the Polygon to Polygon 4-Points tool.
Place a point at each end of the object top, left, bottom, and right to create a closed quadrilateral polygon. Activate the feature and create the polygon around the object’s edges. You can adjust and edit this polygon using the polygon edit mode.

4-Points to Mask Magic Tool
Automatically convert a 4-point polygon into a semantic layer over the object by using the 4-Points-To-Mask tool.
Place a point at each end of the object – top, left, bottom, right – to create a closed quadrilateral polygon. Activate the feature to create the semantic mask.

Arrowhead on Polygon
Enable this feature in the recipe to have an arrowhead drawn on the polygon, serving as an indication of direction when annotating in tasks requiring this feature.