Overview
The Semantic Segmentation tool is often used in cases where pixel-level context is important. Here's a video tutorial for the DDOE semantic segmentation tool, reviewing all tool options for pixel-perfect accuracy.
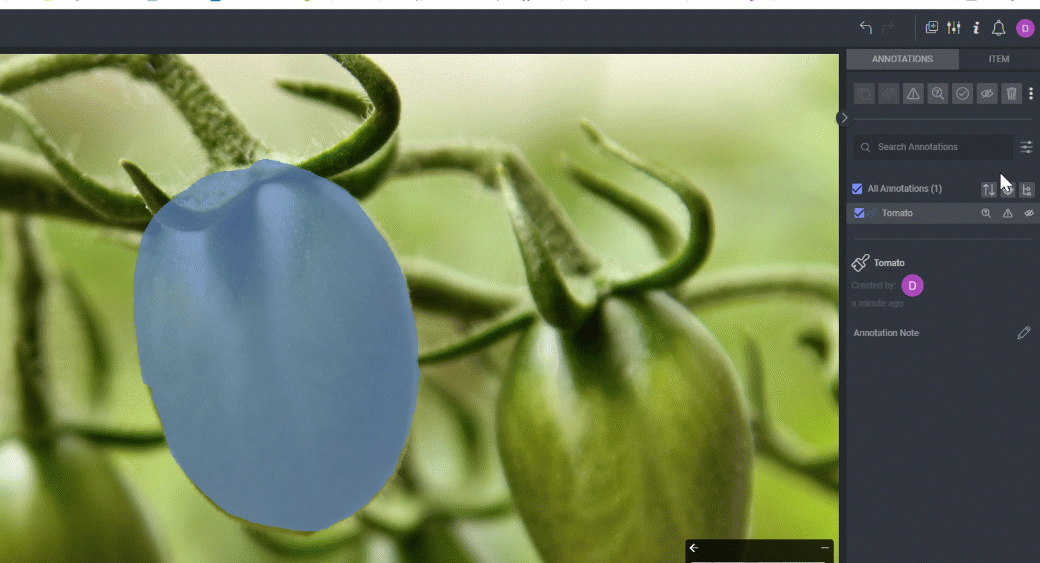
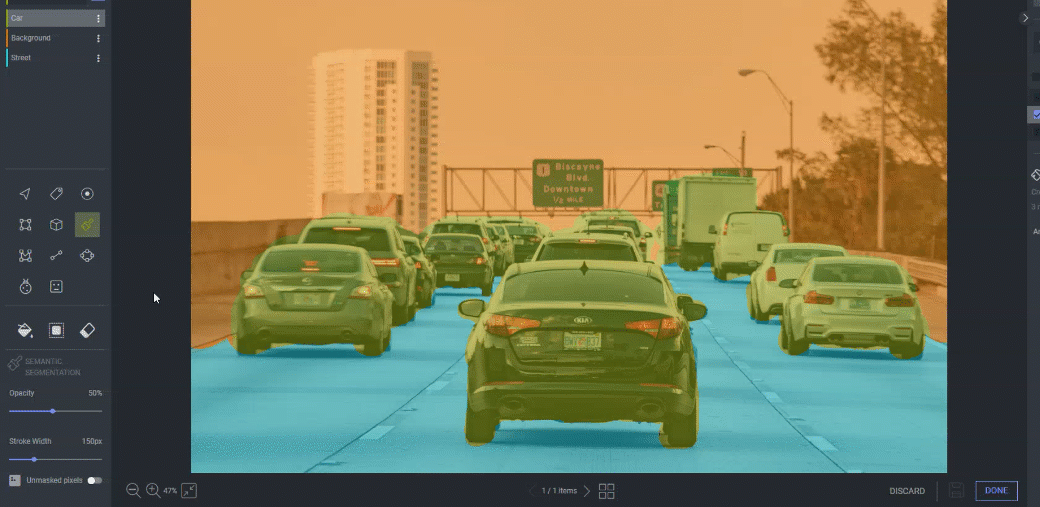
Create a Semantic Segmentation
Annotation labels that use semantic segmentation are not allowed to switch labels in the Default Image Studio.
- Go to the annotation studio.
- Select the Segmentation tool.
- The main segmentation tool is a brush, with adjustable brush stroke size. Hold the mouse button and move the mouse accordingly. You can draw a straight line by holding the Shift key.
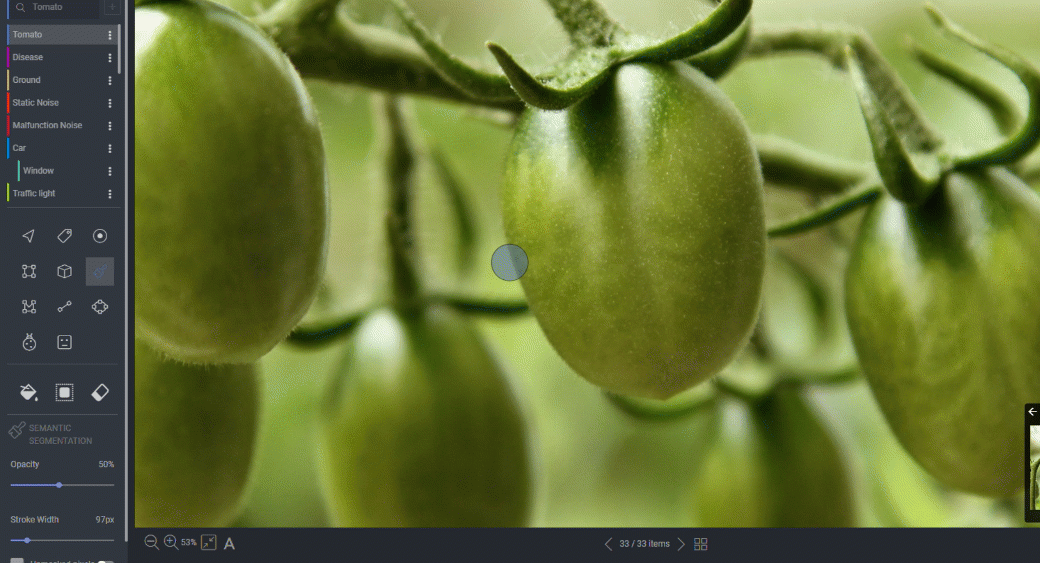
- Additional sub-tools can be selected:
- Bucket – paints an entire bounded surface.
- Auto-segmentation – creates a semantic layer to objects detected inside region-of-interest drawn by the user.
- Eraser mode – brush and bucket tools can be used in erase mode. Erase mode can be toggled by clicking it and by using the toggle keyboard shortcut Shift+E.
- Use the polygon tool and polygon-to-mask as another way to create segmentation masks, as some find polygons easier to work with and somewhat more accurate.
In semantic segmentation, every pixel can have only one mask. Repainting a segmented pixel will overrun its previous mask.
If your model already has its own RGB for the masked output, make sure to set the label's color accordingly. Click here for more information on the label's color in the recipe.
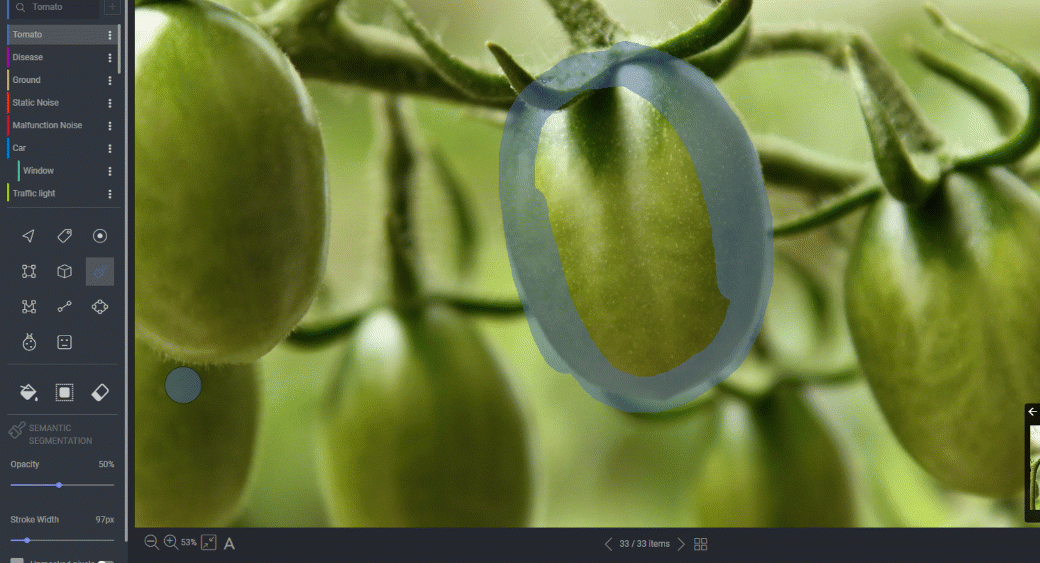
Auto Segmentation
Auto-segmentation uses a machine-learning algorithm to accelerate semantic segmentation tasks.
- Select the auto-segmentation tool.
- Draw a box around an object to get an initial segmentation.
- Make changes to the initial segmentation:
- Click once on an area with no segmentation to have it added to the initial results.
- Click on the segmented area to have it deducted.
- Repeat the process until you are satisfied with the segmentation.
- Click the checkmark to accept this segmentation and close the box, or X to undo it entirely.
Paint Bucket Tool
To paint over large areas, select the bucket icon (or use the shortcut Shift+B) and click an unpainted section of the image.
100% Pixels Segmentation
When this unique feature is enabled in the recipe, it ensures that items are segmented completely, and no pixels are left unmasked – items cannot be completed if 1 or more pixels are not segmented.
Annotators can use the Unmasked Pixels Validation Tool to highlight all the unmasked pixels left to reach 100% of the item.
Mask to Polygon
The Mask to Polygon tool turns a semantic layer into a closed polygon.
- Draw a semantic annotation.
- Select ‘mask-to-polygon’ from the 3-dot action button menu located above the annotations list. The segmentation will turn into a polygon.
- Edit the polygon as any other polygon, and use the Polygon to Mask tool to revert the annotation to segmentation mode.
The semantic segmentation mask can be downloaded as a PNG file. Click the Ellipsis icon from the ANNOTATIONS tab in the right panel and select Download as PNG.