Overview
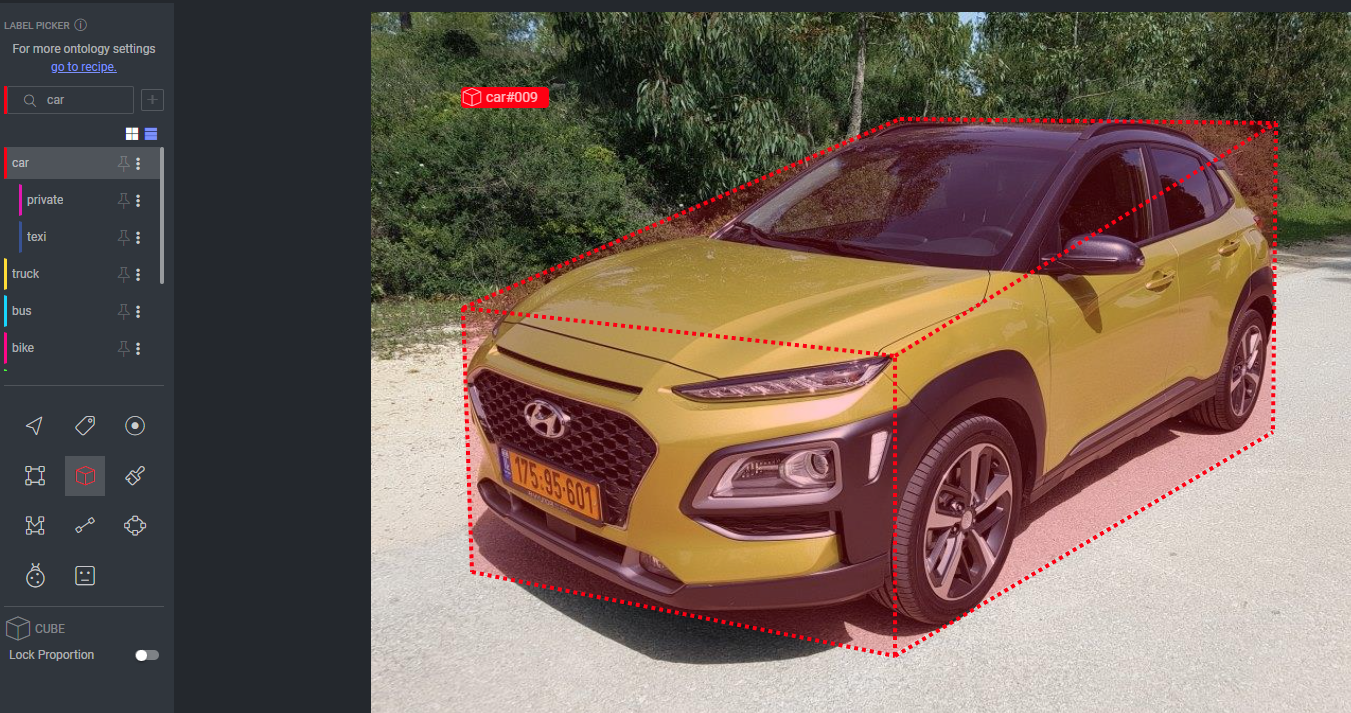
The tool is designed to annotate objects in 2D images with cuboid-shaped bounding boxes. These bounding boxes represent the spatial extent and orientation of objects within the image.
Annotators typically use the Cuboid Annotation Tool to draw a rectangular box around an object of interest in an image. However, unlike a regular bounding box, a cuboid annotation adds a dimension, representing the height or depth of the object.
Cuboid annotation tool is available on image and video items.
Cuboid
Creating a Cuboid Annotation
Cuboids as 3d box-shapes are supported in the Dataloop system for both images and video annotations.
Open the Annotation Studio.
Select the Cube. The Cuboid tool is to be enabled in the recipe instructions.
To begin drawing the face of the cuboid, click and hold the mouse left-key where you would like one corner of the face of the cuboid to be; then click left-key and drag the mouse to the opposite corner of the face of the cuboid.
Click any of the cuboid's edges and drag to give the cuboid dimension.
Click anywhere on the canvas to be able to rotate the cuboid (if enabled in the recipe).
Double-click anywhere on the canvas or press Enter to end the cuboid creation process.
Cuboid rotation is available only after enabling this feature in the recipe instructions. To simplify the process, consider disabling it when the annotation task does not require cuboid rotation.
Edit Cuboid Annotation
Select the cuboid tool.
Click the cuboid annotation.
Click and hold the mouse button on the cuboid to be able to drag it and change its position.
Click and hold the mouse button on the point above the cuboid to be able to rotate the cuboid.
Double-click anywhere on the cuboid to put it into edit mode. You can now move any side to resize the cuboid.
Double-click anywhere on the canvas to exit the cuboid’s edit mode.
Cuboid Edge Points
It is possible to use the eight edge points of the cuboid (four on the front and four on the back) to adjust it according to the orientation of the annotated object (this needs to be enabled in the recipe instructions).
The following example emphasizes the difference between the front and back edge points of the annotated objects' sizes.