Overview
DDOE offers an image studio that is designed for annotating or labeling images. Annotation in this context involves adding metadata or labels to specific elements within an image, such as objects, regions, or features.
Prerequisites
Supported Image formats section to view the supported image formats in the Image Studio.
Task Prerequisites:
Label Picker
A Label Picker is a feature within the annotation studio that allows you to pick or select labels to assign to specific objects or elements in the data being annotated. You can perform the following activities on the Label Picker section. The available labels are determined in the Recipe.

Scroll and click a label to activate it.
Use the search bar to easily find labels.
Resize the label list to better fit your number of labels by clicking and dragging the separator line.
Use the Shortcut keys to navigate between labels.
Annotation Tools
Annotation tools are designed to facilitate the process of data annotation. Data annotation involves adding metadata, labels, or tags to raw data, making it understandable for machines.
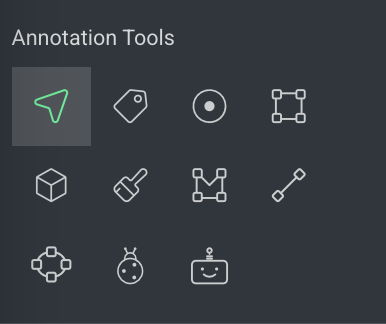
By default, the first tool in the list is selected. To activate a different tool, click on the available tools in the list.
Annotation Tool Controls
Selecting a tool will automatically display its specific settings, providing access to enhanced functionality.
Image Canvas
The Image Canvas serves as the main workspace for performing annotations. In addition to annotation tasks, you can:
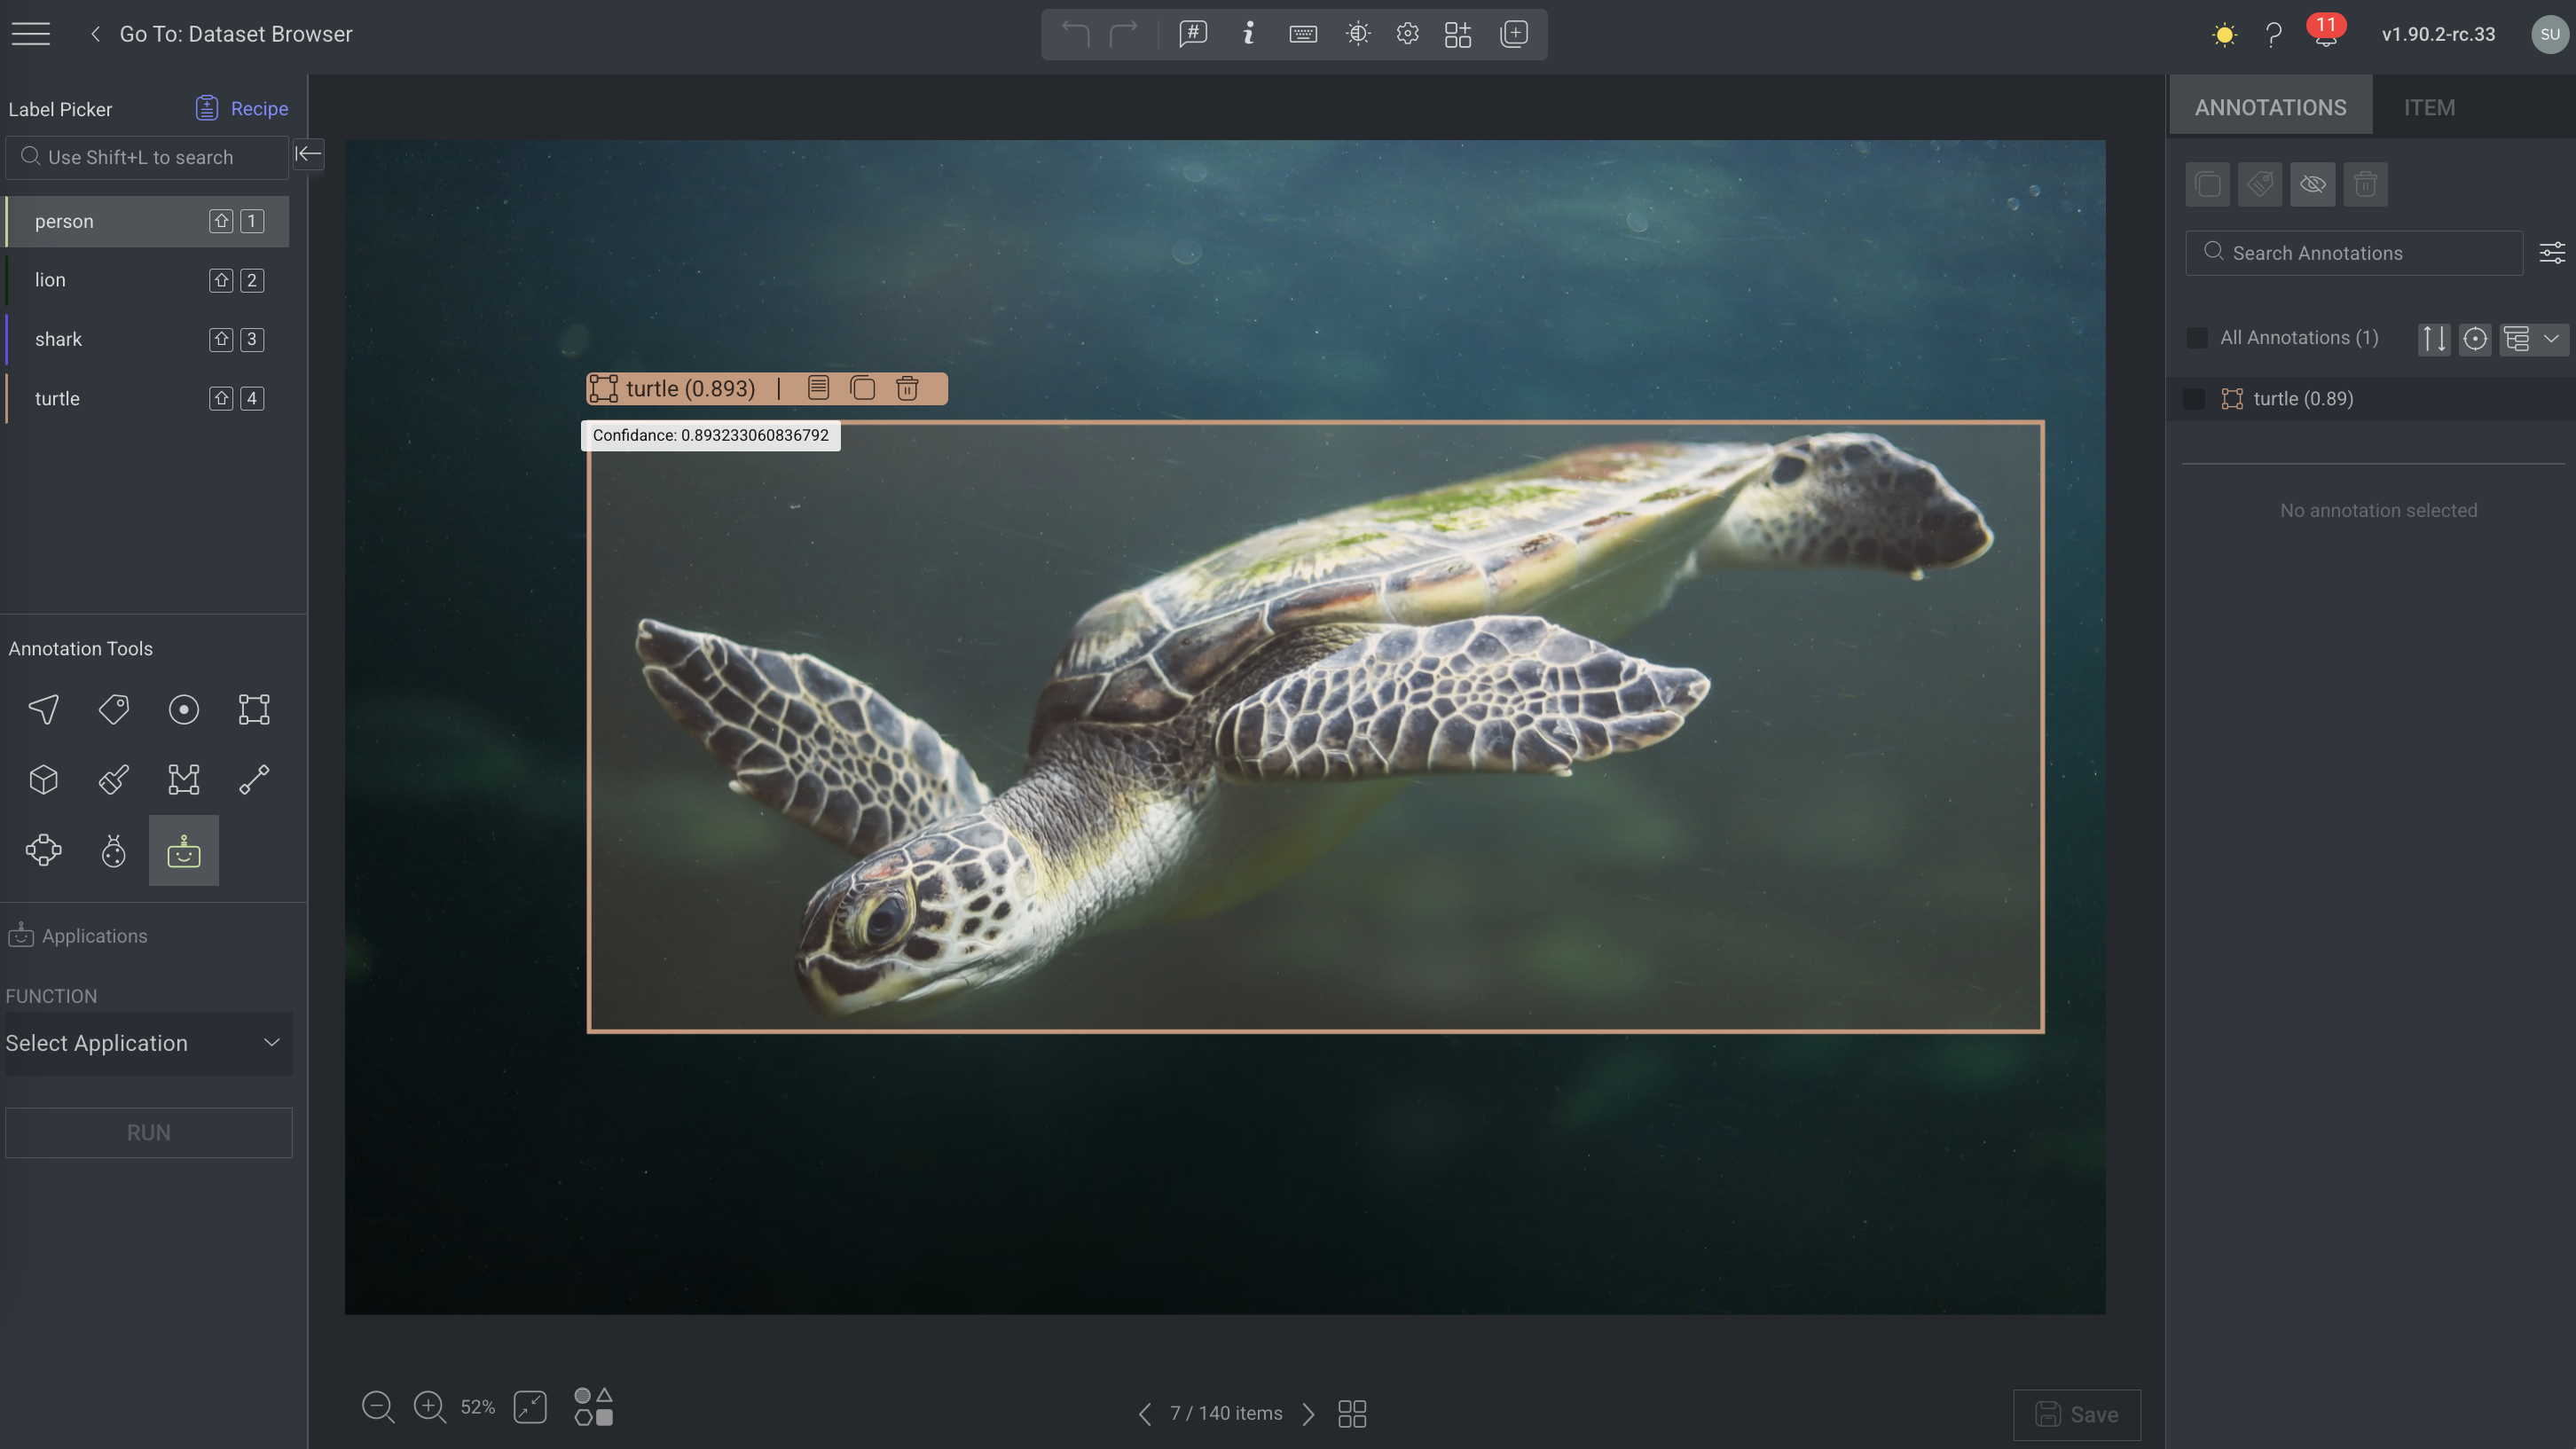
Modify Labels & Attributes by clicking on the label name.
Set Object ID for better identification.
Clone Annotations to duplicate existing labels.
Delete Annotations when necessary.
Learn more about the annotation studio canvas.
Annotations Tab
The Annotations tab on the right-panel allows you to control and manage annotations involves utilizing the annotations list and attribute controls, particularly when attributes are configured in the Recipe.

Learn more about the annotations and actions available.
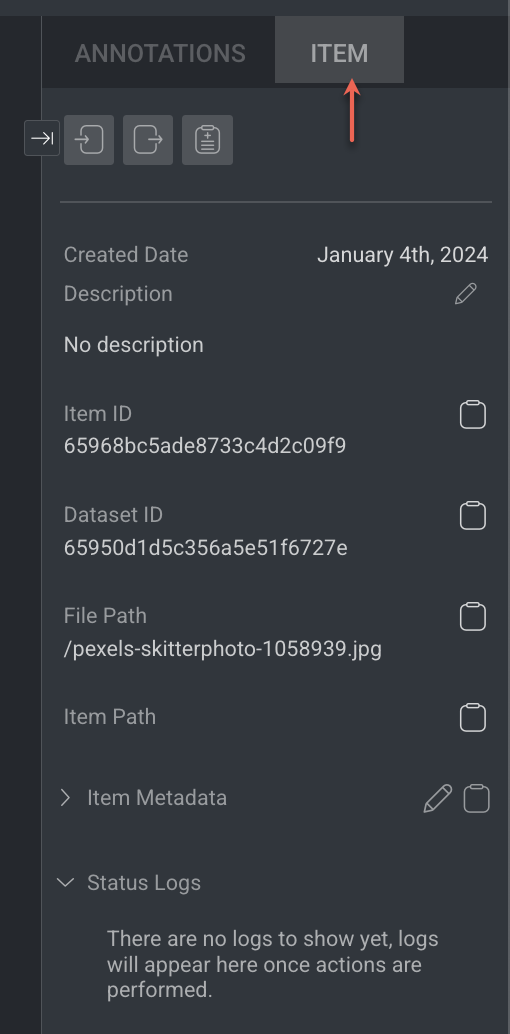
Item Tab
The Item tab displays information according to the type of the selected item.
Learn more about the item and actions available.
Item Info & Controls (Top-Panel)
Item Info & Controls are available depends on the type of annotation studio. For the detailed information, refer to the following articles.

Keyboard shortcuts
Keyboard shortcuts are also accessible through the top panel of each Annotation Studio, with each studio featuring both general and studio-specific keyboard shortcuts.
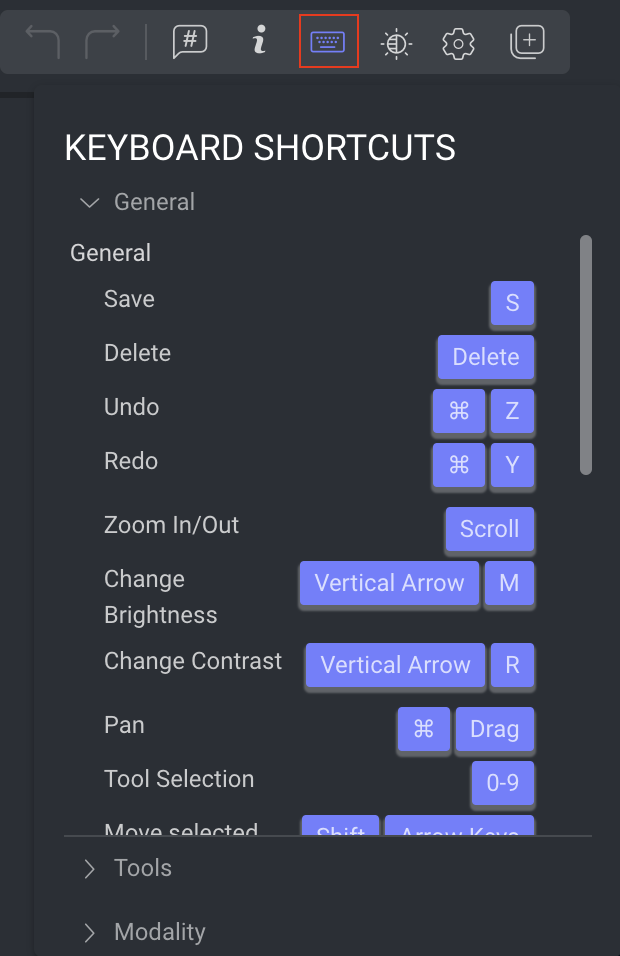
The available shortcut keys for the Image annotation studio are listed below:
General Shortcuts
| Action | Keyboard Shortcuts |
|---|---|
| Save | S |
| Delete | Delete |
| Undo | Ctrl + Z |
| Redo | Ctrl + Y |
| Zoom In/Out | Scroll |
| Change Brightness | Vertical Arrow + M |
| Change Contrast | Vertical Arrow + R |
| Pan | Ctrl + Drag |
| Search Labels | Shift + L |
| Search a label | Shift + 1-9 (for the sub-labels, use the Tab key) |
| Navigate in label picker | Up and Down arrows |
| Select label in label picker | Enter |
| Tool Selection | 0-9 |
| Move selected annotations | Shift + Arrow Keys |
| Previous Item | Left Arrow |
| Next Item | Right Arrow |
| Add Item Description | T |
| Mark Item as Done | Shift + F |
| Mark Item as Discarded | Shift + G |
| Enable Cross Grid Tool Helper | Alt + G |
| Hold G to show Cross Grid Measurements | G |
| Go to annotation list | Shift + ; |
| Navigate in annotation list | Up and Down arrows |
| Select/deselect an annotation | Space |
| Hide/Show Selected Annotation | H |
| Hide/Show All Annotation | J |
| Show Unmasked Pixels | Ctrl + M |
| Hide/Show Annotation Controllers | C |
| Set Object ID menu | O |
| Toggle pixel measurement | P |
| Use tool creation mode | Hold Shift |
| Copy annotations from previous item | Shift + V |
Annotation Tool - Semantic
| Action | Keyboard Shortcuts |
|---|---|
| Toggle Paint Bucket Mode | Shift + B |
| Toggle Eraser | Shift + E |
| Toggle Auto Segmentation | Shift + A |
| Toggle Super Pixel | Shift + S |
| Toggle Drawing | Shift + D |
| Draw Straight Line | Shift + Drag |
| Change Opacity | X + Scroll |
| Stroke Size | Alt + Scroll |
| Delete Super Pixel | Alt + Left Click |
Annotation - Pose
| Action | Keyboard Shortcuts |
|---|---|
| Next Label | Ctrl + > |
| Previous Label | Ctrl + < |
| New Pose | N |
Annotation Tool - Polygon
| Action | Keyboard Shortcuts |
|---|---|
| Delete Vertex | Right Click |
| Clear / Close Polygon | Esc |
| Clear / Close Polygon | Enter |
Annotation Tool - Modality
| Action | Keyboard Shortcuts |
|---|---|
| Next layer | > |
| Previous layer | < |
| Toggle visibility | Space |
Item's View Controls (Bottom-Panel)
The controls on the bottom-side panel display based on the annotation contexts and work controls.

Workflow Context
Assignment controls, including moving between items, displaying the item gallery, and the status buttons (Complete / Discard). It displays only while working on an annotation or QA task.
Browse between the assignment items using the Left and Right arrows
Open the Thumbnails' gallery viewer, and click a thumbnail to open that item
Save button - Clicking the button when it is enabled triggers saving changes to the DDOE platform, before the auto-saving feature takes care of that.
Status buttons - Complete and Discard.
View Controls
From left to right, work controls at the bottom panel deliver the following functionalities:
Zoom control - Small steps using (+) and (-) buttons.
Fit to screen.
Opacity: Adjust the opacity values as needed.
Preview Attributes: Enable/disable the attribute details visibility over the item, next to each annotation.
Image annotation - JSON output
You can export the image annotations in the JSON format.