Overview
In this process, we will prepare and configure the Dataloop system to effectively utilize LiDAR data for the Dataloop LiDAR App.
Setting up the LiDAR data involves several key steps:
Files Setup
Calibration Data Setup
Create the LiDAR Video File
LIDAR Annotation Format
Refer to the Lidar Annotation Format for detailed information on the Annotation JSON format when exporting LIDAR data.
Supported Files
The setup process include preparing the files for work in a point-cloud annotation/segmentation task. Supported files are:
PCD Files: Point Cloud Data files used for generating the 3D scenes. Both single PCD file and multiple PCD files are supported. For more details about why PCD files are preferred, refer to the PCD file format documentation.
JPEG/PNG Images: Usually showing the angle and viewport of the cameras that captured the main scene. These images will have real-time projections of 3D objects annotated in the main point-cloud scene.
Step 1: Files Setup
Setup for stitching of point cloud files with camera images is performed by arranging files in designated folders in the root of the dataset or a selected folder inside the dataset.
Example of arranging the files in the root of the dataset:
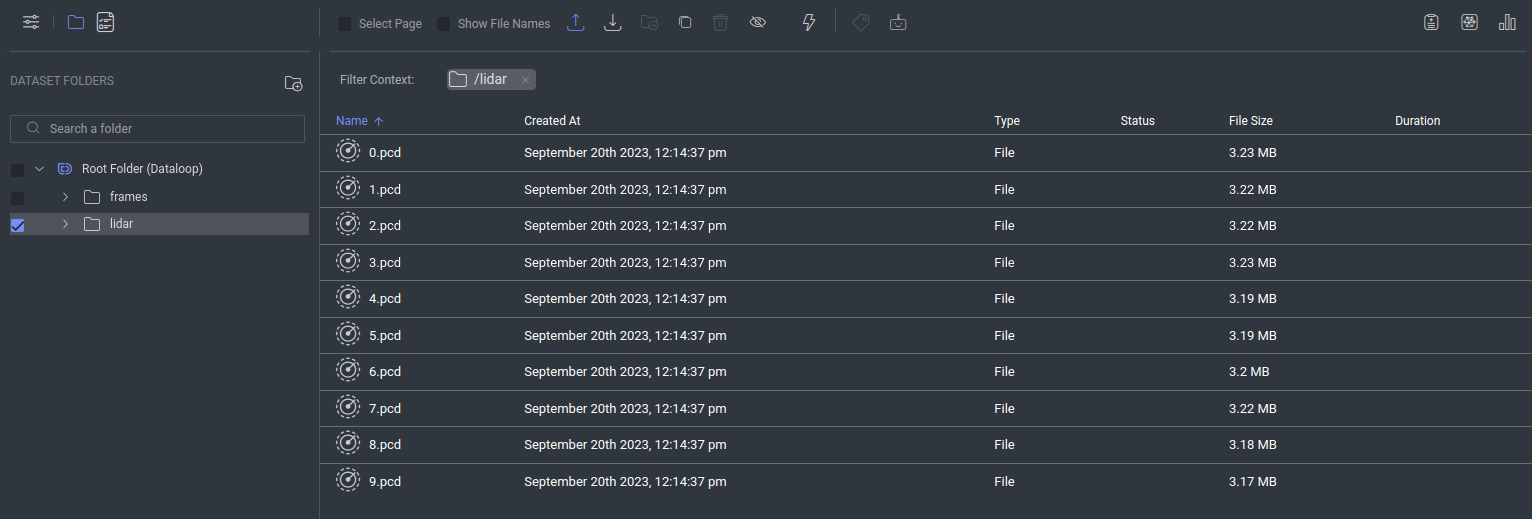
lidar folder: This folder contains all the PCD files, which represent individual frames and must be numerically named starting from 0 to define their order in the 3D scene.
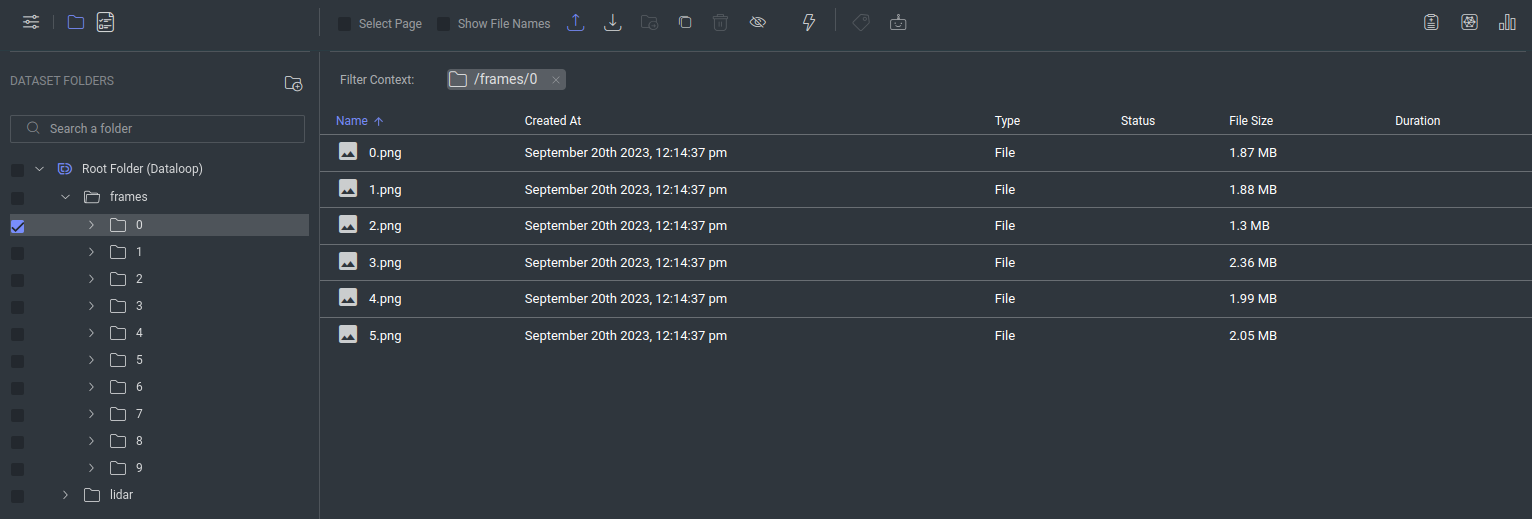
frames folder: This folder contains subfolders, each with JPEG/PNG images per frame.
Subfolder names must follow the numeric order of the PCD files (from 0 to N) and include only the relevant images for that frame.
Image files within each subfolder must be named sequentially (from 0 to M) to define their display order in LiDAR Studio.
All subfolders must maintain a consistent image index pattern (from 0 to M) across frames to ensure proper alignment.
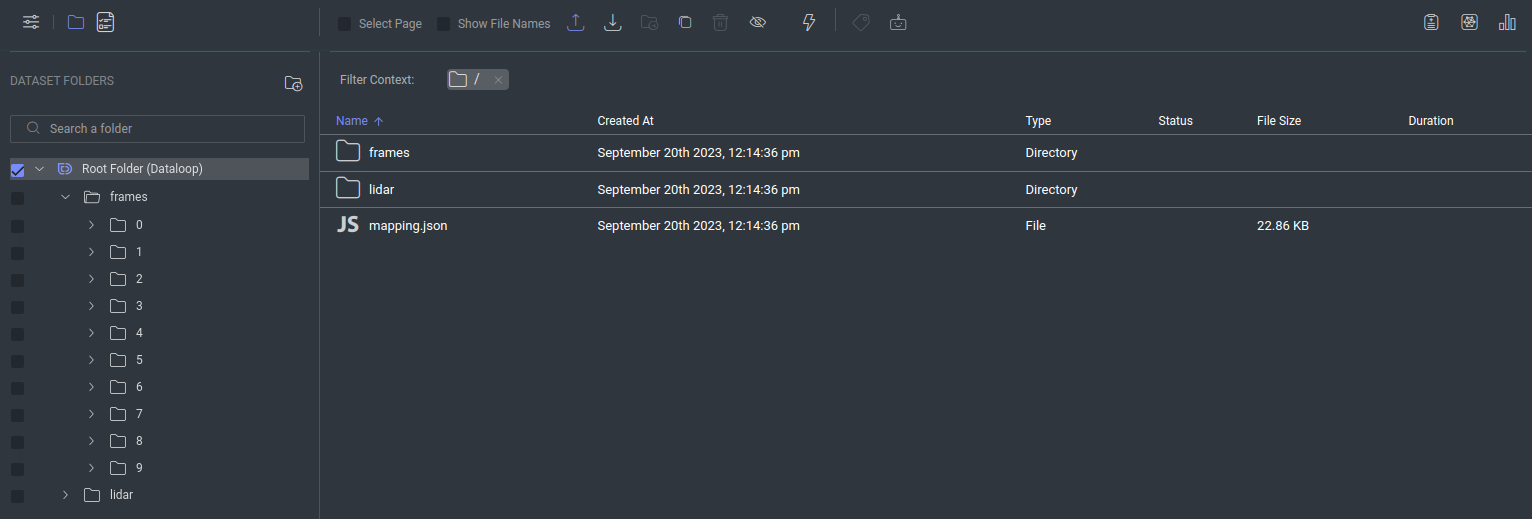
mapping.json file: Will be explained on the next section Calibration Data Setup
Example of arranging the files in a selected folder inside the dataset:
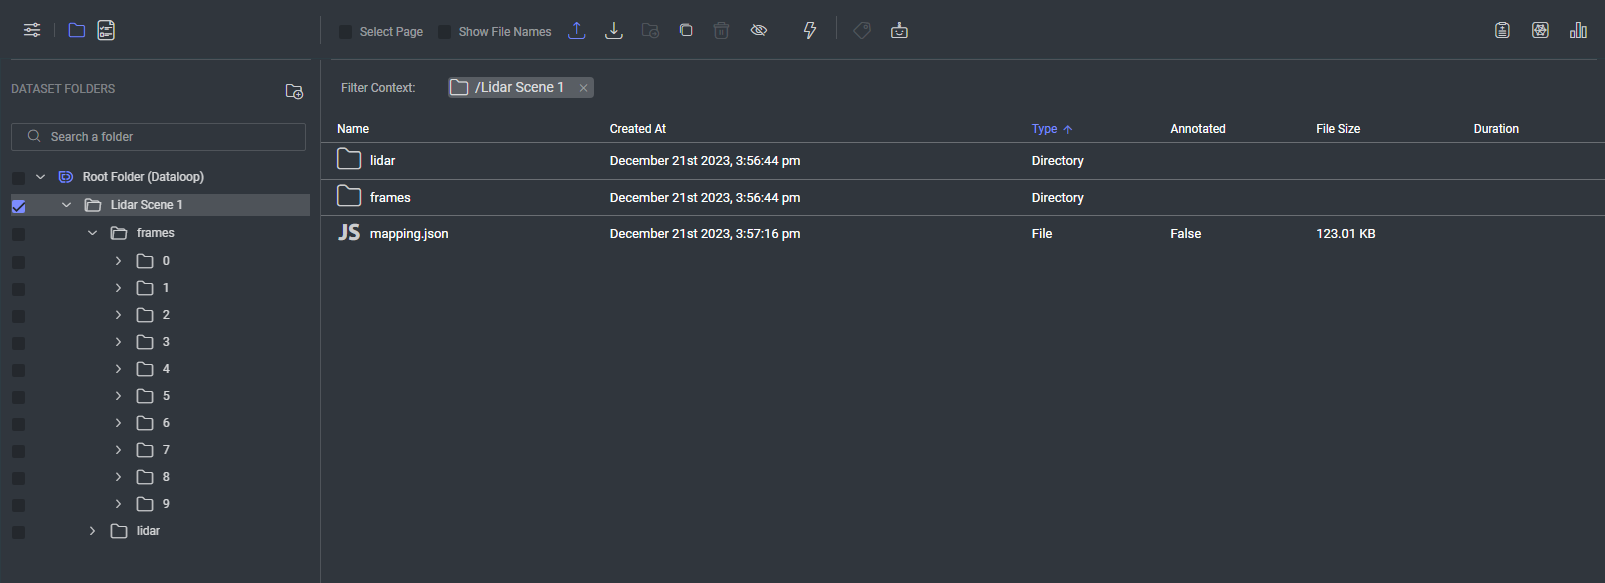
The same structure as in the example of arranging the files in the root of the dataset should be kept inside the selected folder.
Step 2: Calibration Data Setup
To build the LiDAR video file, the calibration data is required to align the point cloud data with the camera images.
Extract your dataset calibration data into a mapping.json file, in the format provided below, and upload it to the dataset in the same directory where the lidar and frames folders are located at.
For a detailed explanation about the parameters required in the mapping.json file, refer to the Camera Calibration Parameters.
PCDs Normalization
The LiDAR App requires the sensor’s extrinsic parameters to be applied to both the PCD files and the transformations of Cameras and Annotations (as defined in mapping.json).
This step is essential due to the lack of visual tools for applying or verifying these transformations.
{
    "frames": {
        "0": {
            "path": <>, // for frame 0: "lidar/0.pcd" (Relative path from the mapping.json file)
            "timestamp": <>
            "position": { // LiDAR sensor location (used as the center of the world)
                "x": 0.0,
                "y": 0.0,
                "z": 0.0
            },
            "heading": { // LiDAR sensor rotation (Quaternion)
                "x": 0.0,
                "y": 0.0,
                "z": 0.0,
                "w": 1.0
            },
            "images": { // if no images are provided, add an empty dict
                "0": {
                    "image_path": <>, // for frame 0 image 0: "frames/0/0.jpg" (Relative path from the mapping.json file)
                    "timestamp": <>,
                    "intrinsics": { // camera intrinsic
                        "fx": <>, // Focal length in pixels.
                        "fy": <>,
                        "cx": <>, // Optical center (the principal point), in pixels.
                        "cy": <>,
                    },
                    "extrinsics": { // camera extrinsic
                        "translation": { // camera location in world coordinates (in relation to the lidar sensor)
                            "x": <>,
                            "y": <>,
                            "z": <>
                        },
                        "rotation": { // rotation of the camera (Quaternion)
                            "w": <>,
                            "x": <>,
                            "y": <>,
                            "z": <>
                        }
                    },
                    "distortion" : { // distortion parameters
                        "k1": <>,
                        "k2": <>,
                        ....
                        "k8": <>,
                        "p1": <>,
                        "p2": <>,
                    }
                }
            }
        }
    }
}
Step 3: Create the LiDAR Video File
Refer to the Developer guide for the information.