Overview
The Applications tab within Marketplace is a dedicated section designed to present users with a collection of function packages. These packages are curated sets of functionalities that users can directly install as services into their projects. These packages are pre-built and ready-to-use components that can extend the capabilities of projects on the platform.
.png)
Here’s a detailed explanation of this feature:
Browse and Explore: Users start by browsing the Applications tab to explore the available function packages. Detailed descriptions and documentation are provided to help users understand the capabilities and requirements of each package.
Select and Install: Once a suitable package is identified, users can select it and proceed with the installation process.
Integration and Use: After installation, the new service is integrated into the project, ready to be used as part of the workflow. Users can then utilize the added functionalities to achieve their project goals more effectively.
In the card view, the following details about each model are presented:
Application's Image
Application's Name
Application's Description
Application's Category (for example, Provider, Applications Type, etc.)
Last Updated Timestamp
Utilize the filter, search, and sort features to easily locate a specific Applications based on your requirements. Additionally, upon selecting an Application's card from the list, a detailed information panel will appear on the right side.
The following sections will help you understand the Application in detail.
Search and Filter
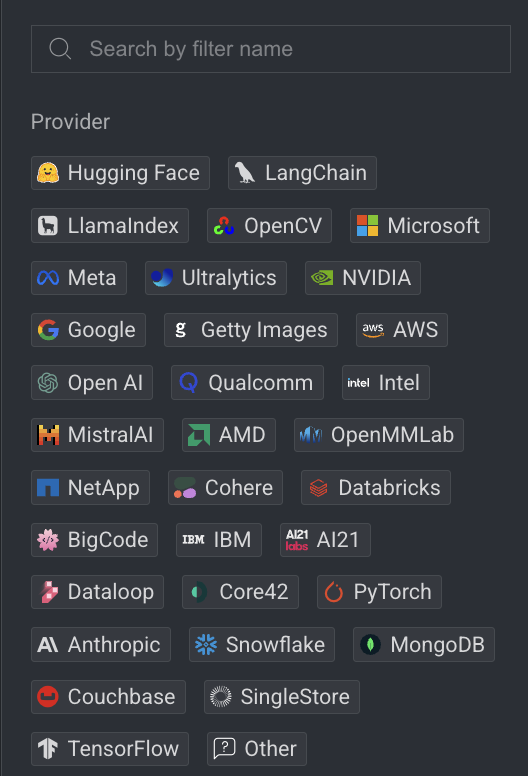
Use the Search an Application field to type in the name and description of the Application to search it. In the left-side panel, search Applications using the following categories. Select one or more categories to refine the list of Applications according to your choice.
To remove the filter, simply click on the selected filter category once more.
By Provider
Filter by the organization or company that created the pipeline templates such as Hugging Face, Microsoft, Meta, AWS, and others.
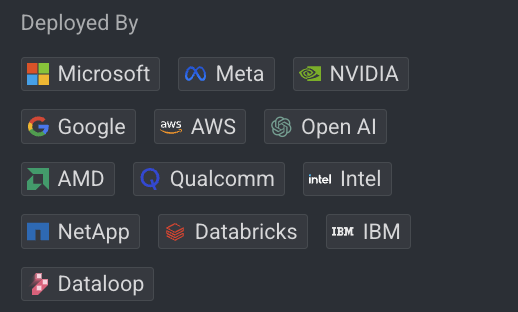
Deployed By
Use the Deployed By filter from the left-side panel to narrow down applications by filtering for organizations and companies that have deployed their applications within the DDOE marketplace. It helps to identify models that are running on either DDOE Compute (Managed Compute), or External Compute provider via API (NVIDIA, Microsoft, etc.).
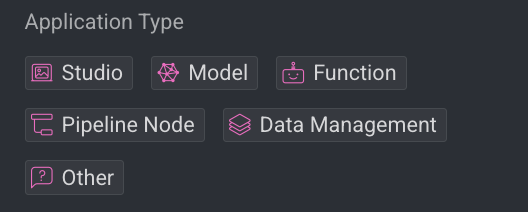
By Application Type
Filter applications based on the types, the various forms of functions. For example, Studio, Model, Pipeline Node, Image, Text, Video, etc.
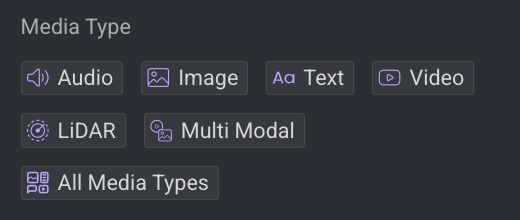
By Media type
Filter applications by the type of media they process—such as audio, image, text, video, or LiDAR.
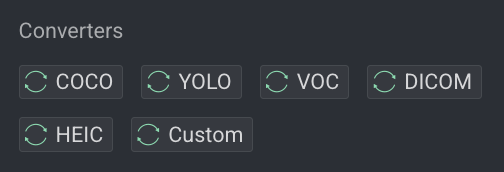
By Converters
Filter applications by converter types, including COCO, YOLO, VOC, DICOM, HEIC, and others.
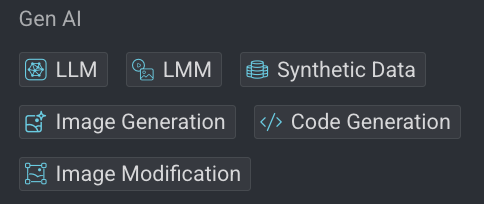
By Gen AI Type
Filter applications by generative AI model based applications.
By Installation Status
Marketplace allows you to filter applications based on their installation status, learn more.
By Privacy Level
Marketplace allows you to filter applications according to their privacy level, enhancing navigation and selection within the DDOE platform. Learn more