Overview
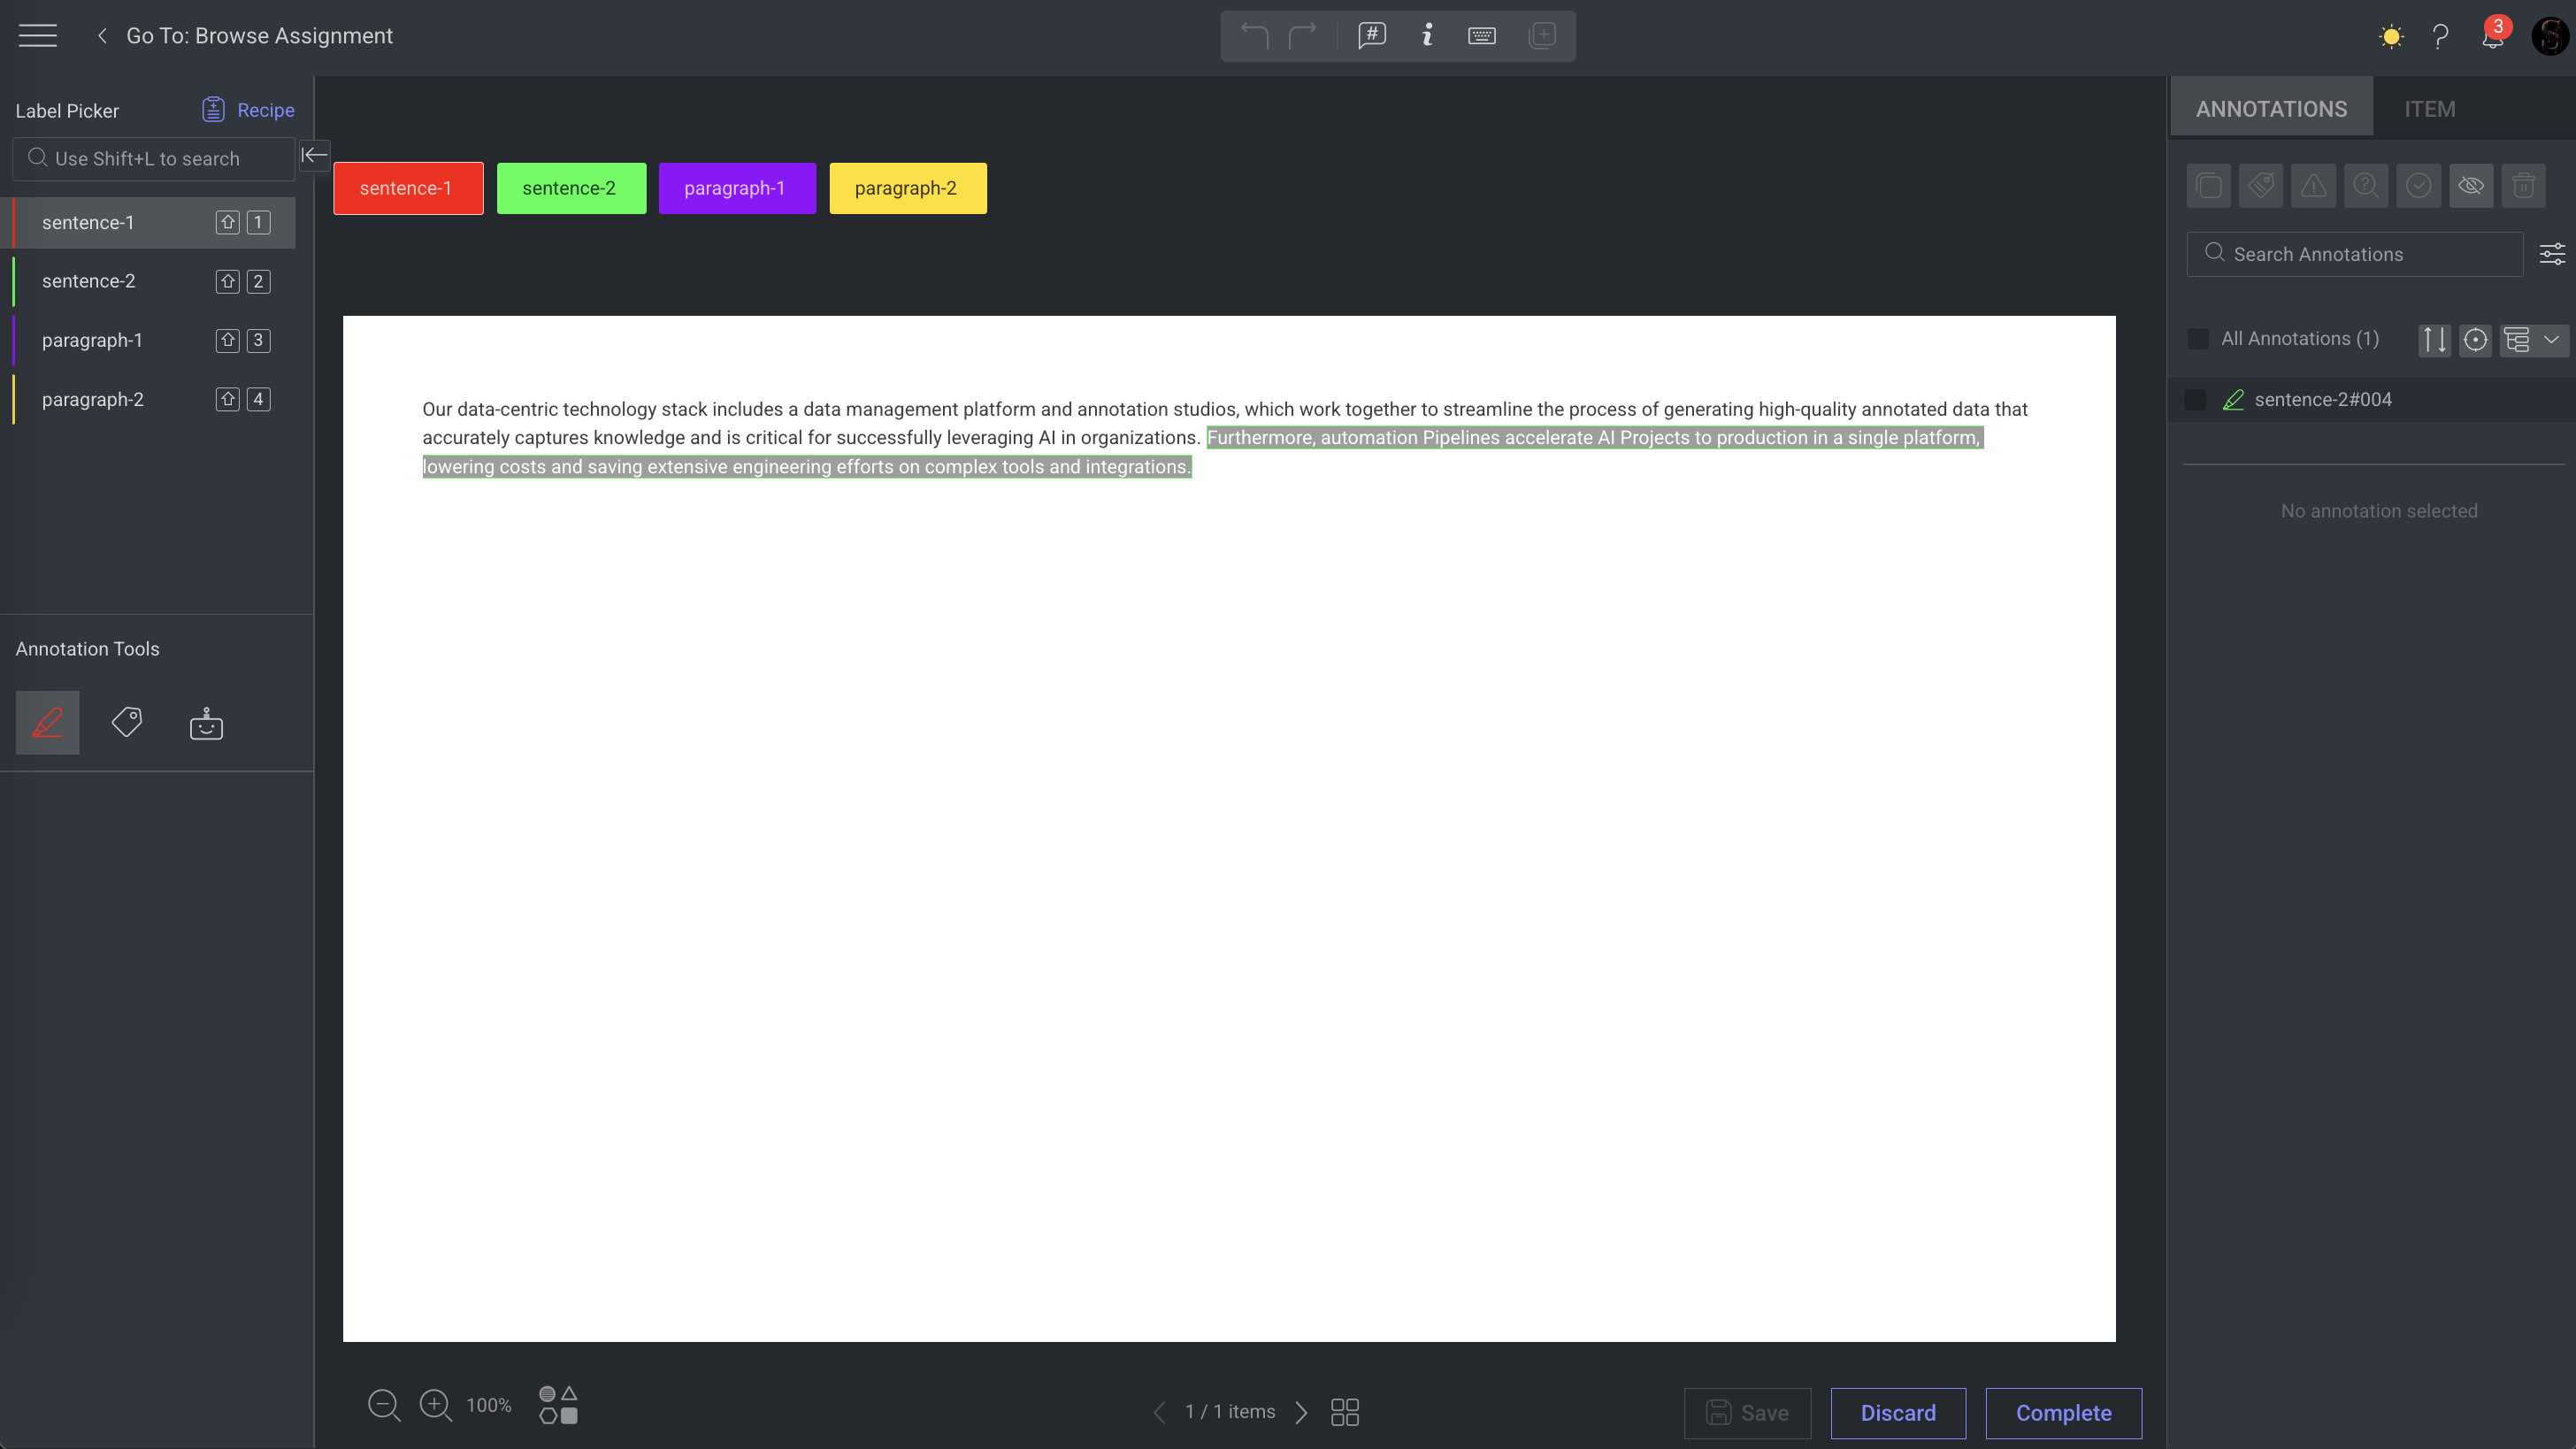
Text Classification Studio offers a set of powerful text annotation tools that are essential when working with text data, enabling annotators to quickly produce a variety of meaningful annotations.
Label Picker
A Label Picker is a feature within the annotation studio that allows you to pick or select labels to assign to specific objects or elements in the data being annotated. You can perform the following activities on the Label Picker section. The available labels are determined in the Recipe.
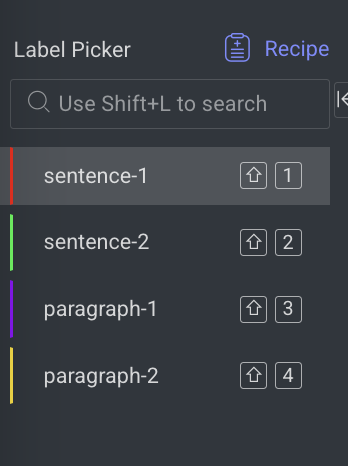
Scroll and click a label to activate it.
Use the search bar to easily find labels.
Resize the label list to better fit your number of labels by clicking and dragging the separator line.
Use the Shortcut keys to navigate between labels.
Annotation Tools
Annotation tools are designed to facilitate the process of data annotation. Data annotation involves adding metadata, labels, or tags to raw data, making it understandable for machines.
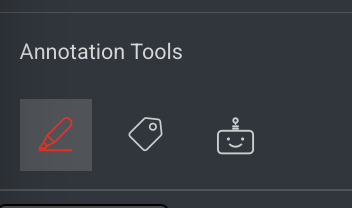
By default, the first tool in the list is selected. To activate a different tool, click on the available tools in the list.
Text Tool
Text Classification
Annotations Tab
The Annotations tab on the right-panel allows you to control and manage annotations involves utilizing the annotations list and attribute controls, particularly when attributes are configured in the Recipe.

Learn more about the annotations and actions available.
Item Tab
The Item tab displays information according to the type of the selected item.
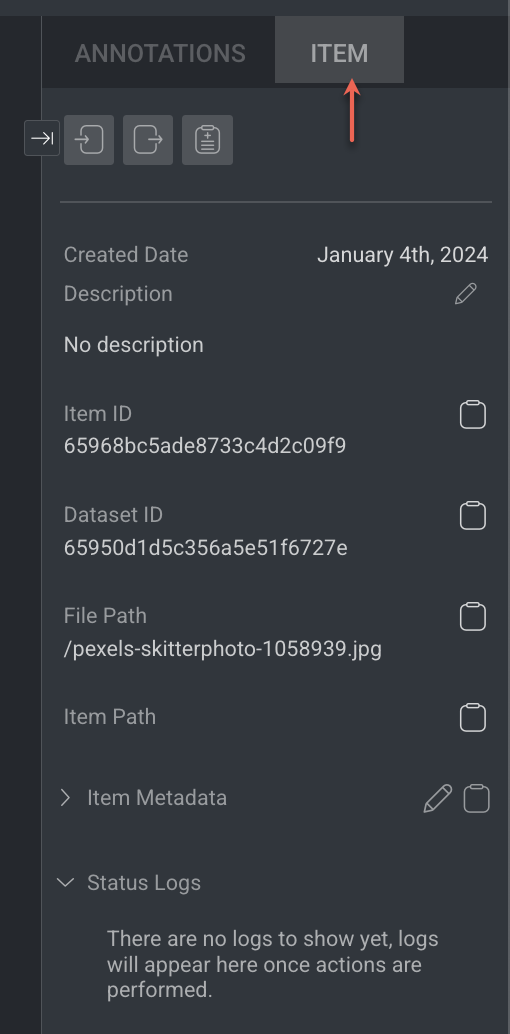
Learn more about the item and actions available.
Item Info & Controls (Top-Panel)
Item Info & Controls are available depends on the type of annotation studio. For the detailed information, refer to the following articles.

Keyboard shortcuts
Action | Keyboard Shortcuts |
|---|---|
Save | S |
Delete | Delete |
Undo | Ctrl + Z |
Redo | Ctrl + Y |
Previous Item | Left Arrow |
Next Item | Right Arrow |
Add Item Description | T |
Mark Item as Done | Shift + F |
Mark Item as Discarded | Shift + G |
Hide/Show Selected Annotations | H |
Hide/Show All Annotations | J |
Go to annotation list | Shift + ; |
Navigate in annotation list | Up and Down arrows |
Select/deselect an annotation | Space |
Text Finder | F |
Font Sizes | Ctrl + '+/-' |
Scroll | Scroll Bar |
Item's View Controls (Bottom-Panel)
The controls on the bottom-side panel display based on the annotation contexts and work controls.

Workflow Context
Assignment controls, including moving between items, displaying the item gallery, and the status buttons (Complete / Discard). It displays only while working on an annotation or QA task.
Browse between the assignment items using the Left and Right arrows
Open the Thumbnails' gallery viewer, and click a thumbnail to open that item
Save button - Clicking the button when it is enabled triggers saving changes to the Dataloop platform, before the auto-saving feature takes care of that.
Status buttons - Complete and Discard.
View Controls
From left to right, work controls at the bottom panel deliver the following functionalities:
Zoom control - Small steps using (+) and (-) buttons.
Fit to screen.
Preview Attributes: Enable/disable the attribute details visibility over the item, next to each annotation.
Before You Begin
Supported formats
Refer to the Supported file formats section to view the supported formats in the Text Studio.
Important
Browsers do not support .txt files larger than 70 MB in size.
Annotation Task Configuration
The Text studio configuration is controlled by the settings in the recipe.
Select recipes from the left-side panel in the Data Management section.
Locate the recipe and click it from the list.
Select the Instructions tab.
Locate the Text studio-related items, such as the paragraph delimiter, and use pre-wrap spaces in text files from the Global Settings section.
Create Annotations
Select the Text tool (by default) from the annotation tools list. If you have only one annotation tool (defined in the recipe), it will be automatically selected.
Select text and clicking on the appropriate label from the labels. The selected text part is highlighted with the selected label.
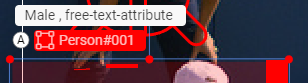
When hovering over annotated text, you have the following options:
Setting the annotation object ID.
Cloning
Deleting the annotation.
Clicking the hamburger icon for Fast classification. Fast classification will apply the selected annotation to all identical words in the text.
Text Classification
The Classification tool enables applying a label class to an entire text document.
Click on the classification tool.
Click the label(s) from the label list to create a classification annotation of the text. The newly created annotation can be seen in the annotation list on the right side of the screen and as a label above the text.
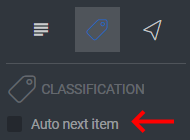
Auto Next Item
The Auto next item checkbox appears when the Classification tool is selected.
When the task requires only a single label per text, checking the Auto next item feature will automatically save the annotation and load the next item as soon as a label is selected.
Paragraph Delimiter
Setting a paragraph delimiter allows you to choose whether you wish to annotate individual words or sections of the text set by the delimiter. The paragraph delimiter can be any character, including the space bar or Enter key.
By default, the paragraph delimiter is empty.
To set the paragraph delimiter, follow these steps:
Under the Instructions tab, click the field next to the paragraph delimiter.
Set your delimiter of choice. For example, type a character or press Enter or the space bar to set the paragraph delimiter.
Save the changes you made to the recipe by clicking the Save icon.
Once a paragraph delimiter is set, each annotation you make will apply to the entire delimited section.
To clear the delimiter setting, click the X button next to the paragraph delimiter field.
Note: When the paragraph delimiter is set to None, the text will be presented as one paragraph. If you wish to have the text in its original paragraph structure, check the box “use pre-wrap spaces in text files.”
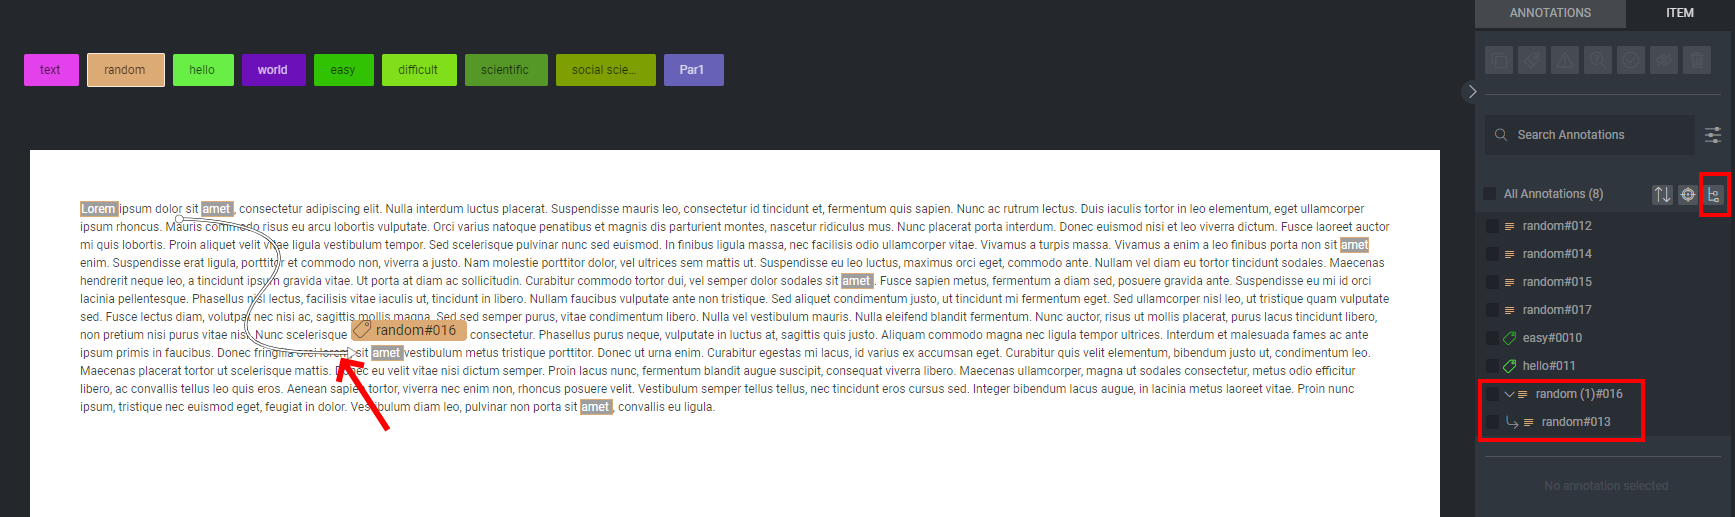
Parent-Child Relationship
This useful annotation tool allows the creation of relationships between annotations.
For example, in the sentence “David used a hammer, some nails, and a saw to build this beautiful table,” if you wish to show that the tools belong to David, you can set David as the parent and the tools as the children.
To create a parent-child relationship between annotations, simply click and hold on to an annotation and drag it to its parent. This relationship can be seen in the annotation list when clicking on the Annotation Grouping icon and when hovering over the annotation with the parent-child relationship.
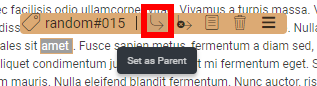
Another way of setting a parent-child relationship between words is by selecting an annotation or group of annotations from the Annotations tab on the right.
Once an annotation or annotation group is selected, hover over the annotation and then over the text that appears above it.
Click the Set as Parent icon to set the annotation as a parent of the annotations selected from the annotation list.
Once an annotation is set as a parent, the option to disconnect all children also appears when hovering over the annotation.
Action Icons
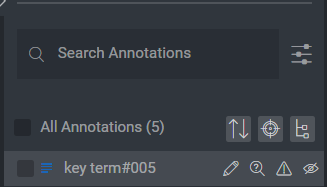
The Annotation Focus icon filters the annotation list to include only annotations currently visible on the screen.
The Annotation Grouping icon toggles between listing the annotations one by one or by label group.
The Annotation Sort icon allows sorting the annotation list by creation time, update date and time, label, or type.
Hover over any annotation to see related actions:
Change the annotation label.
Toggle visibility using the eye icon.
Open issues on an annotation.
Move an annotation for review.
Learn more about how these icons are used in quality assurance (QA) assignments.