To enable secure communication between DDOE and your Google Cloud Platform (GCP) environment, the DDOE platform supports integration using a GCP service account private key.
This method allows DDOE to authenticate as a service account, granting controlled access to specific GCP resources such as Cloud Storage buckets or BigQuery datasets. By uploading a private key file (in JSON format), you can establish a direct, project-level connection—enabling seamless data operations while adhering to GCP’s security and IAM best practices.
We recommend selecting Cross-Project as the integration type. It is GCP’s most secure option and provides enhanced protection for your data.
Only users with the Organization Admin or Owner roles are authorized to create integrations. Learn more
The GCP Private Access Key integration process involves the following steps:

1. Create an IAM Role
-
Log in to the Google Cloud Console.
-
From the left portal menu, select the IAM & admin > Roles.
-
Click +Create Role.
-
Enter a role Title.
-
(Optional) Enter a Description.
-
(Optional) Enter a role ID. By default, the role ID is generated.
-
Click +Add Permissions, then search for and add the following permissions:
storage.objects.createstorage.objects.deletestorage.objects.getstorage.objects.liststorage.buckets.get
Note: The
storage.objects.deletepermission allows the DDOE platform to delete dataset items. For more information, see the Downstream section. -
Click Create.
- See Create and manage custom roles for more information on creating an IAM role in GCP.
- To display Roles information, you must select a project in the Google Cloud Console. If not available, create a project.
2. Create a Service Account
- Log in to the Google Cloud Console.
- From the left portal menu, select the IAM & admin > Service accounts.
- Click +Create service account.
- (Optional) Enter a Name and Description for the account.
- Click Create and continue.
- Click Done to create the service account.
3. Create a Private Key for the Service Account
- Log in to the Google Cloud Console.
- From the left portal menu, select the IAM & admin > Service accounts.
- Find the desired service account for which you want to add a private key, and click on its name to open its details.Note: The Service Account you recently created.
- Select the Keys tab.
- Click Add key.
- Click Create new key from the list. A popup window is displayed.
- Ensure the Key type is in JSON format.
- Click Create. The "Private key saved to your computer" message is displayed.
- Use the key to authenticate as the service account on the DDOE platform.
- Save the JSON file in a convenient location, it is required at the integration phase.
4. Create a Cloud Storage Bucket
- Log in to Google Cloud Console.
- From the left portal menu, go to the Cloud Storage > Buckets.
- Click Create bucket.
- Enter a Name for the storage bucket, and click Continue.
- In the Choose where to store your data, select a location for the bucket, and click Continue.
- Click Create bucket.
5. Grant Permissions to the Cloud Storage Bucket
- Log in to Google Cloud Console.
- From the left portal menu, go to the Cloud Storage > Buckets.
- Select the Storage bucket for which you want to add permissions, and then click on it.
- Select the Permissions tab.
- Click Grant access. The Add principals dialog box appears.
- Under the Add principals, add your Service account principal.
- Under the Assign roles, choose custom and choose the role you recently created.
- Click Save. A confirmation message is displayed.
6. Create the GCP Private Key Integration
Only users with the Organization Admin or Owner roles are authorized to create integrations. Learn more
- Log in to the DDOE platform.
- From the left-side panel, select Data Governance.
- Click Create Integration -> Create Storage Integration. A pop-up window is displayed on the right-side.
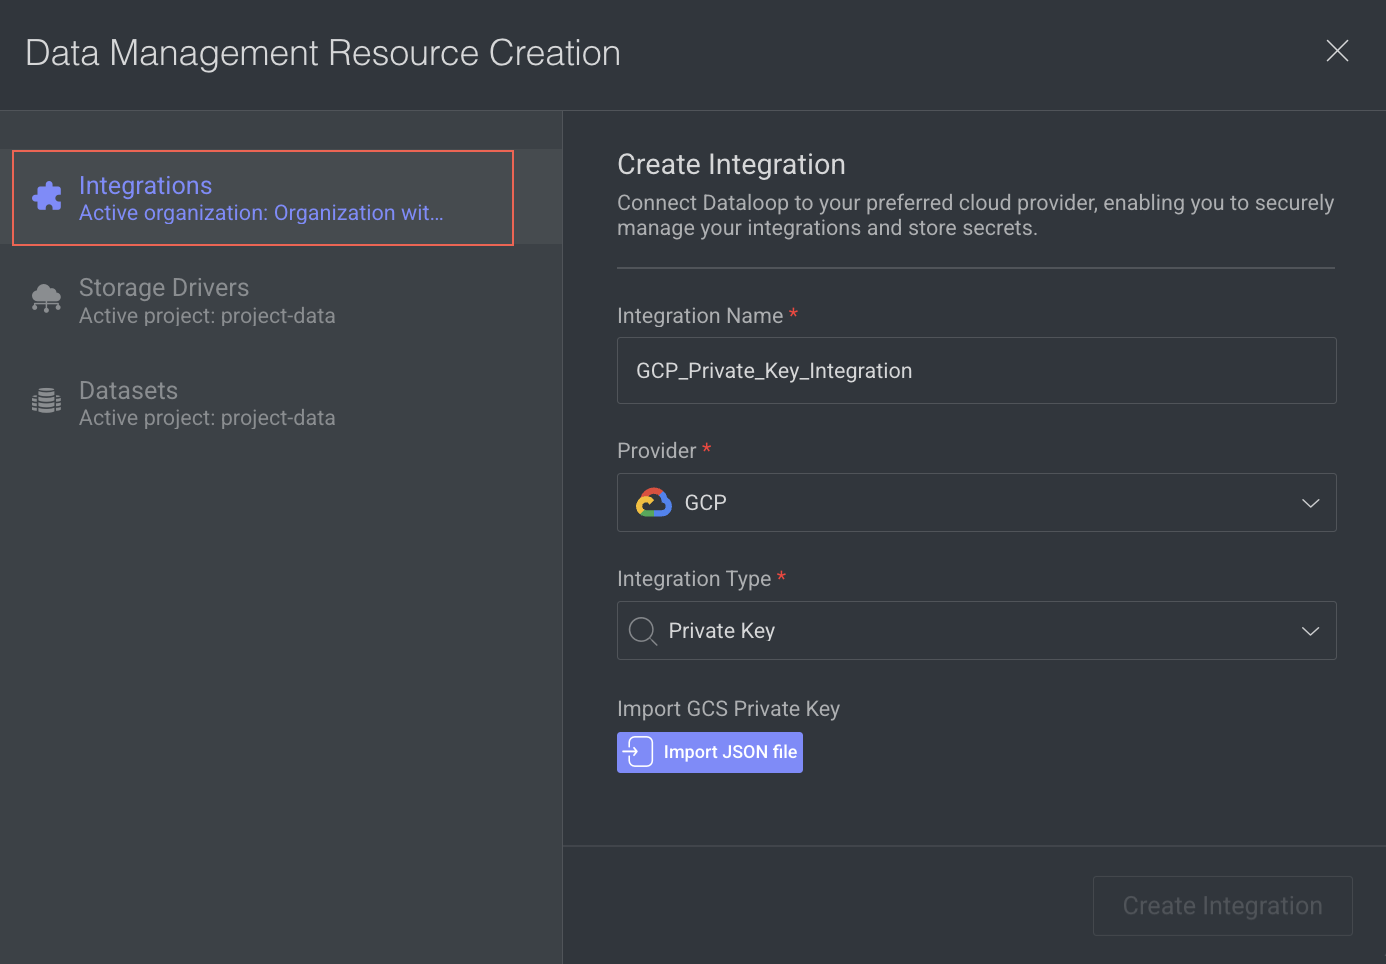
- Integration Name: Enter a Name for the integration.
- Provider: Choose GCP from the list.
- Integration Type: Select the Private Key from the list.
- Click Import JSON file, and import the GCS Private Key JSON file that you downloaded at Step 3.
- Click Create Integration. A confirmation message is displayed.
7. Create a GCS Storage Drivers
For more information, see the Create a GCS Storage Driver topic.