Overview
Text Studio v2 provides a comprehensive set of tools for annotating text data efficiently. These tools enable annotators to generate rich and meaningful document-level classifications with speed and accuracy. Using the JSON format, you can define a custom layout that includes both annotation zones and non-annotated reference sections, making it easy to organize and structure your content.
Supported Features
The new Text Studio v2 supports the following file types:
JSON
Text
Also, you can load the following file types item as plain text if it has a code-related MIME type (in the metadata) and does not contain a shebang (#!).
Supported Types:
HTML -
"mimetype": "text/html"CSS -
"mimetype": "text/css"TXT -
"mimetype": "text/plain"JSON (only if the file does not start with a shebang) -
"mimetype": "application/json"
JSON File
Shebang Format Support
Allows structured text classification using the#!(shebang) convention in JSON files.Text Formatting Options
Enable or disable specific sections for annotation to control formatting scope.Layout Flexibility
Switch between horizontal and vertical view layouts for optimal readability and annotation comfort.Font Size Adjustment
Easily increase or decrease font size for a better reading experience.Bi-Directional Text Support
Supports both left-to-right (LTR) and right-to-left (RTL) language orientations.
Text File
Font Size Adjustment
Easily adjust font size for improved readability.Bi-Directional Text Support
Fully supports LTR and RTL language styles.Paragraph Delimiters
Automatic paragraph recognition and segmentation is supported.
Not Supported in Studio v2.0 (Available in Studio v1.0)
Parenting (Nested Label Relationships)
The ability to define hierarchical label structures is not yet available.
Before You Start
Upload a JSON File
To begin working with the Text Classification Studio, you can use a JSON file as your primary format for importing textual data. This file should contain text entries derived from any of the supported input formats listed below.
Supported Input Formats
Plain Text (.txt) – Supported
JSON (.json) – Only Shebang type is supported
HTML (.html) – Supported
CSS (.css) – Supported
Markdown (.md) – Supported
Create a JSON File for Import:
Refer to the JSON structure
Use the provided sample format, to guide the structure of your JSON file.Extract text from a supported file format
Copy the relevant content from one of the supported formats above (e.g.,.html,.md) and insert it into the JSON file.Modify as needed
The sample JSON includes an HTML snippet as the default example. You can replace this with your own content in any other supported format.Upload to Dataset
Once your JSON file is ready and properly formatted, upload it into your Dataset in the Studio to start processing.
Annotation Limitations
In the Text Classification Studio, annotators cannot label texts that are formatted in the following ways:
Valid Format
❌ Invalid :
<b>hello<%2fb>✅ Valid::
<b>hello</b>
Handle Special Characters
To handle special characters, use non-encoded formats:
Use
<instead of<Use
&instead of&
This change was made because characters like < may appear either in HTML tags or as regular text, which can cause issues during processing and calculations.
No Attributes Support
Element attributes such as <p style="height:10px"/> are currently not supported.
No Multiple Format Support
You cannot annotate two differently formatted text segments together. These must be annotated separately. You cannot apply a single annotation across both formats. For example:
<p><strong>[Strong]</strong> and normal texts.</p><strong>[Strong]</strong>is one formatand normal texts.is another (unformatted)
Enable or Disable to Annotate
In the Text Classification Studio, you can create a layout of contents in the JSON format, where you can define enable or disable for annotation. Like reference contents, questionnaire, etc.
Use the JSON{target="_blank"} and edit the "annotatable": true field to enable the text block for annotation.
....
 "formatting": "html", // Specifies that the content is HTML-formatted
  "elements": [
    {
      "key": "task-a", // Unique ID for this content block
      "annotatable": true, // Set to true so annotators can label this
      "content": "<p>text content.</p>" // HTML content for annotation
    },
    ....
Create & Configure Recipe
Use the recipe to create and configure labels, attributes, and annotation tools for your recipe. To make changes, follow the steps:
Select the Recipes from the left-side menu.
Locate the recipe of the text classification task and click it from the list.
Select the Instructions tab.
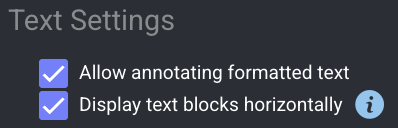
Locate the Text studio-related items in text files from the Global Settings section, and Text Settings:
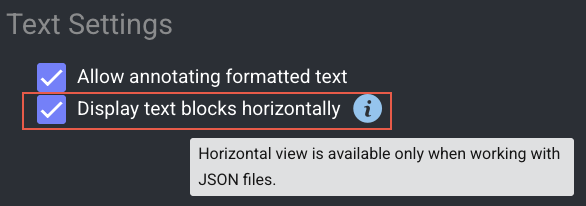
Allow annotating formatted text: Allows to annotate texts are formatted, for example texts in bold.
Display text blocks horizontally: Horizontal view is available only when working with JSON files.
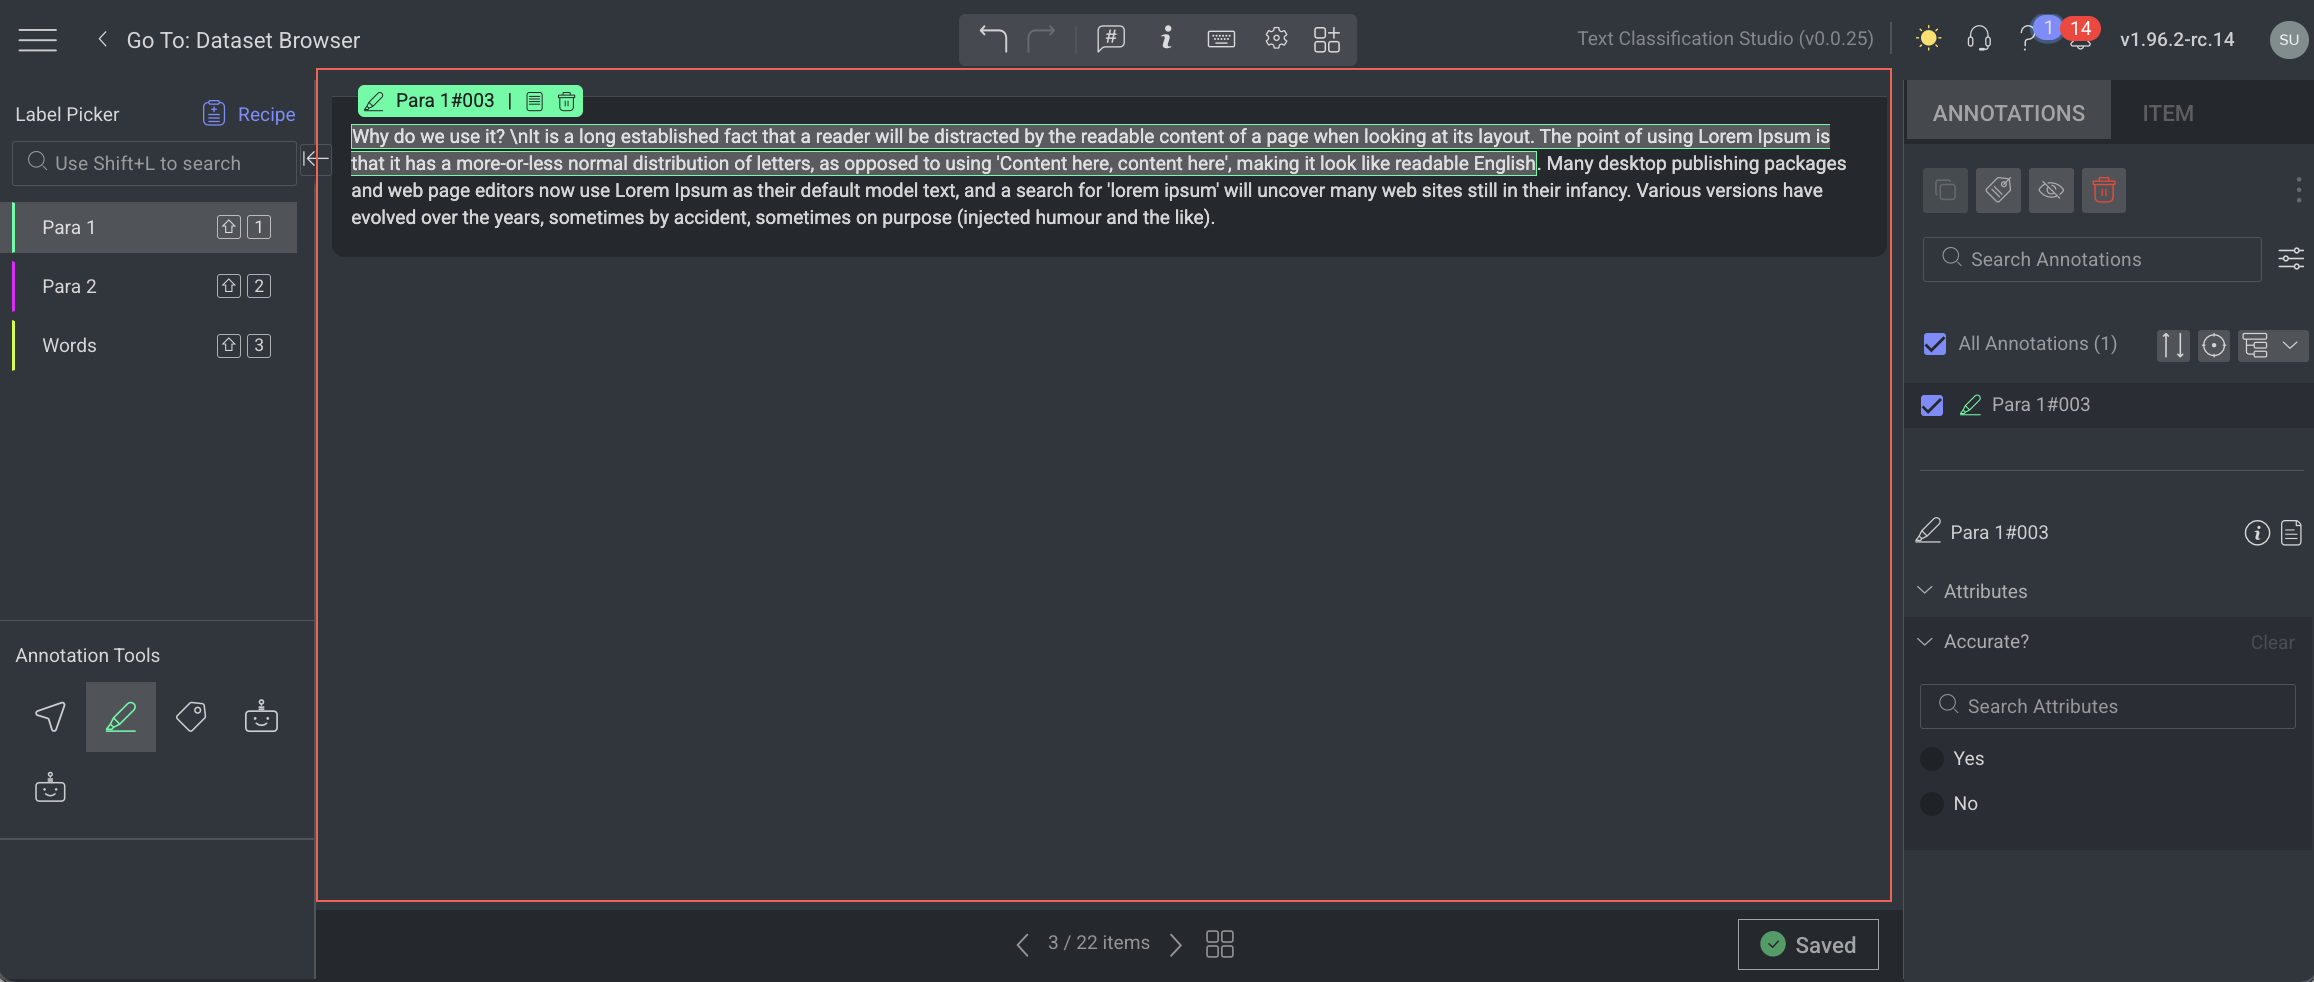
Text Studio v2
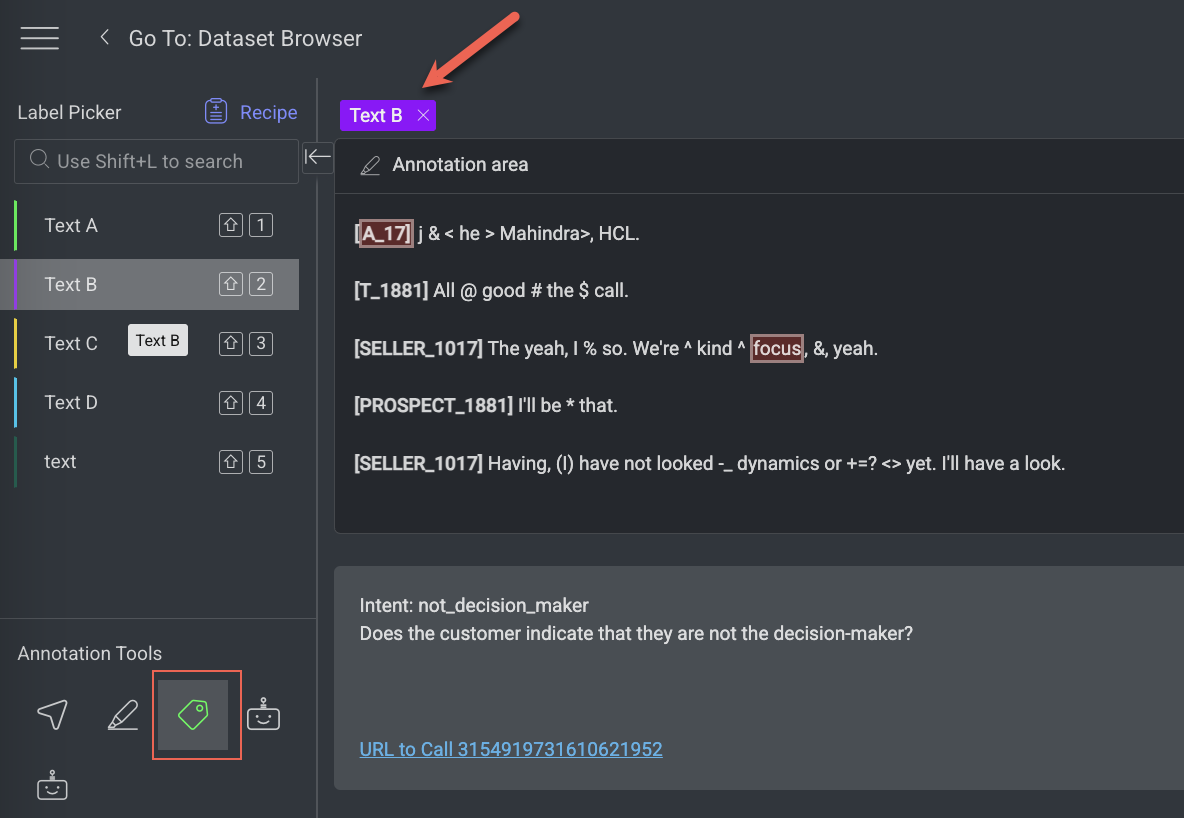
Label Picker
A Label Picker is a feature within the annotation studio that allows you to pick or select labels to assign to specific objects or elements in the data being annotated. You can perform the following activities on the Label Picker section. The available labels are determined in the Recipe.
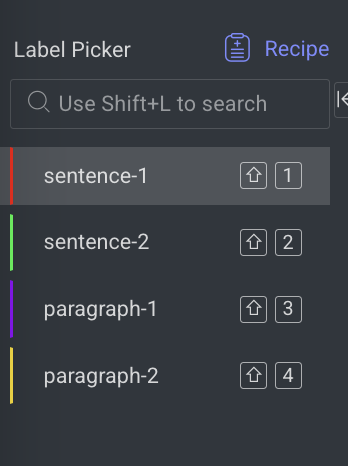
Scroll and click a label to activate it.
Use the search bar to easily find labels.
Resize the label list to better fit your number of labels by clicking and dragging the separator line.
Use the Shortcut keys to navigate between labels.
Annotation Tools
Annotation tools are designed to facilitate the process of data annotation. Data annotation involves adding metadata, labels, or tags to raw data, making it understandable for machines. Use the recipe to configure the annotation tools available on the left-side panel. The list of supported tools follows:
Selection
 tool: It allows users to interact efficiently with existing annotations. Here’s how it works:
 Selecting Annotations: Click to select an annotation, or Shift key + click to select multiple annotations.
Deselecting: Click outside the selected area to deselect all.
Text
 tool: It enables annotators to manually highlight specific spans of text within a document, visually marking them with a color-coded highlight associated with a label. Learn how to create annotations?
Classification
 tool: It is used to assign labels to an entire text document or textual item, rather than to specific portions or spans. It’s particularly useful in tasks where the overall theme, sentiment, purpose, or topic of the document is what matters. Learn how to create annotations?
Annotations Tab
The Annotations tab on the right-panel allows you to control and manage annotations involves utilizing the annotations list and attribute controls, particularly when attributes are configured in the Recipe.
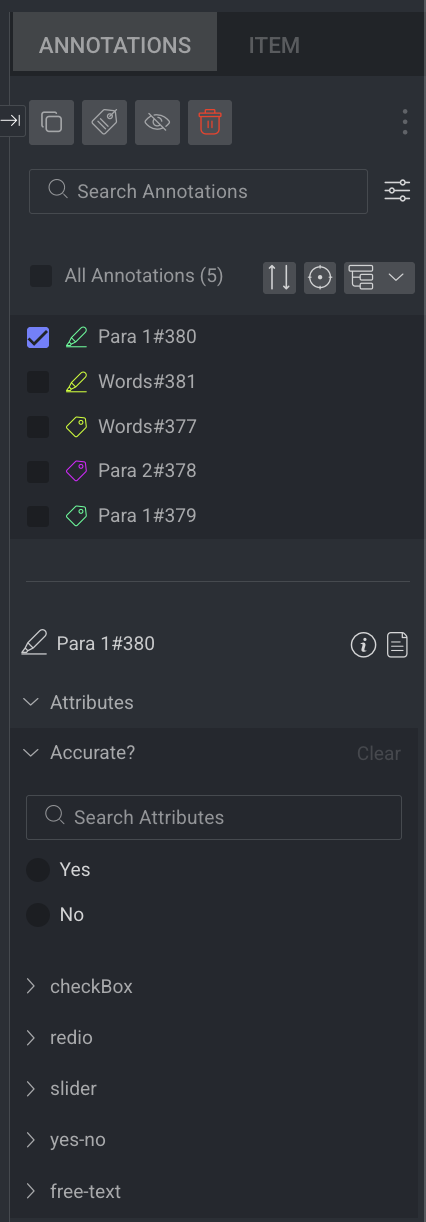
Learn more about the annotations and actions available.
Action Icons
The Annotation Focus icon filters the annotation list to include only annotations currently visible on the screen.
The Annotation Grouping icon toggles between listing the annotations one by one or by label group.
The Annotation Sort icon allows sorting the annotation list by creation time, update date and time, label, or type.
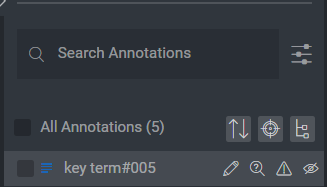
Hover over any annotation to see related actions:
Change the annotation label.
Toggle visibility using the eye icon.
Open issues on an annotation.
Move an annotation for review.
Learn more about how these icons are used in quality assurance (QA) assignments.
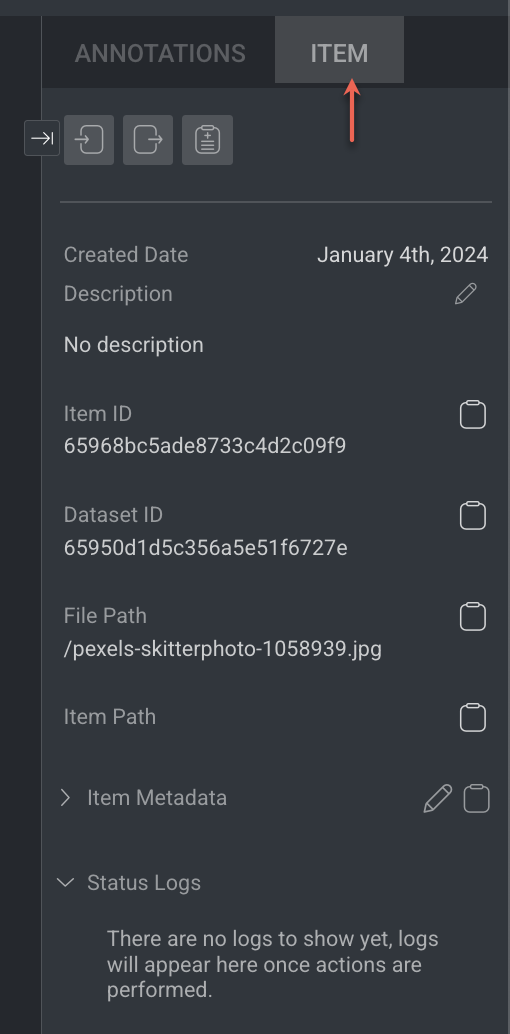
Item Tab
The Item tab displays information according to the type of the selected item.
Learn more about the item and actions available.
Item Info & Controls (Top-Panel)
Item Info & Controls are available depends on the type of annotation studio. For the detailed information, refer to the following articles.

Settings
Text Direction (RTL): Toggle this option to switch text direction from
left-to-right(LTR) toright-to-left(RTL). By default, it is left-to-right.Font Size: Default is 12. Use the slider to adjust the font size as needed.
Keyboard Shortcuts
Action | Keyboard Shortcuts |
|---|---|
Save | S |
Delete | Delete |
Undo | Ctrl + Z |
Redo | Ctrl + Y |
Search Labels | Shift + L |
Search a label | Shift + 1-9 (for the sub-labels, use the Tab key) |
Navigate in label picker | Up and Down arrows |
Navigate to sub-label | Tab |
Navigate to parent label | Shift + Tab |
Select label in label picker | Enter |
Move selected annotations | Shift + Arrow Keys |
Previous Item | Left Arrow |
Next Item | Right Arrow |
Add Item Description | T |
Mark Item as Done | Shift + F |
Mark Item as Discarded | Shift + G |
Go to annotation list | Shift + ; |
Navigate in annotation list | Up and Down arrows |
Select/deselect an annotation | Space |
Hide/Show Selected Annotation | H |
Hide/Show All Annotation | J |
Item's View Controls (Bottom-Panel)
The controls on the bottom-side panel display based on the annotation contexts and work controls.
Workflow Context
Assignment controls, including moving between items, displaying the item gallery, and the status buttons (Complete / Discard). It displays only while working on an annotation or QA task.
Browse between the assignment items using the Left and Right arrows
Open the Thumbnails' gallery viewer, and click a thumbnail to open that item
Save button - Clicking the button when it is enabled triggers saving changes to the Dataloop platform, before the auto-saving feature takes care of that.
Status buttons - Complete and Discard.
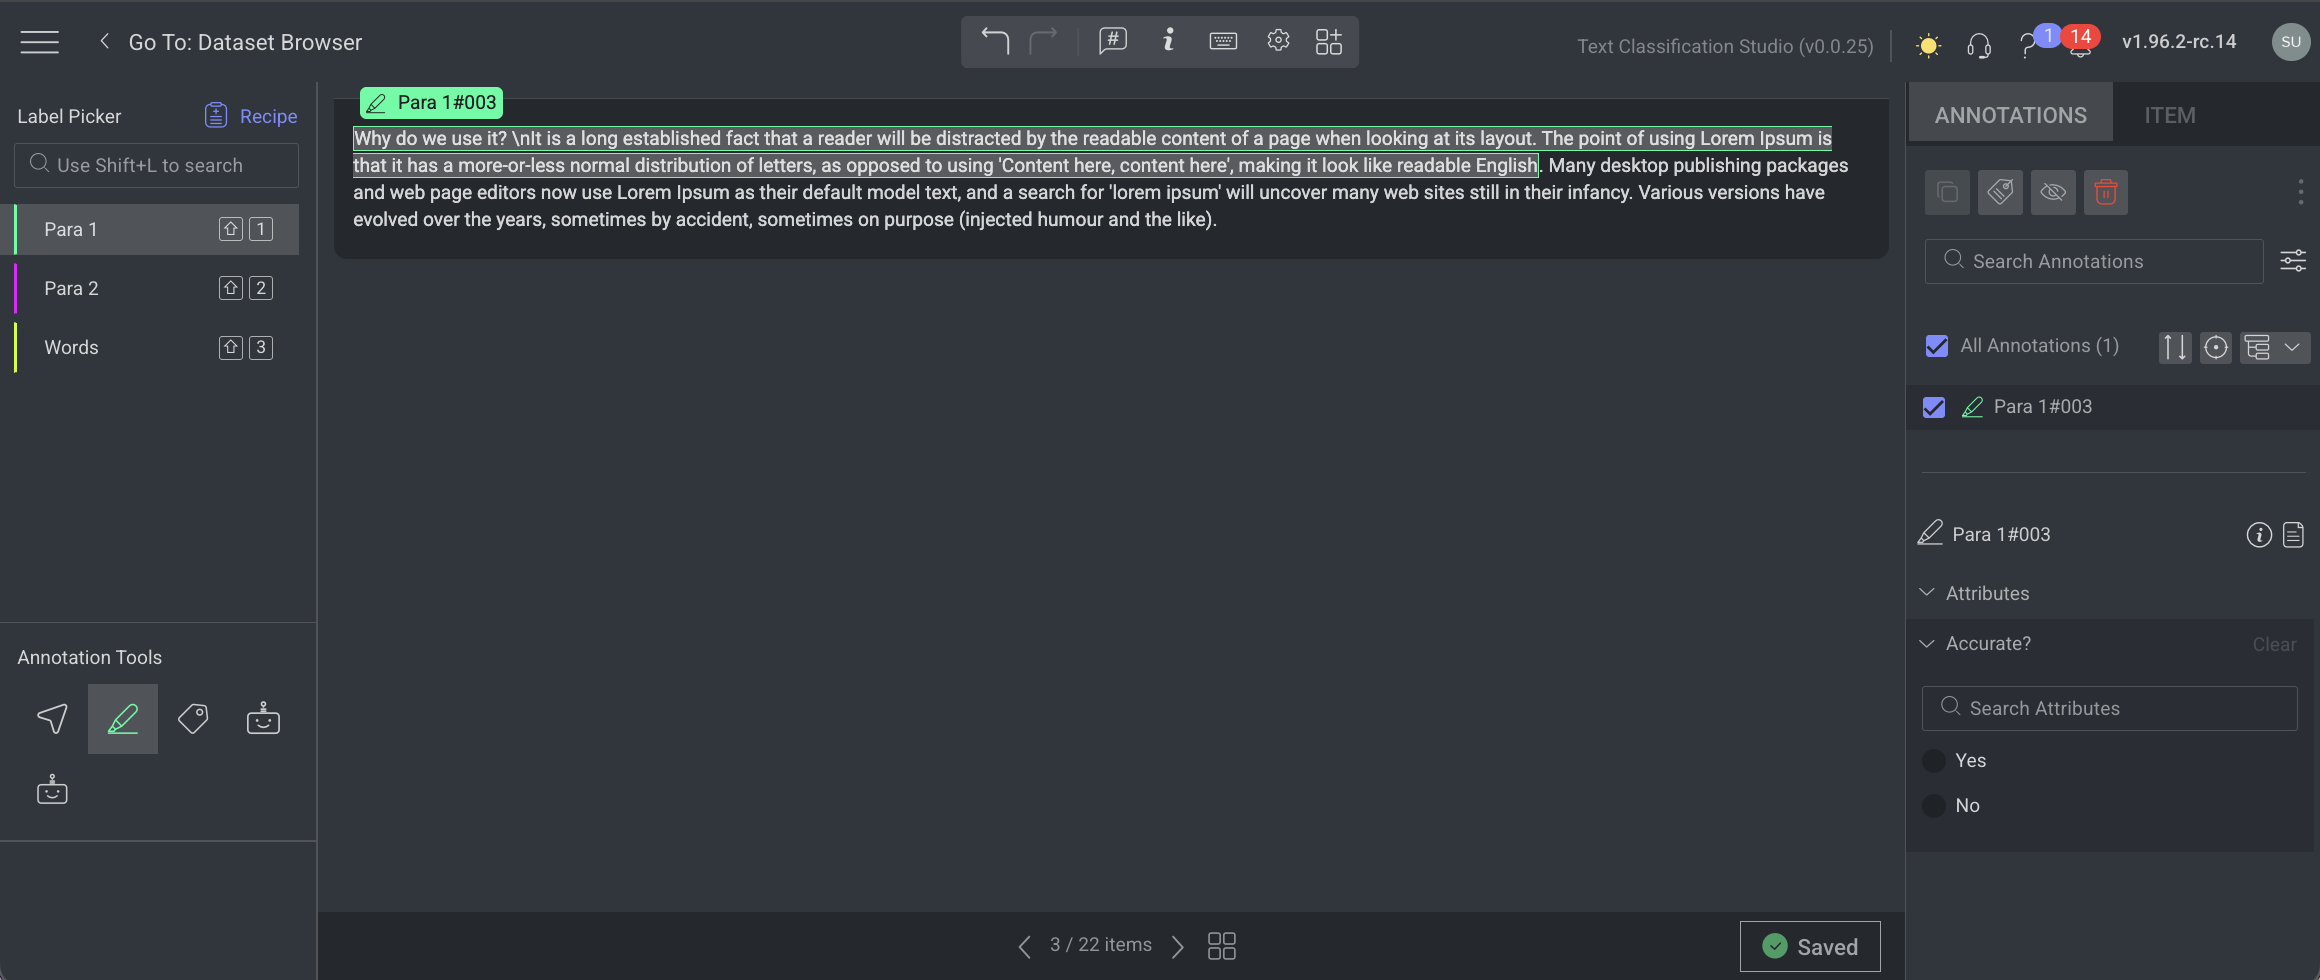
Studio Canvas
The Text Studio Canvas serves as the main workspace for performing annotations.
In addition to annotation tasks, you can click on the label name to:
Modify Labels & Attributes by clicking on the label name.
Set Object ID for better identification.
Delete annotations when necessary.
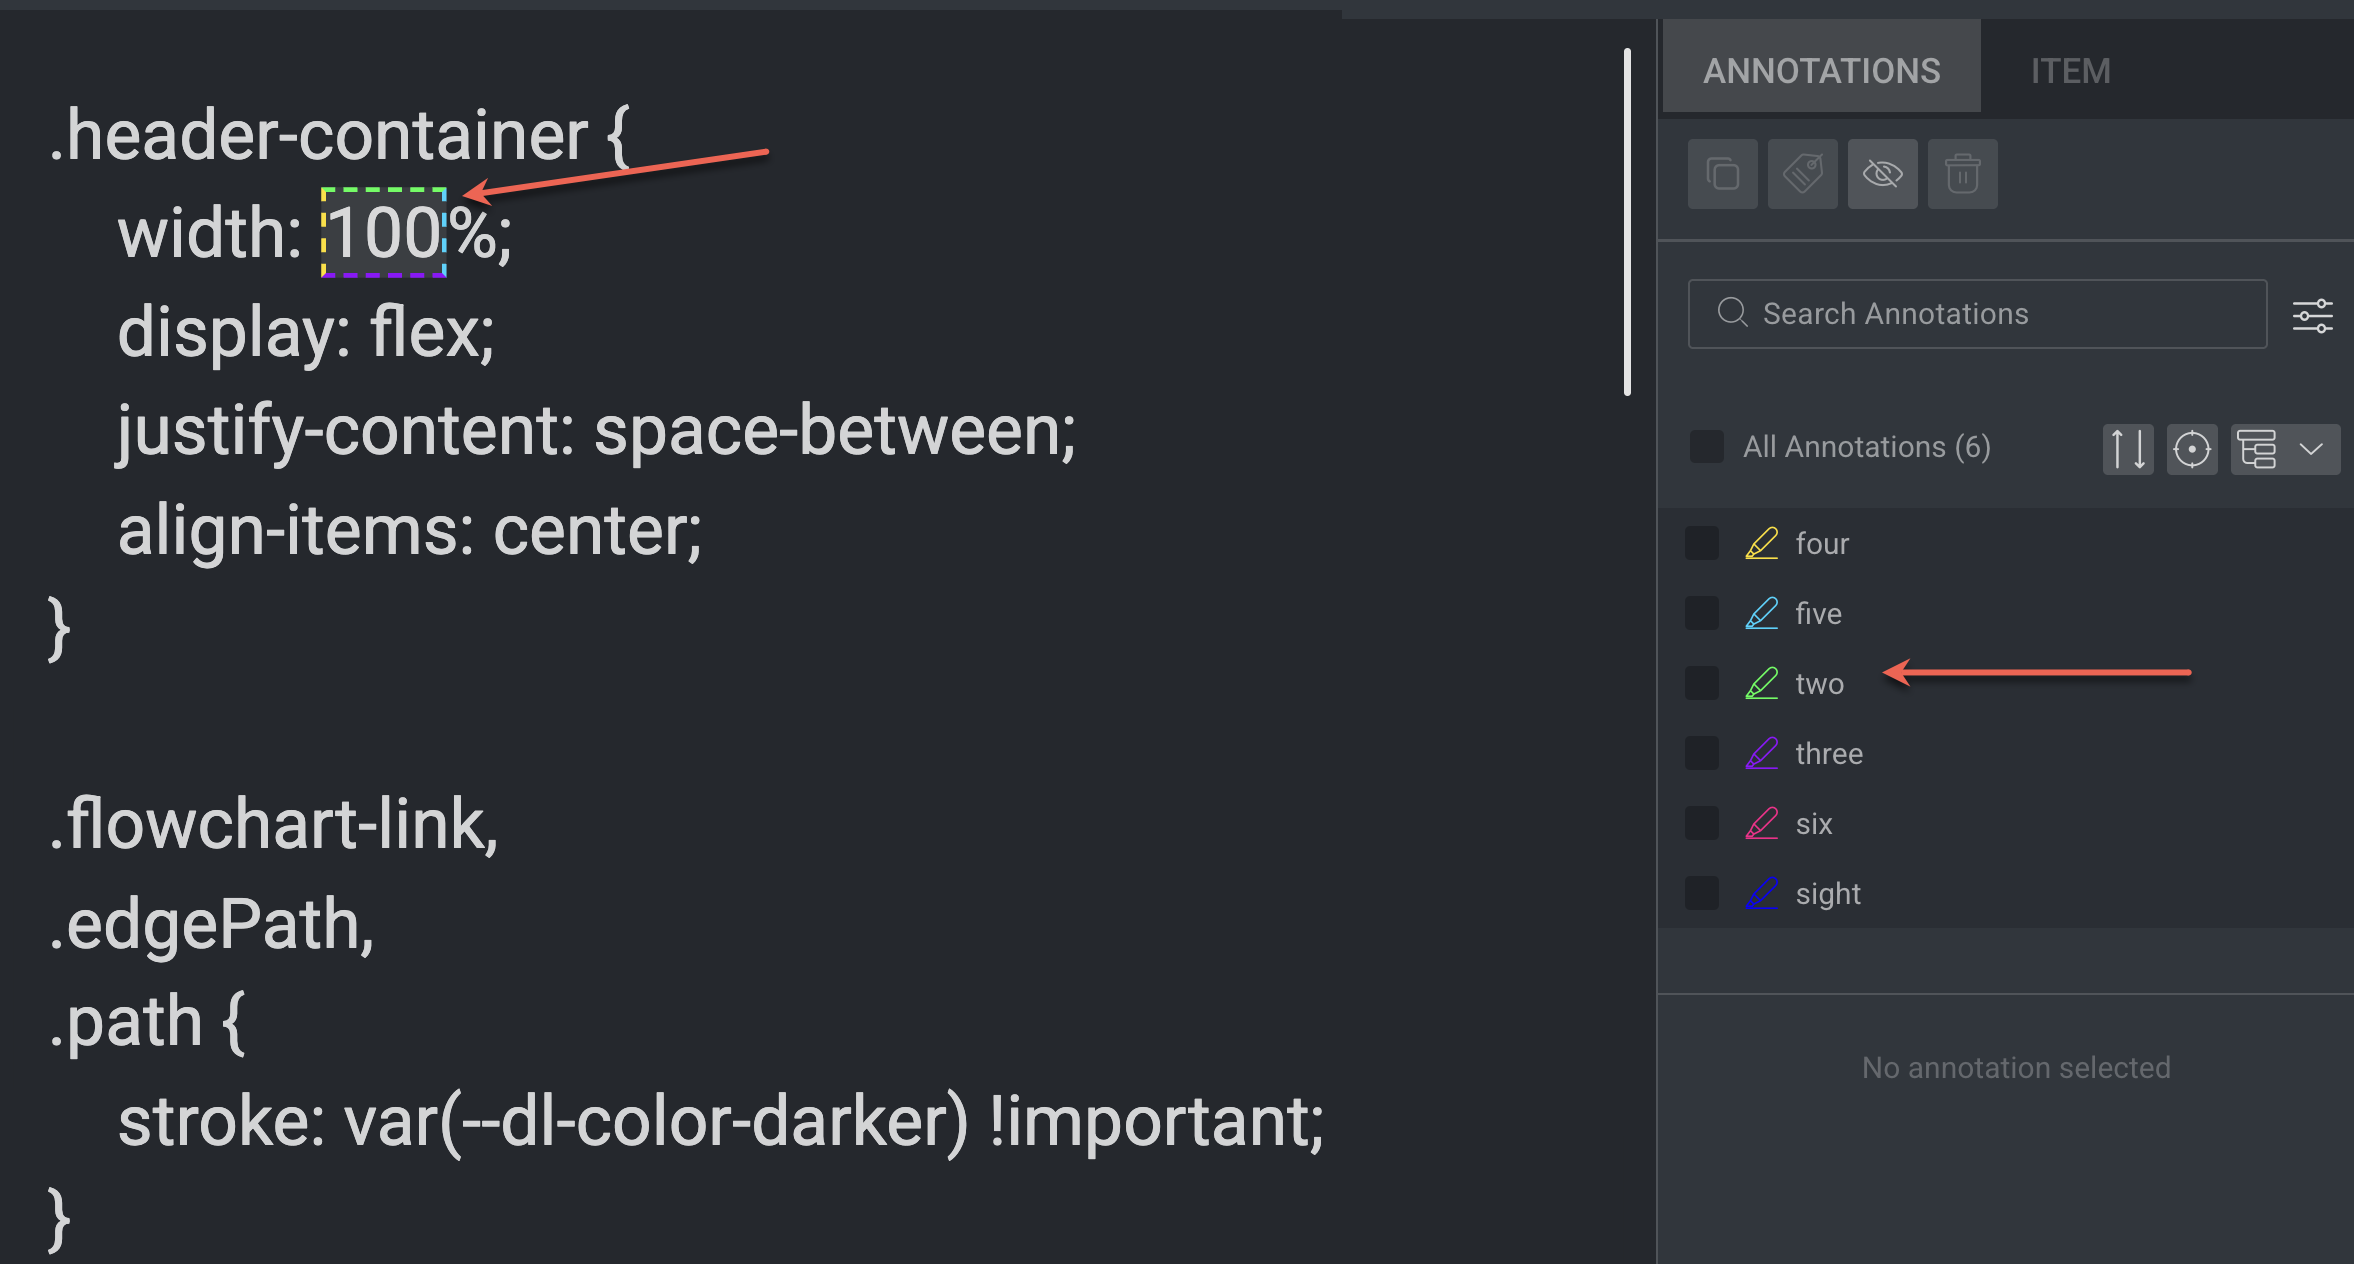
Annotation Highlighting
The Annotation Highlighting feature in Text Studio helps users clearly visualize selected annotations on the canvas. When more than four labels are added to the same text, only the first four label colors will be highlighted as a dashed border around the annotated characters.
For example, When more than four labels are added to the same text, only the colours of the first four will be displayed a dashed border around the annotated characters.
Open the Text Classification Studio
Ensure you uploaded the JSON file as recommended. Learn how to upload a file.
In the Dataset, select the JSON file.
Right-click and select the Open with -> Text Classification Studio from the list. The file will be opened in the text classification studio.
View Text Blocks Horizontally
By default, the text studio does not display text blocks (Shebang Items or Elements) Horizontally. To enable the Horizontal view:
Open the Recipes -> Instructions tab -> Text Settings.
☑️ Enable the Display text blocks horizontally option. The Horizontal view is available only when working with JSON files.
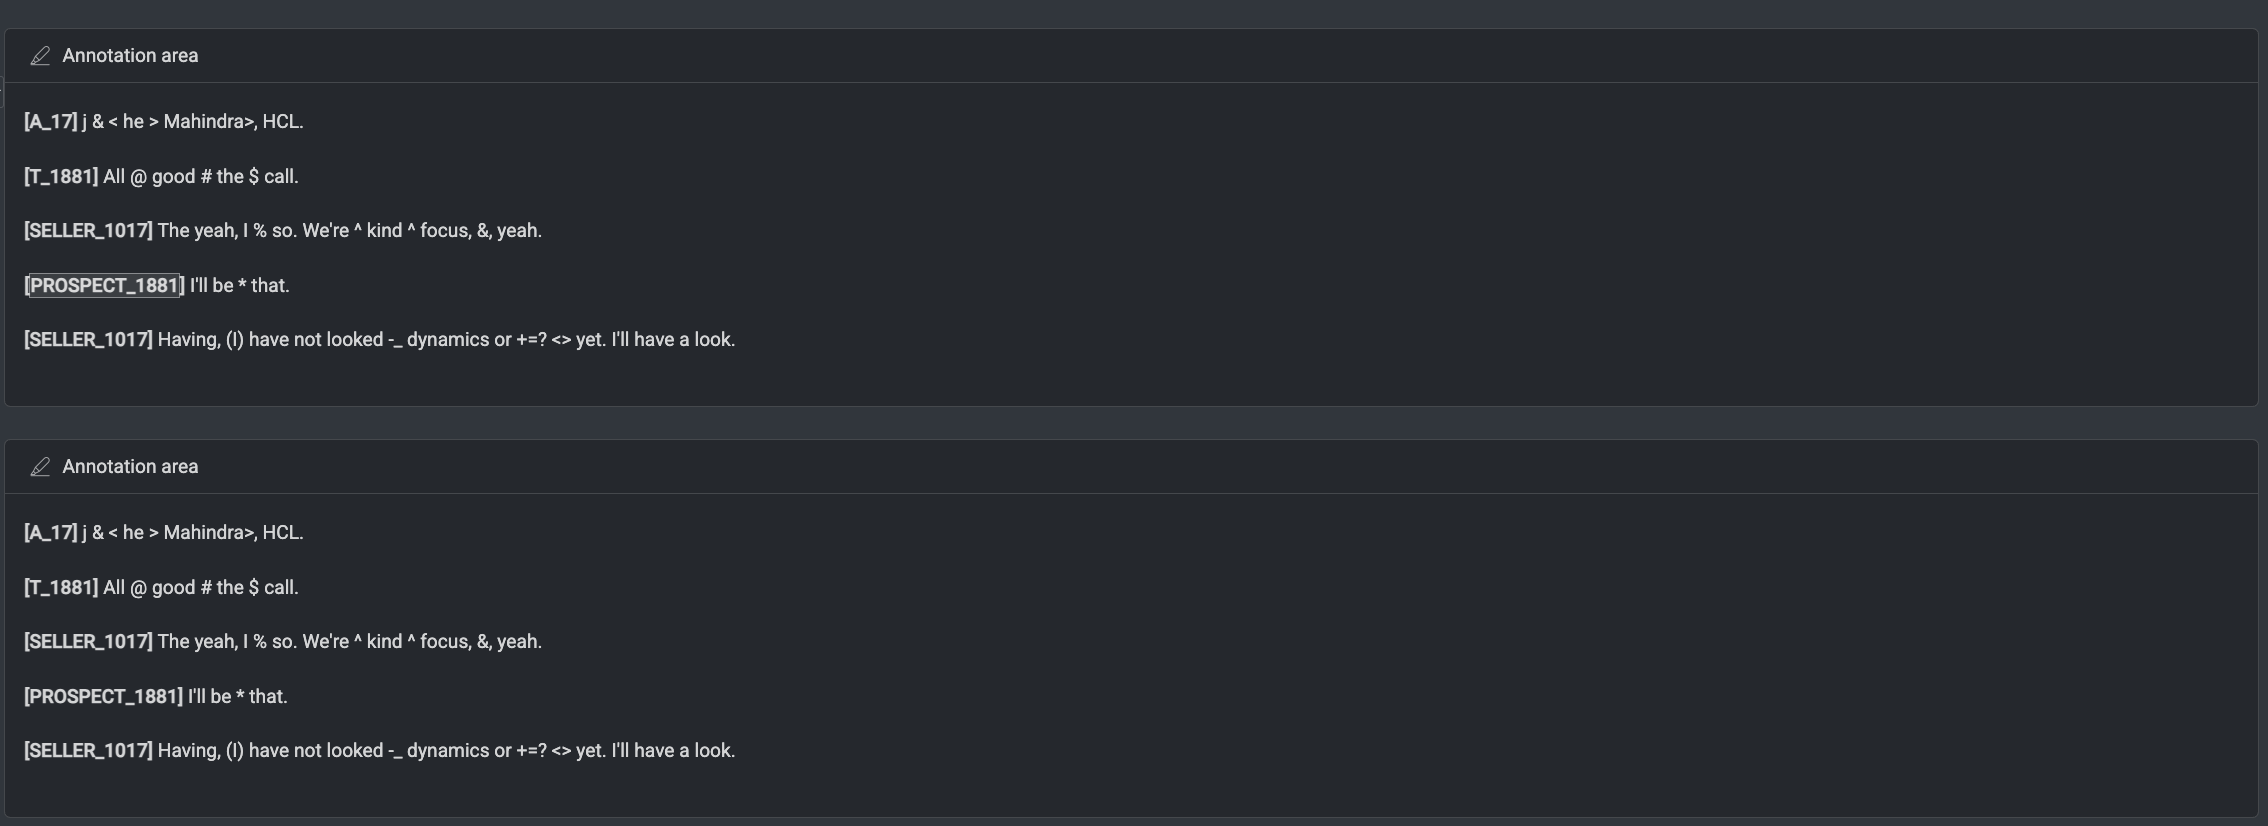
Shebang Item
A shebang item is a discrete unit of content within a Shebang file. In text-classification projects, this typically means, a single text block or entry to be classified (e.g., a sentence, paragraph, or document fragment).
Enabled ☑️: Display text blocks horizontally option shown as below:

Disabled ⬜: Display text blocks horizontally option shown as below:
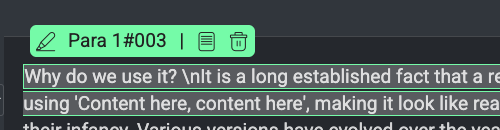
Using the Text Tool
Create annotations using the Text annotation tool.
Enable Formatted Text for Annotating
By default, the text studio does not allow you to annotate formatted texts like Bold, Italics, etc. To enable it, open the Recipes -> Instructions tab -> Text Settings: enable the Allow annotating formatted text option.
Open the Text classification studio.
Select the label from the Label Picker.
Select the Text tool (the pencil icon) from the annotation tools.
Double-click on text or click & drag. The selected text part is highlighted with the selected label color.
Use the Selection tool from the annotation tools to perform the following options:
Setting the annotation object ID.
Deleting the annotation.
Using the Classification Tool
The Classification tool allows you to assign a label class to an entire text item. The annotation is saved in the item's metadata at the item level.
Open the Text classification studio.
Click on the Classification tool from the Annotation Tools.
Select the label from the Label Picker. The newly created annotation can be seen in the annotation list on the right side of the screen and as a label chip in the above the text canvas.
Auto Next Item
The Auto next item on a single classification checkbox appears when the Classification tool is selected. When the task requires only a single label per text, checking this option will automatically save the annotation and load the next item as soon as a label is selected.
Paragraph Delimiter
A paragraph delimiter is a character or symbol you define to control how text is split into segments (paragraphs) for annotation purposes. It supports only text files.
This feature lets you choose whether you want to annotate entire sections (paragraphs) or break the content into smaller units like individual words or lines, based on where the delimiter appears in the text. The paragraph delimiter can be any character, including the space bar or Enter key.
Purpose
Helps structure the text visually and logically for annotation.
Controls the annotation granularity — you can mark:
Each word (if you use space as the delimiter)
Each line (if you use Enter/newline as the delimiter)
Custom blocks (using a specific character like
|,;, etc.)
For example:
Delimiter = space → the system treats each word as a paragraph.
Delimiter = newline/Enter → the system treats each line or sentence as a paragraph.
Delimiter = empty → the system does not break the text at all; it's treated as a single block.
Set the Paragraph Delimiter
By default, the paragraph delimiter is empty.
To set the paragraph delimiter, follow these steps:
Open the Recipe page.
Select the Instructions tab.
In the Global Settings, find the Paragraph Delimiter.
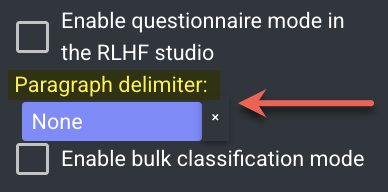
Click on the field next to the paragraph delimiter, and set your desired delimiter:
You can press the space bar to use a space as the delimiter.
You can press Enter to use a line break (newline) as the delimiter.
You can also type a custom character, such as
|,,,#, or any other.
Save the changes you made to the recipe by clicking the Save icon.
Once a paragraph delimiter is set, each annotation you make will apply to the entire delimited section.
To clear the delimiter setting, click the X button next to the paragraph delimiter field.
Note: When the paragraph delimiter is set to None, the text will be presented as one paragraph. If you wish to have the text in its original paragraph structure, check the box “use pre-wrap spaces in text files.”