Overview
Advanced Settings in Dataloop’s Recipe page provide users with powerful configuration tools to customize labeling workflows. It includes modules for labeling tools, visual extensions like pose-tool templates, and options to define rules and relationships tailored to specific data types. The scope also available Global All, For Classic Studios and other Studios, Annotation Verifications, etc.
Users can configure the scope of these settings to apply globally (across all recipes), or specifically to Classic Studios, other studio types, and annotation verification processes. These options give teams greater control and flexibility when designing annotation environments and enforcing project standards.
Access Advanced Settings
Click on the Recipes from the left-side menu.
Click on the recipe in which the advanced settings to be configured.
Click Advanced Settings icon.
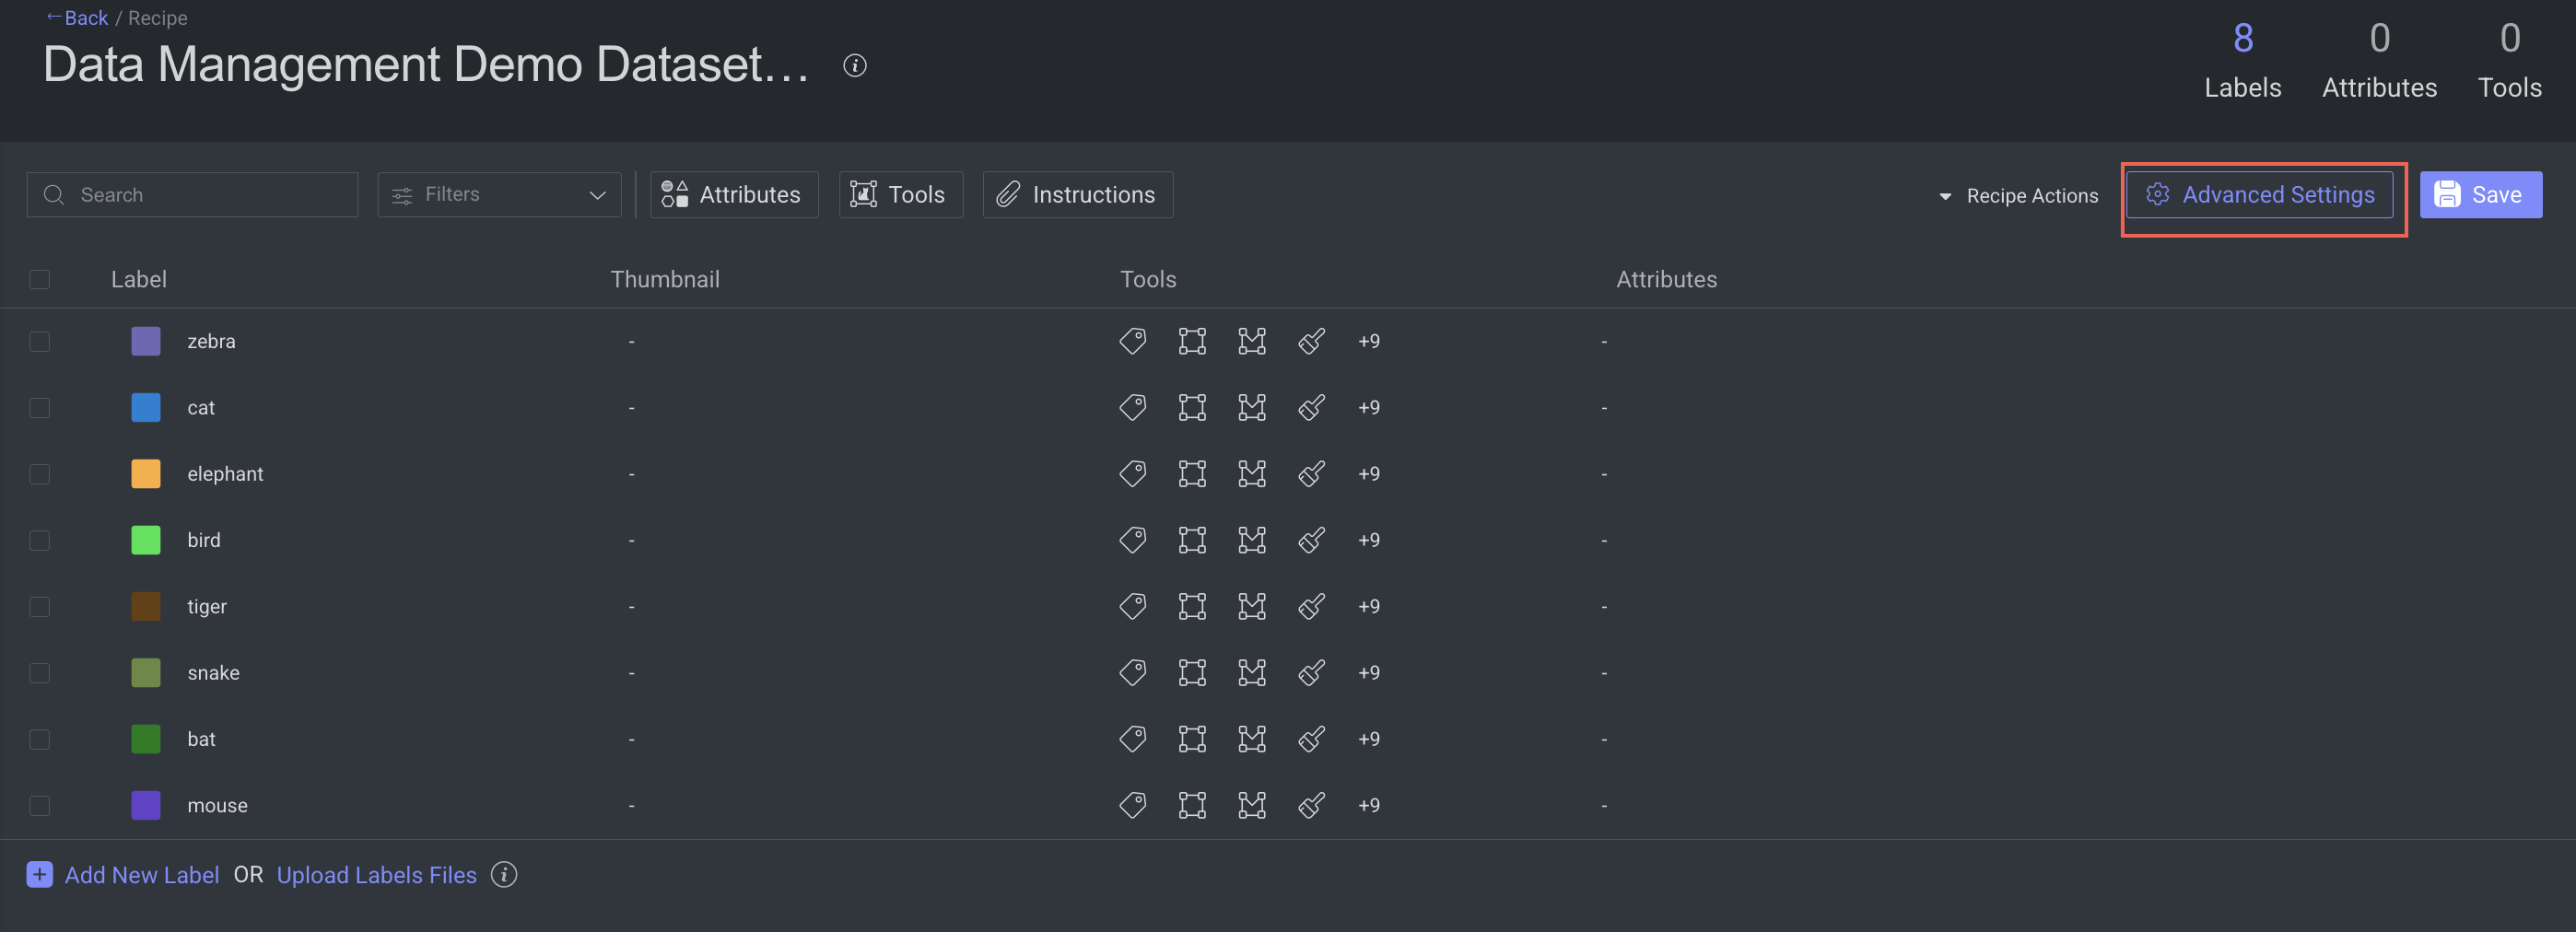
Make the required configurations in the sections detailed below.
Restore Default Settings
Click this option to reset all configurations to their original default values.
Open with Custom Studio
You can now choose a custom studio to be used for the recipe that you create . If no custom studio is selected, the default studio will be selected. The default annotation studios for each type are follows:
This studio will open by default when users double-click an item from the dataset browser or an assignment in their task list.
Open the recipe from the Recipes section.
Select the Advanced Settings.
Select the custom studio from the list.
Click Done.
The available custom studios are:
Instance Segmentation Studios for Images.
Tex Classification Studios for JSON text files.
Global - All
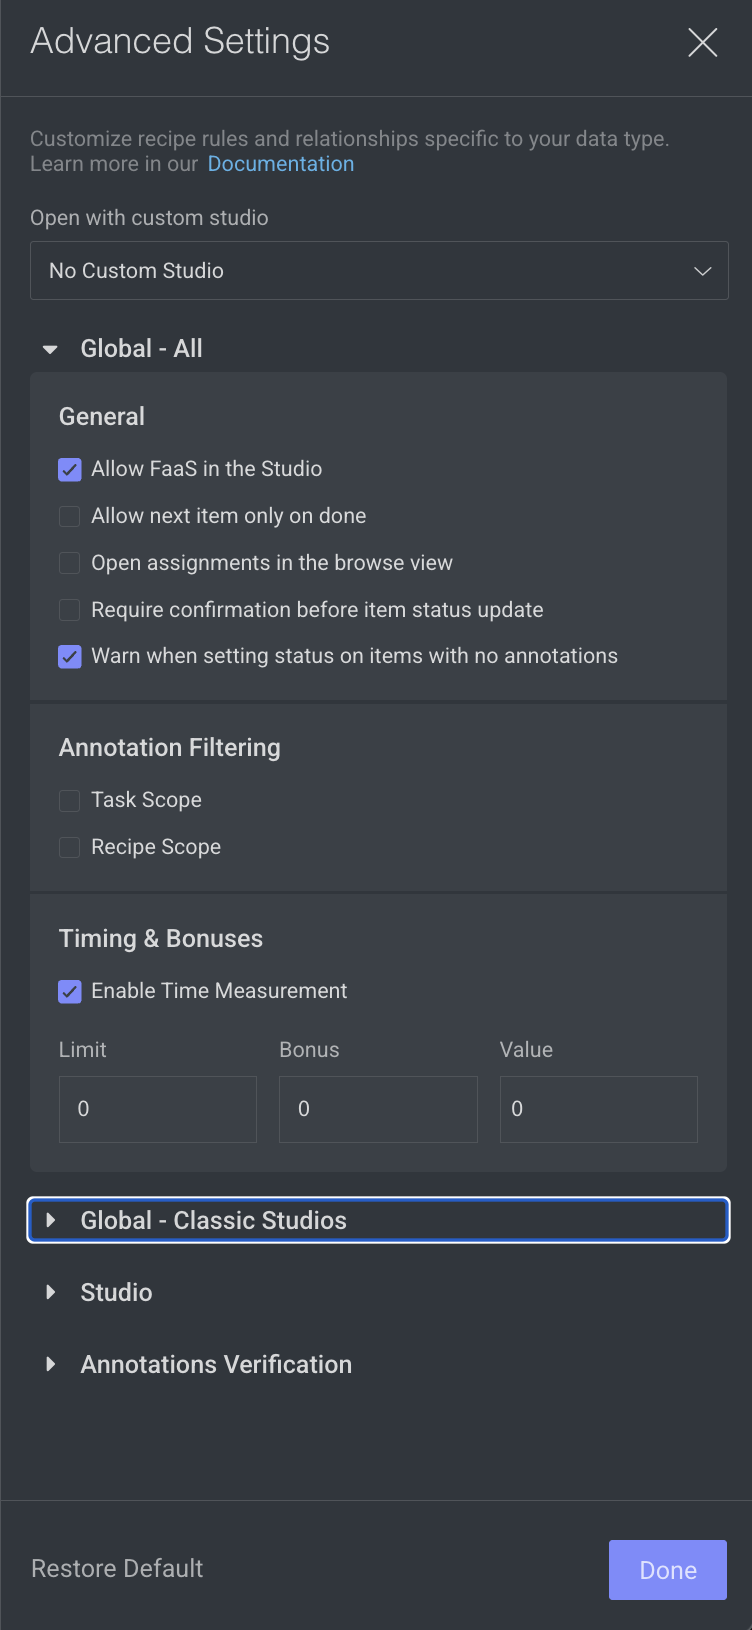
The Global All section provides centralized configuration options that influence overall behavior and usability within the Annotation Studio:
General
Allow FaaS in the Studio: Uncheck ⬜ this option to remove the option to use automation in the studio (see AI Automatic Tools on AI Automatic Tools).
Allow next item only on done: Check ☑️ this to lock the move between items unless they are "done". (see item status on Actions and Statuses).
Open assignments in the browse view: Route annotators to the assignment browser when double-clicking their assignment, rather than to the annotation studio.
Require confirmation before item status update: Check ☑️ this option to get a confirmation popup before you make a status update on the item.
Warn when setting status on items with no annotations: By default, a warning message is displayed when you set status on items with no annotations. Check this option to disable it.
Annotation Filtering
Enabling these settings in the recipe will filter annotations downloaded to the annotation-studio application based on the option selected. Annotations are filtered on the server side, and for the end-users, they simply don't exist. This allows hiding annotations from annotators, to focus them on their mission or to hide ground-truth annotations.
Task scope: When enabled ☑️, the annotation studio only loads and shows annotations created in the context of the current task. When opening an item, if it's an annotator working on an item in an assignment, or an annotation manager reviewing work in the task, only the annotation created in that task will be loaded and shown. This allows breaking large, complex annotation tasks into smaller, focused sub-tasks, without showing work being done in other tasks at the same time.
Recipe scope: When enabled ☑️, the annotation studio only loads annotations that match the currently used recipe. This can be used, for example, to load and show in QA review tasks only specific annotations that need to be reviewed..
Important
Annotations created or imported via the SDK are not automatically linked to any recipe. If Recipe Scope is enabled, these annotations will not appear in the Studio within labeling tasks unless the recipe ID is explicitly set in their metadata as given below:
metadata={
    'system': {
        'recipeId': "RECIPE-ID"
    }
}
Timing & Bonuses
The Time tracking feature allows annotators to accurately track the time spent on items within their assignments. This ensures that UI time measurements are consistent with Analytics, supporting both performance monitoring and customer reporting needs.
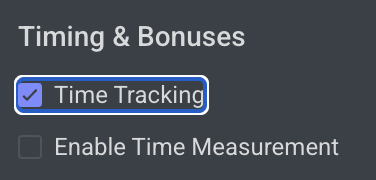
Time Tracking
It allows you to show a stopwatch on the annotation studio when you work on a task where the recipe has enabled time tracking feature. It helps to count the UI time consumed by the annotator on the particular item’s
![]()
Enable Time Measurement
This is mainly used when you want to control and incentivize annotation performance. It lets you define limits, bonuses, and timing-related values in your recipe, so annotation tasks can be monitored and rewarded fairly.
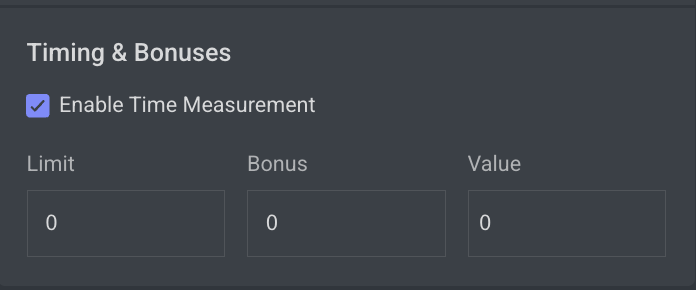
Limit (0 by default)
The limit sets a time threshold (in seconds) for completing a task.
If the annotator finishes within this limit, the system can use it as a baseline for calculating efficiency or eligibility for bonuses.
A value of 0 means no limit is enforced.
Bonus (0 by default)
The bonus defines the extra reward or multiplier an annotator receives if they complete the task within the defined limit.
Typically expressed as a percentage or factor (depending on configuration).
A value of 0 means no bonus is applied.
Value
The value usually represents the weight or score associated with the task (e.g., how much one annotation is “worth” in the system).
Combined with bonus, it helps calculate the final compensation, credits, or quality weighting of a task.
Global - Classic Studios
General
Default Annotation Opacity Level: Set the default annotation opacity level in the different annotation studios. Every new annotation session will start with this default opacity, opacity level adjustments made in the annotation studio will survive between items in the same session only.
Label Picker - Allow selecting only leaves: Check ☑️ this option to restrict selection to leaf labels only. By default, you can select labels from any level of the hierarchy. For example, the label tree structure is vehicle.car.ford, all three
vehicle,vehicle.car, andvehicle.car.fordcan be selected as labels.Show labels not applicable for selected annotation tool as disabled: This setting controls how labels are displayed in the Label Picker when a specific annotation tool is selected. When this option is enabled:
The Label Picker automatically updates based on the selected annotation tool.
Applicable labels (those that can be used with the selected tool) remain enabled and selectable.
Non-applicable labels (those not supported by the selected tool) are still visible but appear disabled (greyed out).
Default Behavior:
For new Organizations: ON,
For existing Organizations: OFF
Enable bulk classification mode: Check ☑️ this option to enable bulk classifications. Once enabled, the following options will be displayed:
Enable item description in cards view: Check ☑️ this option to enable description of the items in the Card view.
Enable item validation in cards view: Check ☑️ this option to allow annotators and reviewers to approve or discard items directly within the Cards View of the Assignment Browser.
Studio
Image Studio
The Image Studio settings allow users to fine-tune how images are rendered and displayed within the annotation interface, optimizing the visual experience for different image types and project needs.
Enable Pixel Smoothing: By default, images are smoothed for softer, easier to work with, edges. For some projects, such as with low-resolution images, this is redundant. Disable smoothing for pixel level annotation.
Do Not Stretch to Fit the Screen: Check ☑️ this to open Images in the Original Resolution. This is often required for low-res/small images display.
Keep Zoom and Position: Check ☑️ this to maintain zoom level and position between images (see General Settings on Image Guide).
You can also change this setting from the studio.Allow Bulk Attributes Update Without Single-Label Validation: This option allows you to bulk-select annotations from different labels to update their attributes. When you select multiple annotations from different labels, the empty attribute is replaced with the one that gives the option for bulk attribute updates. Only attributes that match the scope of each selected annotation will apply the change effectively.
Annotation Controls
Allow Editing Object ID: Numbering system that allows annotators to assign a unique object ID to each annotation. Although annotations have their unique annotation ID, this provides a human-friendly annotation numbering and the option to keep track of identical objects between different images. Uncheck it to eliminate the option to add an object ID.
Auto Assign Object ID: Assigns a unique object ID to every annotation, saving the need for manual entry. The first annotation will get object-ID 1 and continues to increment from there. However if you manually set it to any other number, it will continue to increment from the new value. Uncheck it to eliminate automatic object IDs for every new annotation on an image or video item.
Allow Parenting: Annotators can create parenting relations between multiple ‘child’ annotations and a ‘parent’ one. Annotations can be ‘child’ and ‘parent’ at the same time. Parenting relations are displayed in the studio as wires over the image and in the annotations list. Uncheck it to eliminate the option to add entity relationships.
Prompt Studio
The Prompt Studio settings are designed to support annotation workflows for Reinforcement Learning from Human Feedback (RLHF) and other Generative AI evaluation tasks. These options enable greater flexibility and interactivity within prompt-response annotation sessions.
Allow editing of a prompt response: It allows annotators to edit responses in the Prompt (RLHF) annotation studio.
Enable questionnaire mode: Check ☑️ this option to enable questionnaire mode and conditional attributes.
Text Studio
The Text Studio settings allow users to define how text data is segmented and displayed during annotation tasks, particularly useful for Natural Language Processing (NLP) workflows.
Annotate formatted text: Enables annotation on text that includes formatting (e.g., bold, italics, structured HTML/XML). This is useful when preserving visual or semantic structure is important for the annotation task.
Show text blocks side by side: Renders text blocks in a horizontal layout rather than the default vertical flow. Ideal for side-by-side comparisons or for aligning with specific UI or document formats.
Paragraph delimiter: Click to set a paragraph delimiter for the text annotation.
Video Studio
The Video Studio settings in Dataloop’s Advanced Recipe configuration provide granular control over how video annotations behave, streamlining workflows for high-frame-rate or object-dense video data.
Model used for AI Tracker: You can now select which model is used for the AI Tracker directly. Choose an installed model from the list to be used for AI Tracking during interpolation.
Number of frames sent in a tracker execution: Defines how many frames are processed in each tracker run. The default value is 10.
Enable Interpolation: When checked, object interpolation between frames will be enabled in the video annotation studio.
Interpolation ON by default: When enabled in the previous option, checking this option will set interpolation ON by default, and won't require the annotator to manually enable it first.
Enforce label & attribute value to entire annotation: When enabled, changing a label or attribute value on any frame in an annotation will apply the value to the entire annotation, rather than creating a key-frame where the change occurs.
Ignore WebM Video Warnings: Enable this option to bypass WebM video warnings and errors, allowing annotation on non-WebM files. Using any tool other than the Classification tool for unconverted videos may result in inaccurate results.
Ignore corrupt video warning: Enable this option to suppress warnings for corrupt or partially damaged video files, allowing the annotation process to continue.
Keep annotation focused across frames: Keeps the selected annotation highlighted while navigating frames, ensuring consistency in tracking and editing objects across the video.
Disable auto-grouping for 50+ annotations:
If ☑️ checked, prevents automatic grouping when a frame has more than 50 annotations, allowing better flexibility in managing large annotation sets, though it may result in reduced performance.
If ⬜ unchecked, the platform will automatically group annotations when a frame contains more than 50 annotations.
GIS Studio
Panning outside the bounds: In Dataloop's GIS Annotation Studio, Panning outside the bounds determines whether users can move the view beyond the dataset's defined boundaries.
If Enabled ☑️ : Allows viewing beyond the dataset's area, useful for context.
If Disabled ⬜ : Restricts movement to within the dataset's bounds, keeping focus on the area of interest.
LiDAR Studio
In Dataloop's LiDAR Annotation Studio, Disable Annotation Tools for QA tasks option ensures that annotation tools are disabled during the QA tasks, preventing modifications or additions to existing annotations.
Audio Studio
The Audio Studio section provides specialized controls to enhance speaker labeling accuracy and efficiency during audio annotation tasks.
Don’t auto-assign Speaker Name to other same-label annotations: When enabled, this setting does not automatically assigns the same speaker name to all annotations that share the same label.
Annotations Verification
Annotations verifications enable project managers to enforce annotation rules by loading a JavaScript file in the annotation studio and running it when annotators click the Action button to assign the item with a status. Developers can build and enforce any restrictions, such as:
Labels that cannot co-exist (for example, you cannot label both genders in an image with one person)
Number of polygon points
Area or segmentation masks (avoid large masks)
Minimum number of labels required
Click Upload to upload the verification file. Learn more