Overview
The Applications tab within Marketplace is a dedicated section designed to present users with a collection of function packages. These packages are curated sets of functionalities that users can directly install as services into their projects. These packages are pre-built and ready-to-use components that can extend the capabilities of projects on the platform.
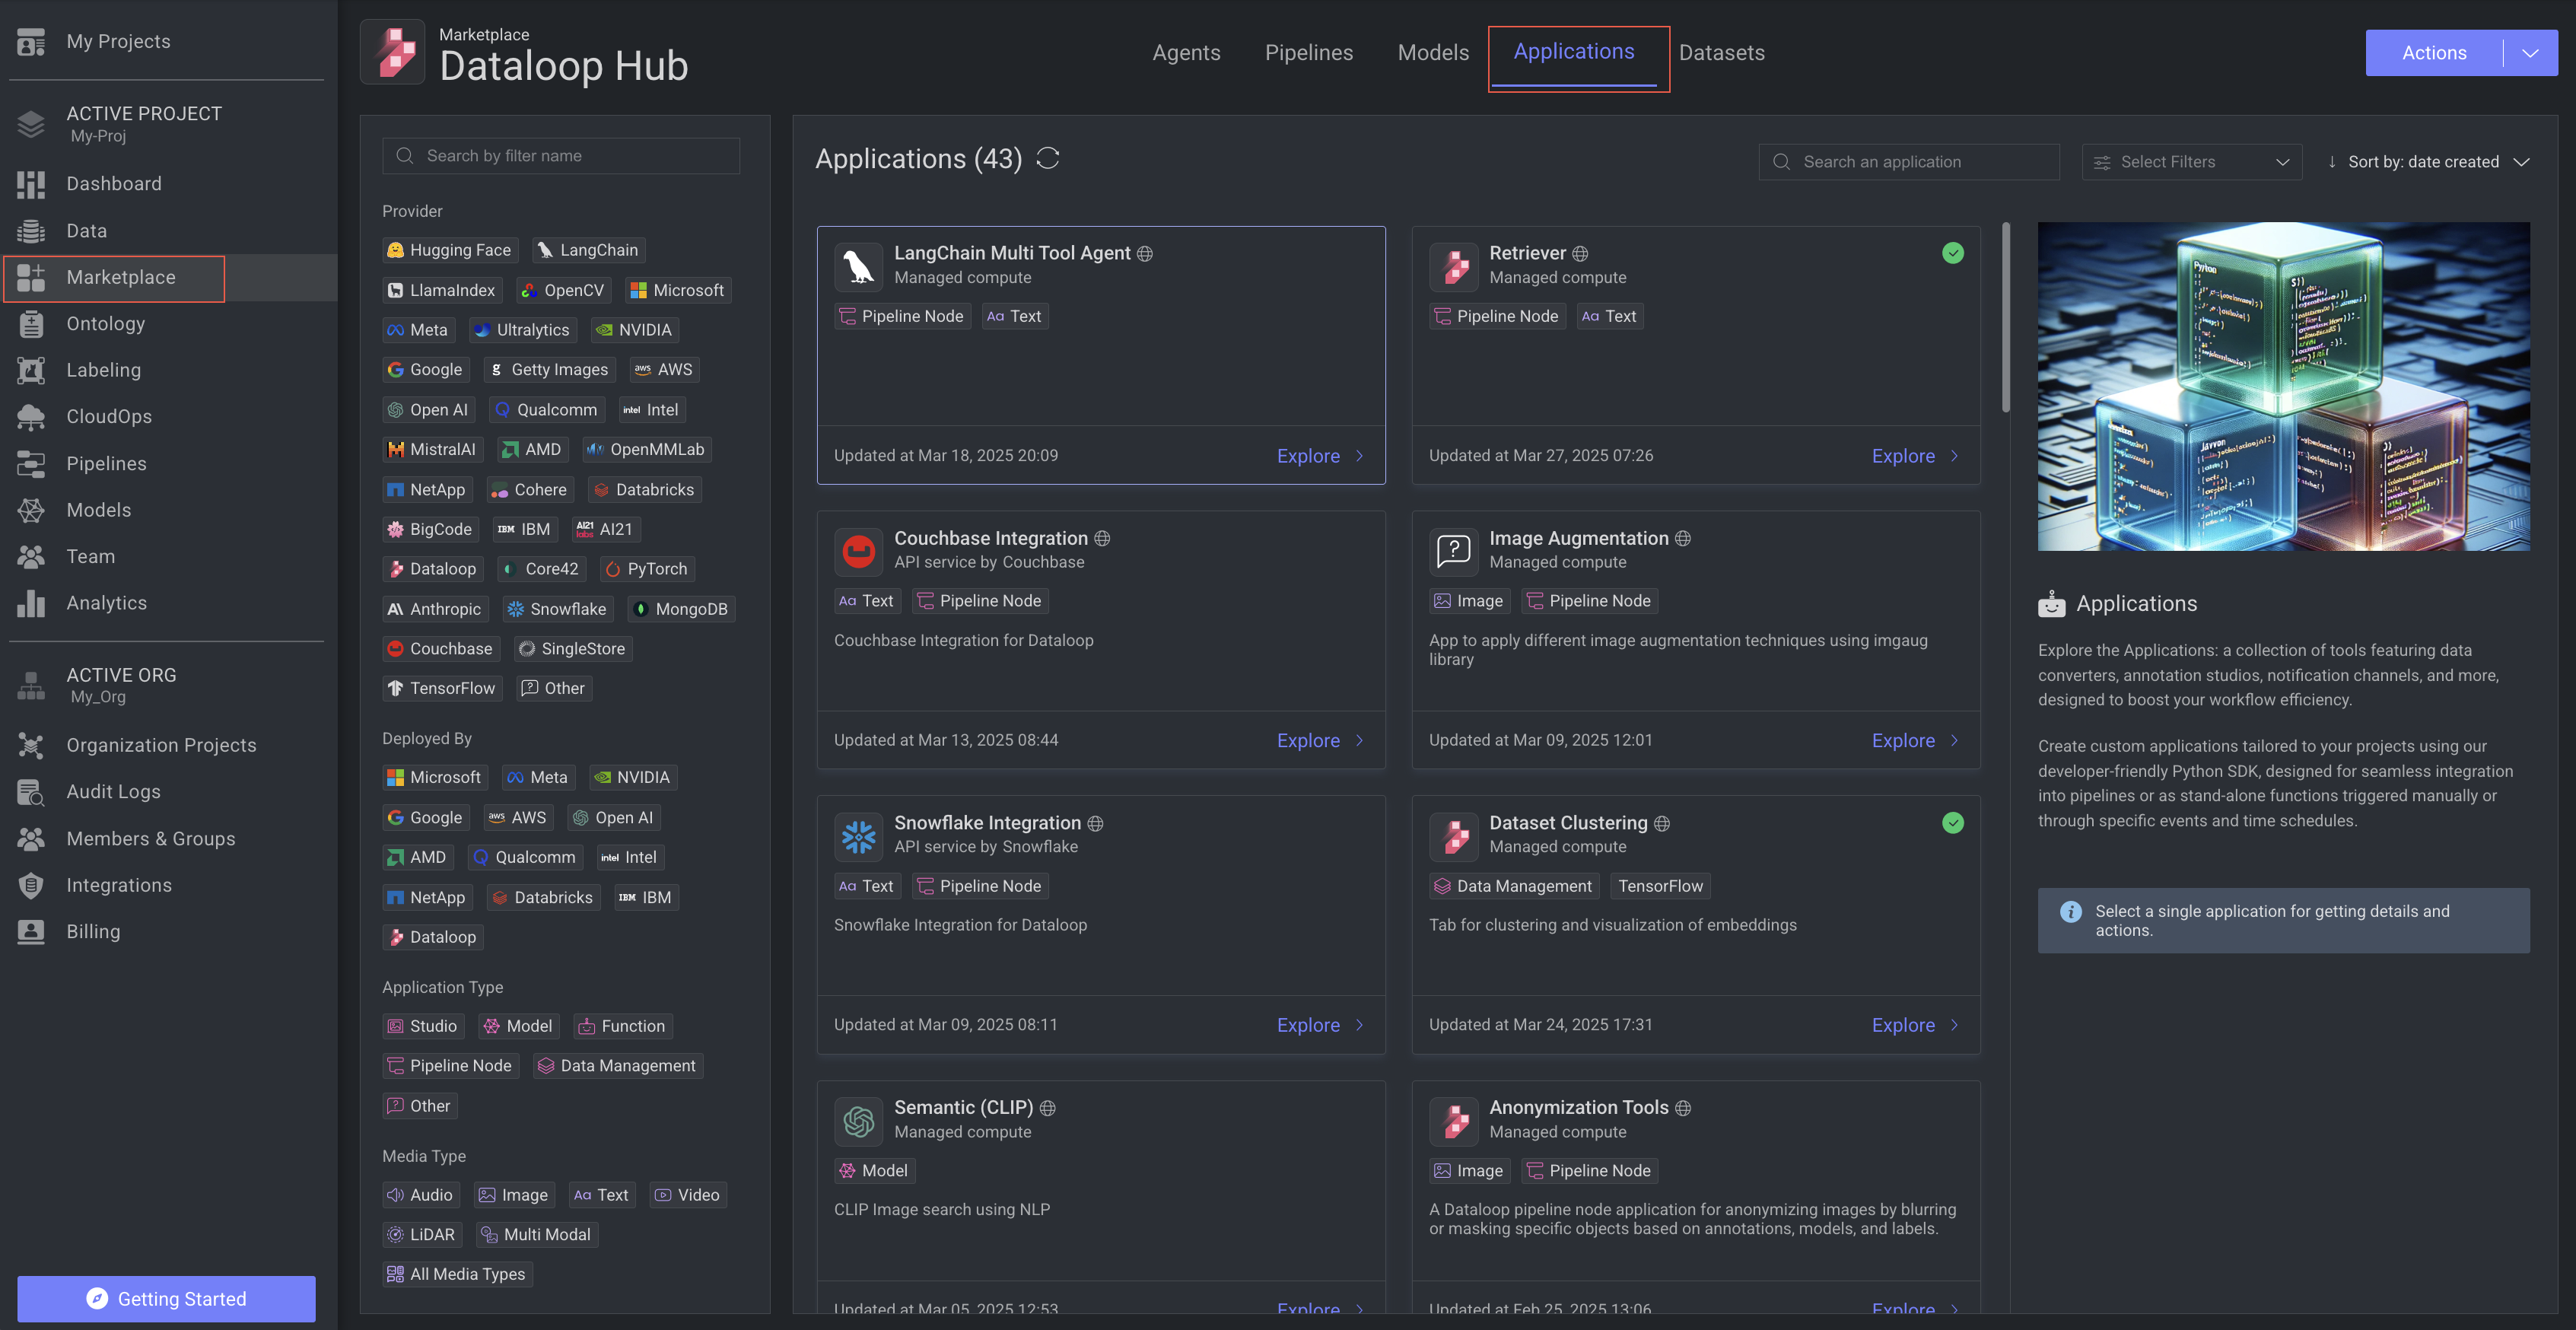
Here’s a detailed explanation of this feature:
Browse and Explore: Users start by browsing the Applications tab to explore the available function packages. Detailed descriptions and documentation are provided to help users understand the capabilities and requirements of each package.
Select and Install: Once a suitable package is identified, users can select it and proceed with the installation process.
Integration and Use: After installation, the new service is integrated into the project, ready to be used as part of the workflow. Users can then utilize the added functionalities to achieve their project goals more effectively.
In the card view, the following details about each model are presented:
- Application's Image
- Application's Name
- Application's Description
- Application's Category (for example, Provider, Applications Type, etc.)
- Last Updated Timestamp
Utilize the filter, search, and sort features to easily locate a specific Applications based on your requirements. Additionally, upon selecting an Application's card from the list, a detailed information panel will appear on the right side.
The following sections will help you understand the Application in detail.
Search and Filter
Use the Search an Application field to type in the name and description of the Application to search it.
In the left-side panel, search Applications using the following categories. Select one or more categories to refine the list of Applications according to your choice.
To remove the filter, simply click on the selected filter category once more.
By Provider
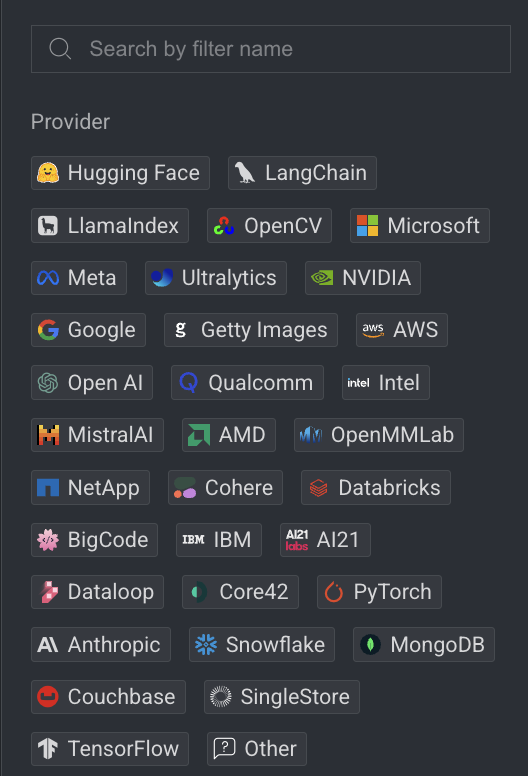
Filter by the organization or company that created the pipeline templates such as Hugging Face, Microsoft, Meta, AWS, and others.
Deployed By
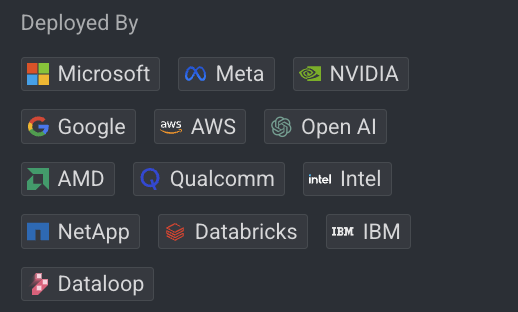
Use the Deployed By filter from the left-side panel to narrow down applications by filtering for organizations and companies that have deployed their applications within the Dataloop marketplace. It helps to identify models that are running on either Dataloop Compute (Managed Compute), or External Compute provider via API (NVIDIA, Microsoft, etc.).
By Application Type
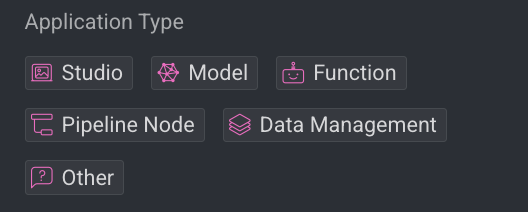
Filter applications based on the types, the various forms of functions. For example, Studio, Model, Pipeline Node, Image, Text, Video, etc.
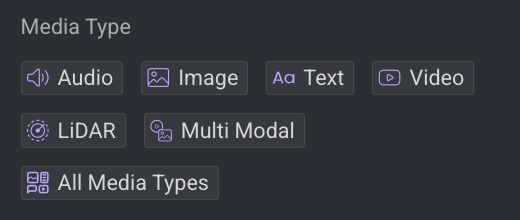
By Media type
Filter applications by the type of media they process—such as audio, image, text, video, or LiDAR.
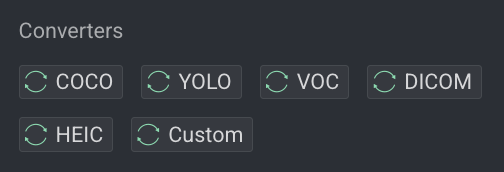
By Converters
Filter applications by converter types, including COCO, YOLO, VOC, DICOM, HEIC, and others.
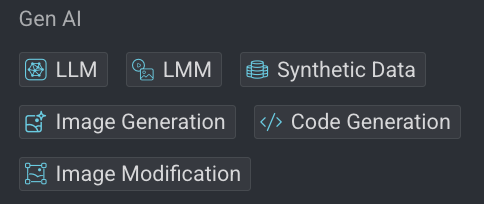
By Gen AI Type
Filter applications by generative AI model based applications.
By Installation Status
Marketplace allows you to filter applications based on their installation status, learn more.
By Privacy Level
Marketplace allows you to filter applications according to their privacy level, enhancing navigation and selection within the Dataloop platform. Learn more
Create Applications
Dataloop allows you to create applications using codebase, GitHub repo, custom docker image, and via SDK.
-
Open the Marketplace from the left-side menu.
-
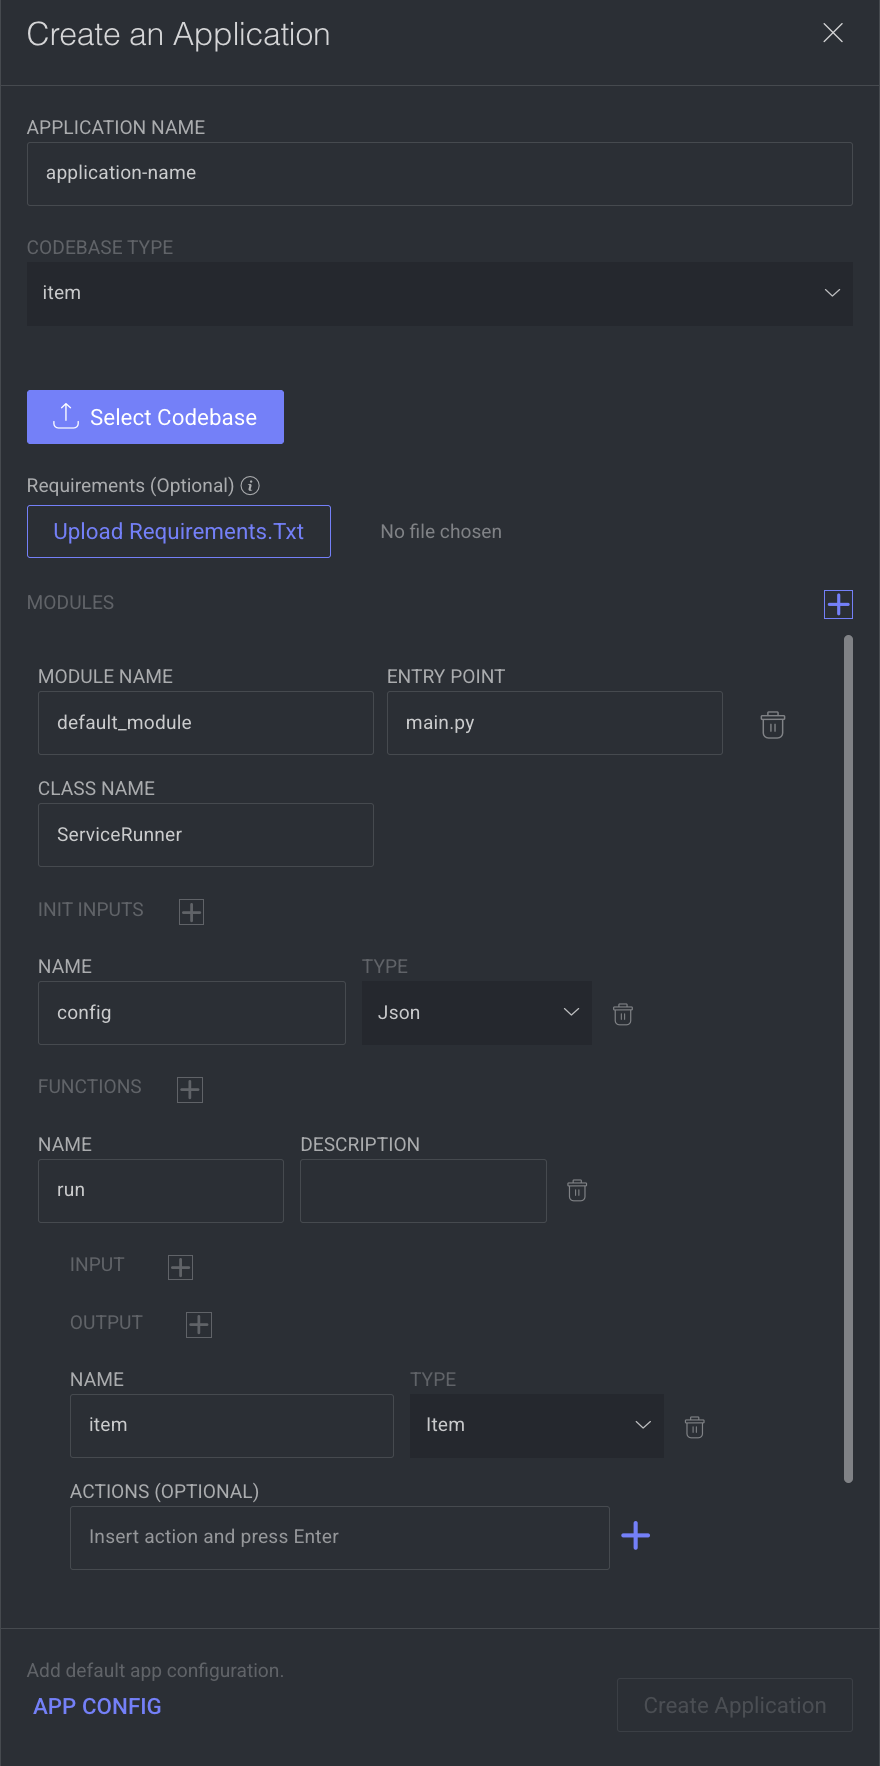
Click on the Actions > Create Application. The Create Application window is displayed, and edit the following fields:
-
Application Name: Provide a name for your new application.
-
Codebase Type: You can upload the codebase by zip files as Item or providing git URL.
- item: By default, Item is displayed. Select the ZIP file of the Codebase.
- git: The Git URL is how you locate and clone a repository, while a Git tag is a reference to a specific point in that repository's history.
- git URL: Enter the Git URL.
- git tag: Enter the Git tag.
- Add Secret Credentials: This allows you to add a secret username and password for the Git codebase.
-
Requirements: If your code requires additional python libraries to run, upload a
requirements.txtfile specifying which python libraries need to be installed. Upload a requirements file (Requirements.txt):opencv-python==3.4.2.17- Requirements File Upload: Notice that the 'Requirements.txt' file must be uploaded separately from the codebase. You'll find an exclusive button for the requirements file upload in the application creation dialog.
- Missing Python Libraries: Uninstalled Python libraries will trigger an initialization error, leading to a "Crash Loop - Requirements Error," preventing your application service from start running.
-
Modules consists of multiple functions may be defined in a single package under a module entity. This way, you will be able to use a single codebase for various services (applications). Make changes in the following fields:
- Modules Name: Define the module name (no limitations). By default,
default_moduleis displayed. - Entry Point: The
main.pyfile you created should be defined as the module entry point. By default,main.pyis displayed. - Class Name: By default,
ServiceRunneris displayed. Make changes, if required. - INIT Inputs: Click on the Plus icon to add a new
initinput.- Name: Enter a name for the input.
- Type: Select the type of the input from the list.
- Functions: Provide a Name and Description for the function. By default, run is displayed as a function name.
- Input: Click on the Plus icon to add new input. Enter the input name and select the type from the list. By default, item is displayed as the name and type of the input.
- Output: Click on the Plus icon to add new output. Enter the output name and select the type from the list. By default, item is displayed as the name and type of the output. Provide an action name, if required.
- Modules Name: Define the module name (no limitations). By default,
-
Add default app configuration: Click App Config, and make changes in the following fields:
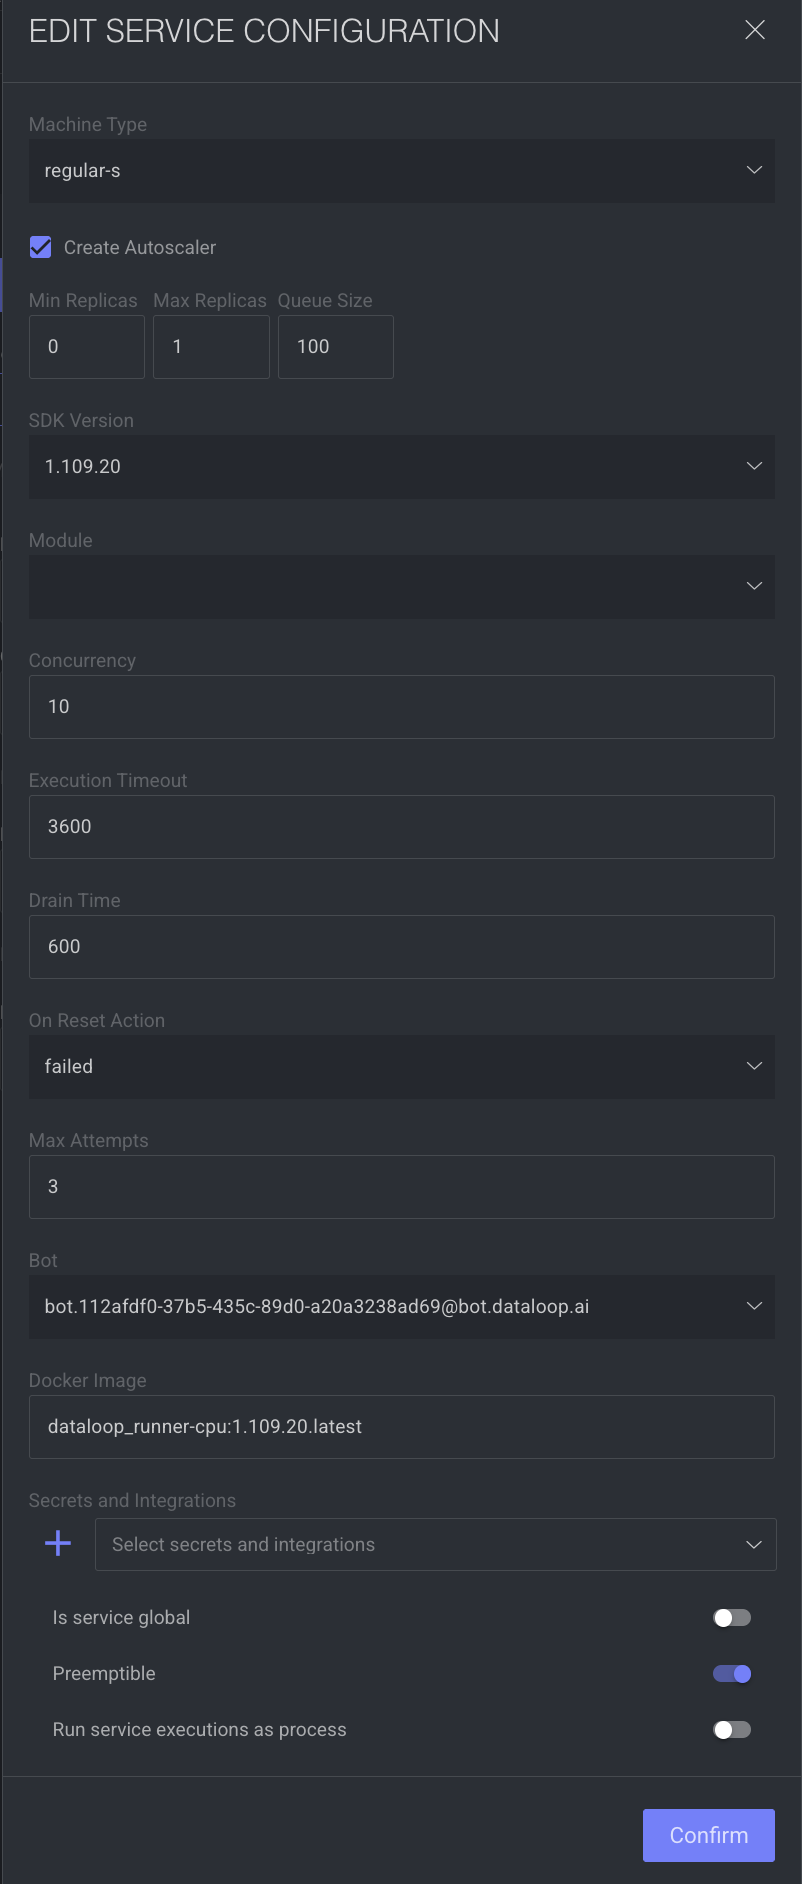
- Machine Type: Specifies the type of virtual machine (VM) to run your service.By default,
regular-sis displayed. Select a new one from the list, if required. - Create Autoscaler: Enables Dataloop to automatically scale the number of running service (computing resources) replicas based on load.
- Min Replicas: This refers to the minimum number of instances (or "replicas") of your function that will be running at any given time, by default, it is set to 0. Make changes, if required.
- Max Replicas: This is the maximum number of instances that your function can scale up to. By default, it is set to 1. Setting it to 1 means your function will have at most one instance running at any time. Make changes, if required.
- Queue Size: The number of events or requests waiting to be processed. By default, it is set to 100. Make changes, if required.
- SDK Version: Defines the version of the Dataloop Python SDK used in the service environment. By default, the latest SDK version is displayed. Click Update SDK Version to update the new version, if available.
- Module: Select a model from the list. Modules are a reference to a Python file containing the Python class (by default, ServiceRunner) with functions inside it.
- Concurrency: Maximum number of concurrent function executions a single service instance can handle. By default, 10 is displayed. Higher values can improve throughput but require more resources.
- Execution Timeout: Maximum time (in seconds) a single function execution is allowed to run. By default timeout is 3600 seconds.
- Drain Time: To ensure the completion of parallel running executions before terminating the pod, provide a Drain Time delay. After this designated period, the execution restarts. By default, 600s is displayed. Useful during scaling down or reset events.
- On Reset Action: An "On Reset Action" setting is related to how the application should respond when a specific trigger or condition necessitates resetting the state or execution of a function. Select one of the following when you reset the execution. By default, failed is displayed.
- failed: When the action is set to Failed for a reset condition, it implies that if the function encounters an issue requiring a reset (such as an execution error or a timeout), the system will mark the execution as failed. This option is typically used when it's critical to acknowledge that an error occurred, and it needs to be notified of the failure. Choosing Failed is appropriate for workflows where failure requires manual intervention, or where it's important to maintain strict error reporting and auditing.
- rerun: Setting the action to Rerun means that if the function hits a reset condition, the system automatically attempts to execute the function again. This approach is useful for handling transient errors or temporary issues that might not persist in a subsequent execution attempt.
- Max Attempts: Maximum number of execution attempts allowed. By default, 3 is displayed.
- Bot: A bot is a dummy project user with 'Developer' role permissions used for running services. By default, the latest Bot is displayed. Select a new one from the list, if needed.
- Docker Image: Specifies the Docker environment used to run the service. Provide your private or public docker image registry URL.
- Secrets and Integrations: For the private docker image integrations, attach cloud credentials (like AWS, GCP, Azure) or API keys required by the service. Select a secret or an integration from the list, if available. Otherwise, click on the
+icon to create a secret for your application:- Secret Name: Provide a name for the new secret.
- Secret: Enter the secret key.
- Provider: Select the provider from the list.
- Click .
- Is service global: Makes the service accessible across multiple projects.
- Preemptible: Uses lower-cost, preemptible VM instances. It might be interrupted, but is cost-effective for stateless or non-critical tasks.
- Run service execution as process: Forces each service execution to run in its own isolated process. Useful for memory-heavy or isolated function needs.
- Machine Type: Specifies the type of virtual machine (VM) to run your service.By default,
-
Click .
-
Click . A success message is displayed, and the new application will be available in the Applications tab of the Marketplace.
Using Item Codebase
To create applications using the Item Codebase:
-
Open the Marketplace from the left-side menu.
-
Click on the Actions > Create Application. The Create Application window is displayed, and edit the following fields:

-
Application Name: Provide a name for your new application.
-
Codebase Type: By default, Item is selected.
- Click Select Codebase and upload the codebase as zip files.
-
Continue the steps available in the Create Applications.
Using Your GitHub Repo
To create applications using your GitHub Repo:
-
Open the Marketplace from the left-side menu.
-
Click on the Actions > Create Application. The Create Application window is displayed.

-
Make required updates in the following fields:
- Application Name: Provide a name for the new application.
- Codebase Type: Select the git from the list.
- git URL: Enter the Git URL. The Git URL is how you locate and clone a repository.
- git tag: Enter the Git tag. It is a reference to a specific point in that repository's history.
- Add Secret Credentials: This allows you to add a secret username and password for the Git codebase.
- Continue the steps available in the Create Applications.
Using Custom Docker Image
To create applications using Custom Docker Image:
The UI provides a straightforward way to create an application and connect your custom docker images through Docker registry integration. Perform the following process to complete the creation:
-
Prerequisites:
- Integrate Your Docker Registry: Connect your own registries, such as:
-
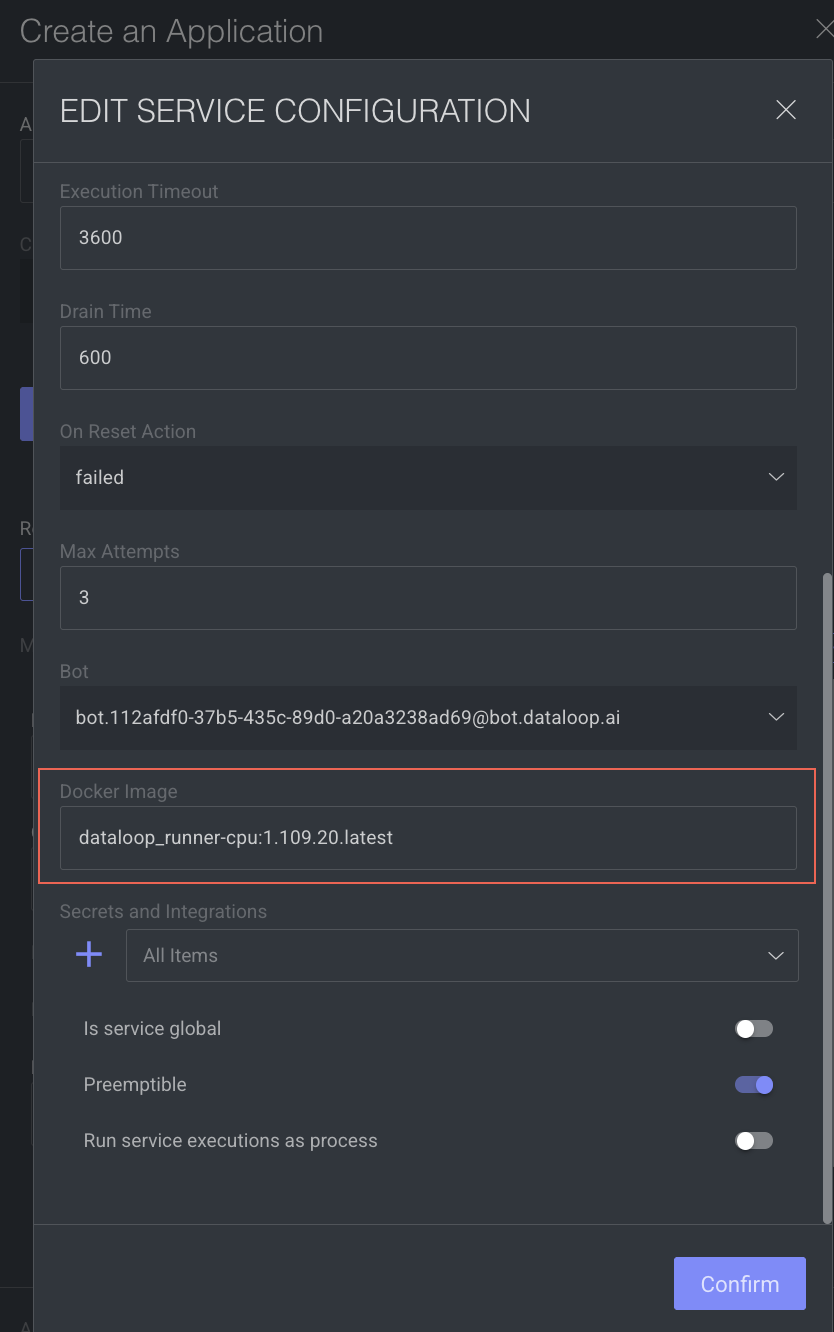
Link Your Docker Image: While you create, provide the URL of your Docker image in the App Config -> Docker Image field.
-
Continue the Create Application steps.
Using SDK
- To create applications using the SDK, refer to the Your First Application
- To create custom docker image applications using the SDK, refer to the Using Customer Docker
Create Model Applications
The UI provides a straightforward way to create an application and connect your custom model through Docker registry integration.
-
Integrate Your Docker Registry: Connect your own registries, such as:
-
Link Your Docker Image:
- Provide the URL of your Docker image and link it to the application while creating the application.
- This enables Dataloop to use your custom model for tasks such as predictions, training, and workflows.
- To update the docker image URL: While you create an application, in the App Config section, update the Docker Image field with your docker image URL.

-
Continue the Create Application steps.
Install Applications
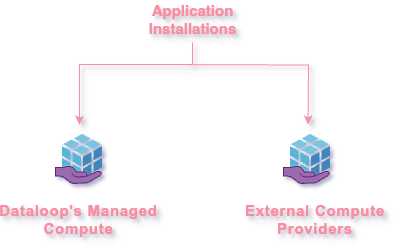
Dataloop allows the installations of applications by allowing them to be hosted and executed on:
-
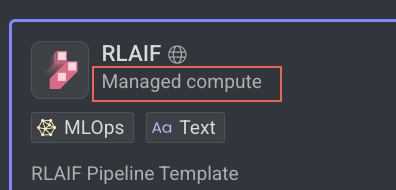
Dataloop's Managed Compute (internal infrastructure): The Applications run on the Dataloop's Compute.
-
External Compute Providers (e.g., OpenAI, Azure, GCP, IBM, NVIDIA) via API Service Integration: The Applications run on external provider's compute, which requires secret credentials to complete the installation.
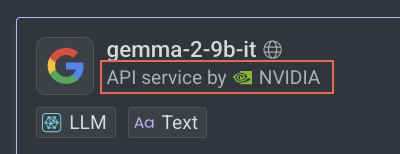
Install Applications Running on Dataloop Compute
When applications run on Dataloop’s internal compute:
- DPKs (Dataloop Processing Kits) are deployed directly by Dataloop, requiring no external authentication or cloud service integration.
- The application is fully hosted, managed, and executed within Dataloop’s secure and scalable environment.
- This setup is ideal for customers seeking a hassle-free solution without the need to configure or maintain external cloud resources.
- All necessary compute resources (e.g., CPU, GPU) are provisioned and managed by Dataloop, with billing handled directly through the Dataloop platform.
To install, follow these steps:
- Open the Marketplace from the left-side menu.
- In the Applications tab, use the Deployed By filter from the left-side menu to filter the application.
- Select the application that you want to install.
- Click Install from the right-side panel. The Install Application popup window is displayed, and it lists all the application functions available in the DPK with a description and indicate if the selected application is deployable or not.
- Click Install Application. A confirmation message is displayed, and click on the View Application to view it under the CloudOps -> Services tab.
Once you install an application, there is a green tick icon is visible on the application that is installed in the Marketplace -> Applications.
Install Applications Running on External Compute
Dataloop allows customers to run applications on third-party infrastructure (e.g., OpenAI, Microsoft Azure, Google Cloud, IBM) through an API Service integration. Instead of running on Dataloop's internal compute, these applications operate on the customer's own cloud account.
- DPKs are deployed by the external provider, and compute tasks (inference, training) run outside Dataloop.
- A lightweight API wrapper within Dataloop bridges the platform to the external application endpoint.
- Customers to provide access credentials, enabling secure, seamless integration.
- Compute costs are charged to the customer’s cloud provider, not Dataloop—this leverages existing billing accounts and avoids new payment setups.
- Customers can bring their own applications from platforms like Google, IBM, or custom-hosted APIs.
- It is possible to complete the installation by selecting the Set up later option, these models will remain inactive and cannot be used until the necessary integrations are fully configured.
-
Open the Marketplace from the left-side menu.
-
In the Applications tab, use the Deployed By filter from the left-side menu to filter the application.
-
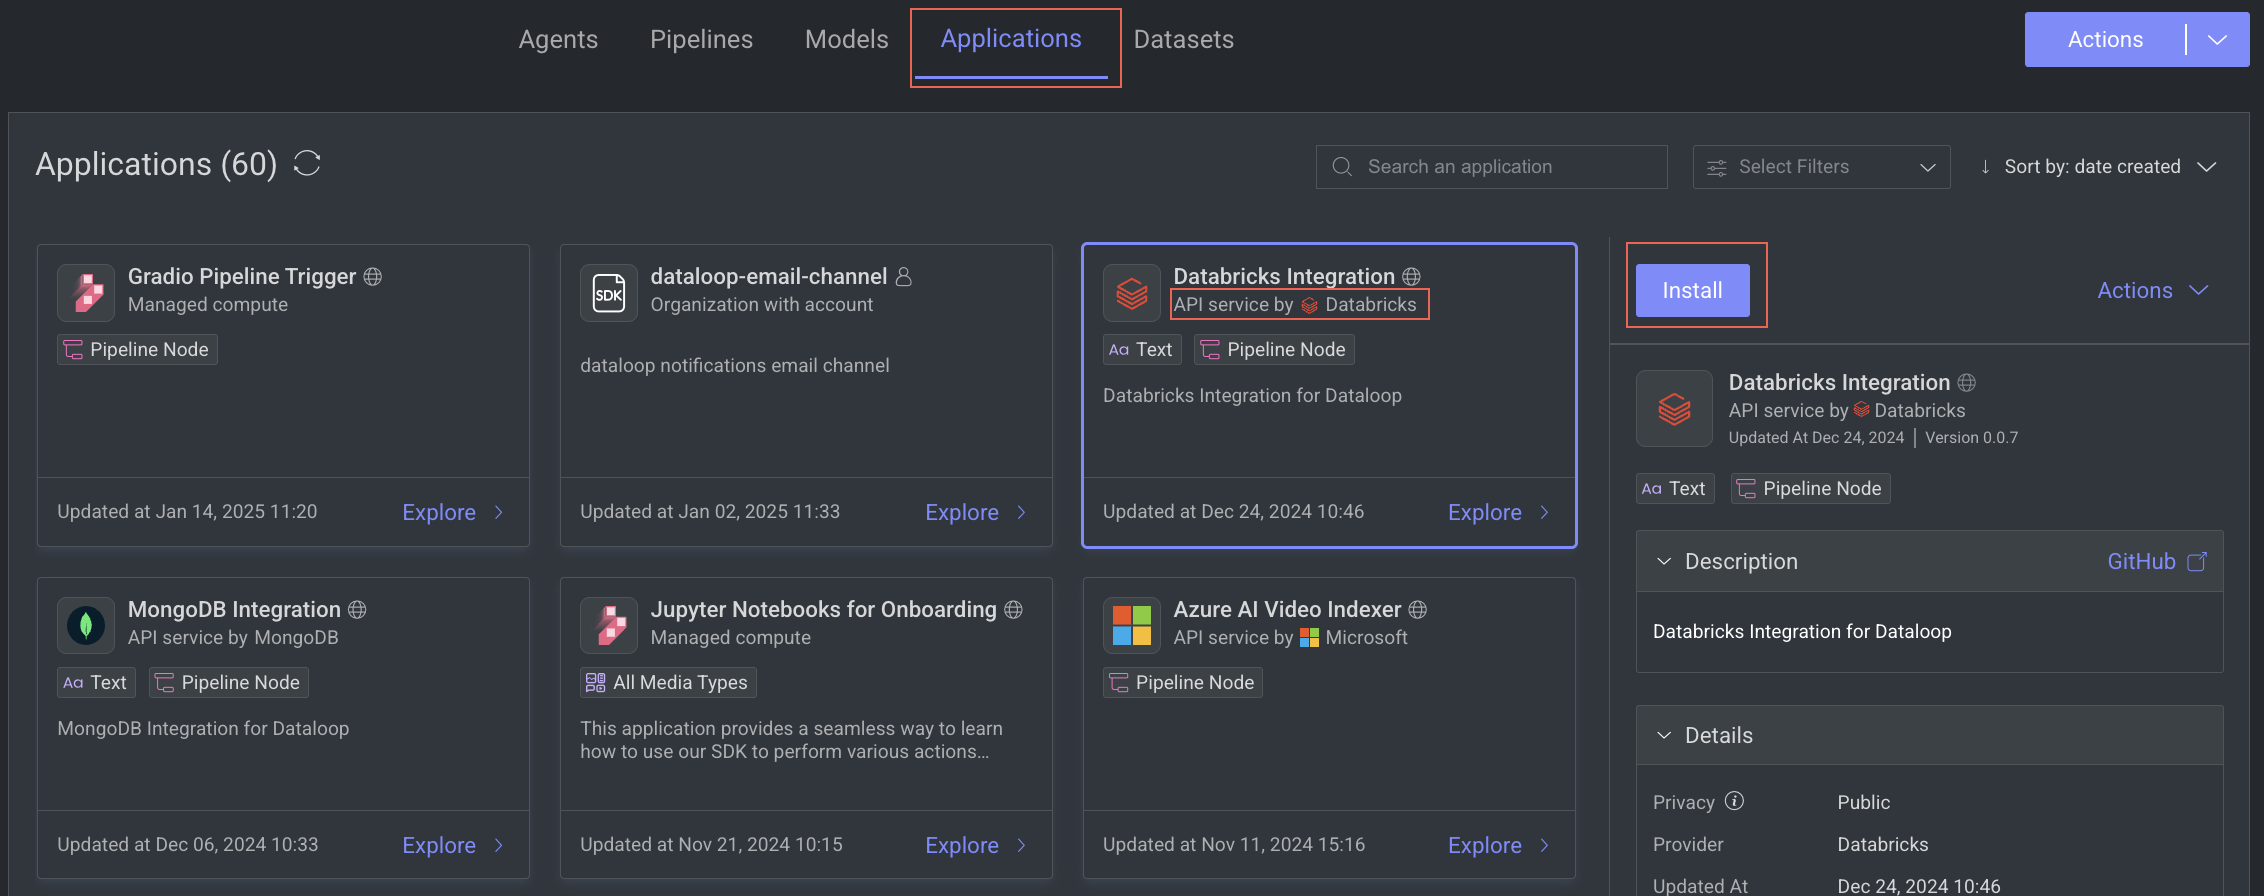
Select the application that that runs on an external compute.
-
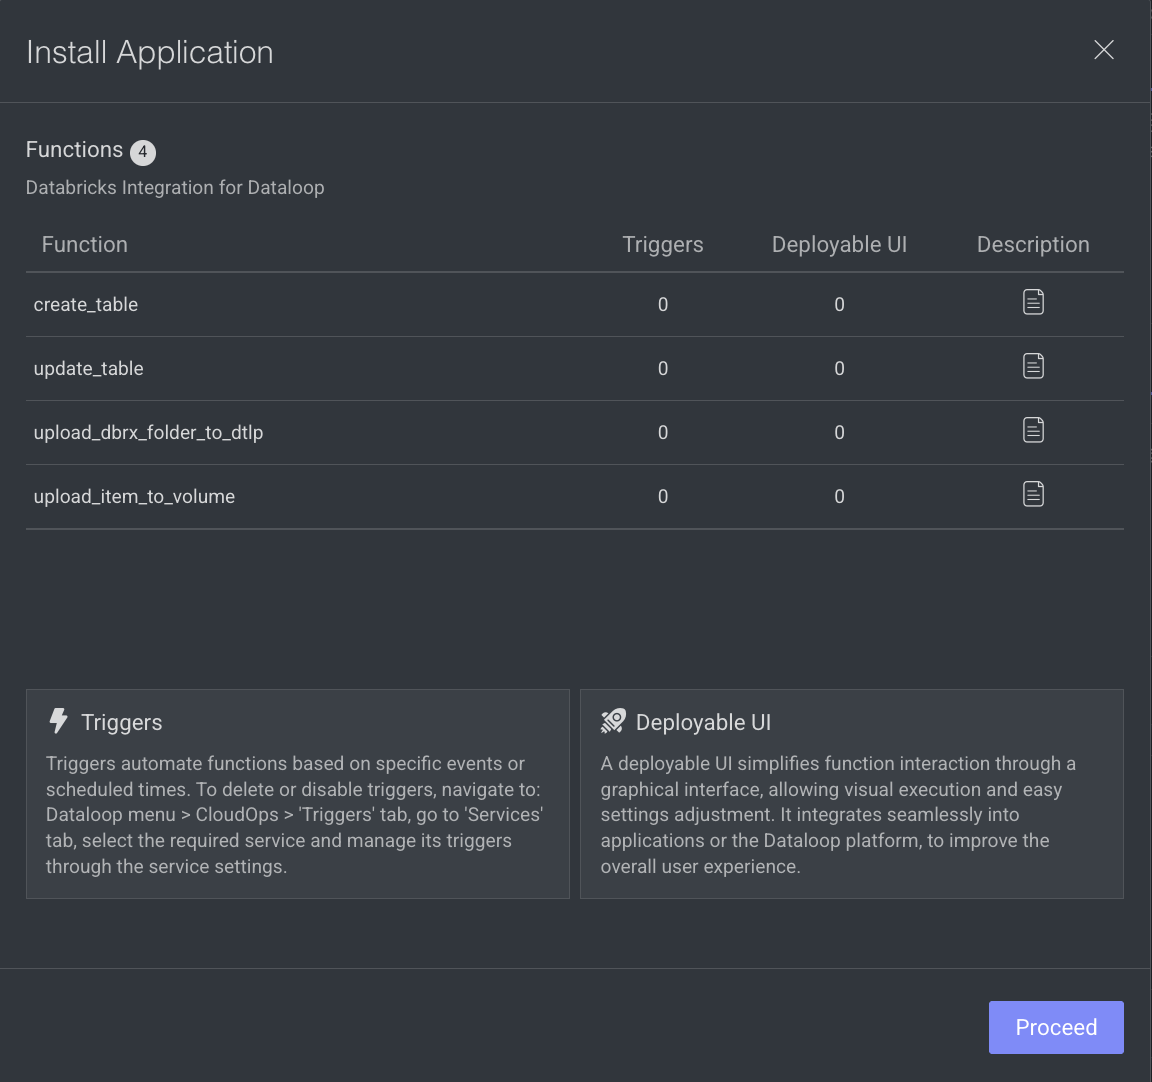
Click Install from the right-side panel. An Install Application popup window is displayed, and it lists all the available functions specified in the package module with a description.
-
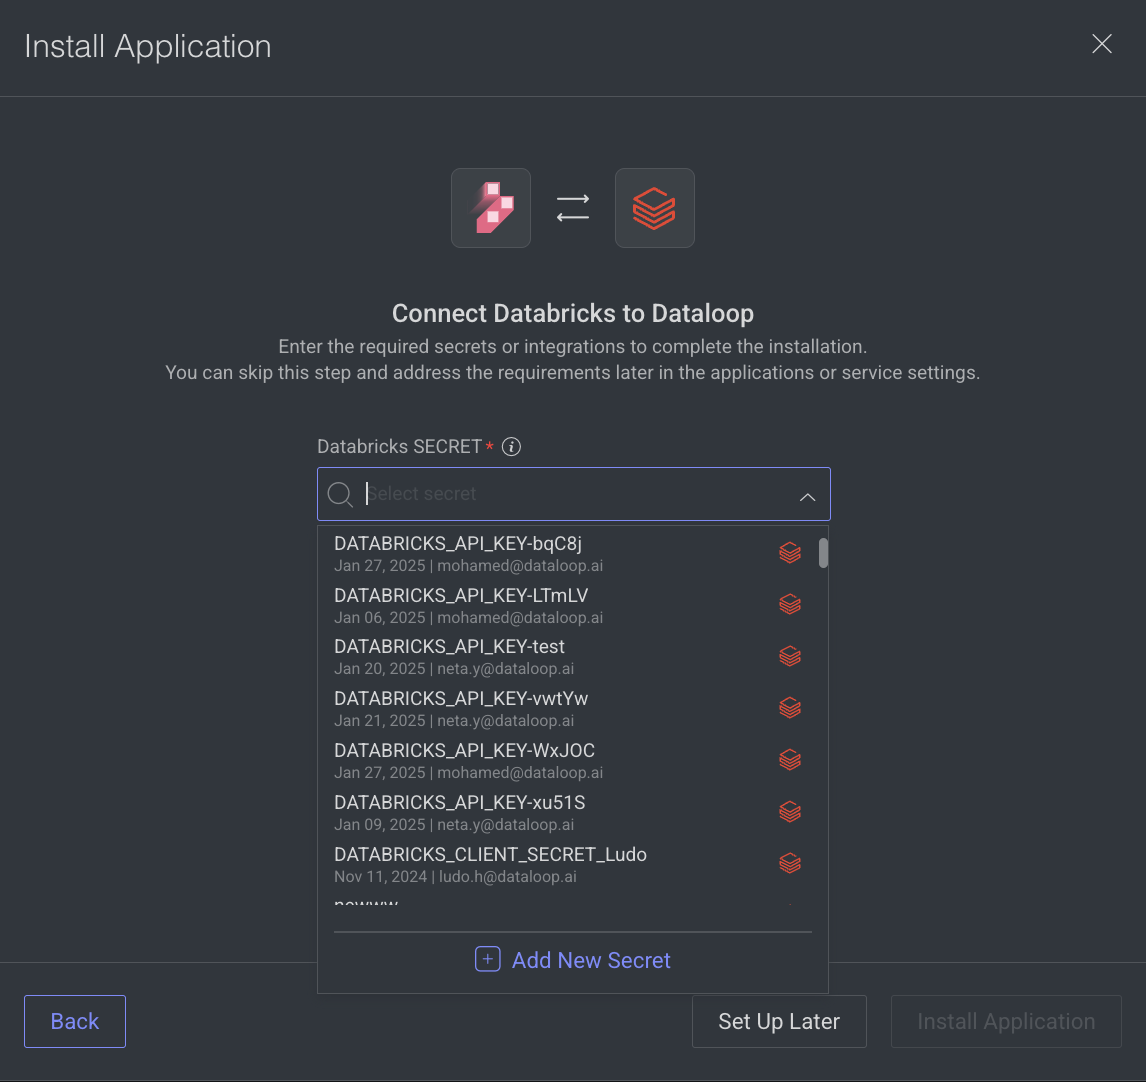
Click Proceed. The select secrets pop-up window is displayed.
-
Select a secret or an integration, as required. If not available,
- If there is no secret, click Add New Secret and follow the steps.
- To set the integration later, click Set Up Later.
-
Click Install Application. The application is installed and available in the CloudOps -> Services tab.
Once you install an Application, there is a green tick icon is visible on the applications that are installed.
Set Integration Credentials
To set Integration Credentials for the installed applications of external compute providers:
-
Open the Marketplace from the left-side menu.
-
In the Applications tab, select the installed application.
-
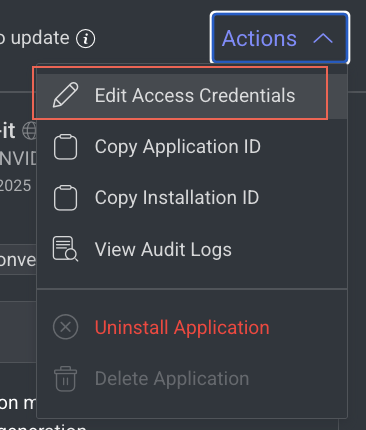
Click Actions from the right-side panel and select Edit Access Credentials. The Edit Application pop-up window is displayed.
-
Select the secrets or integrations as required.
-
Click Save Changes.
Install Pipeline Node Applications
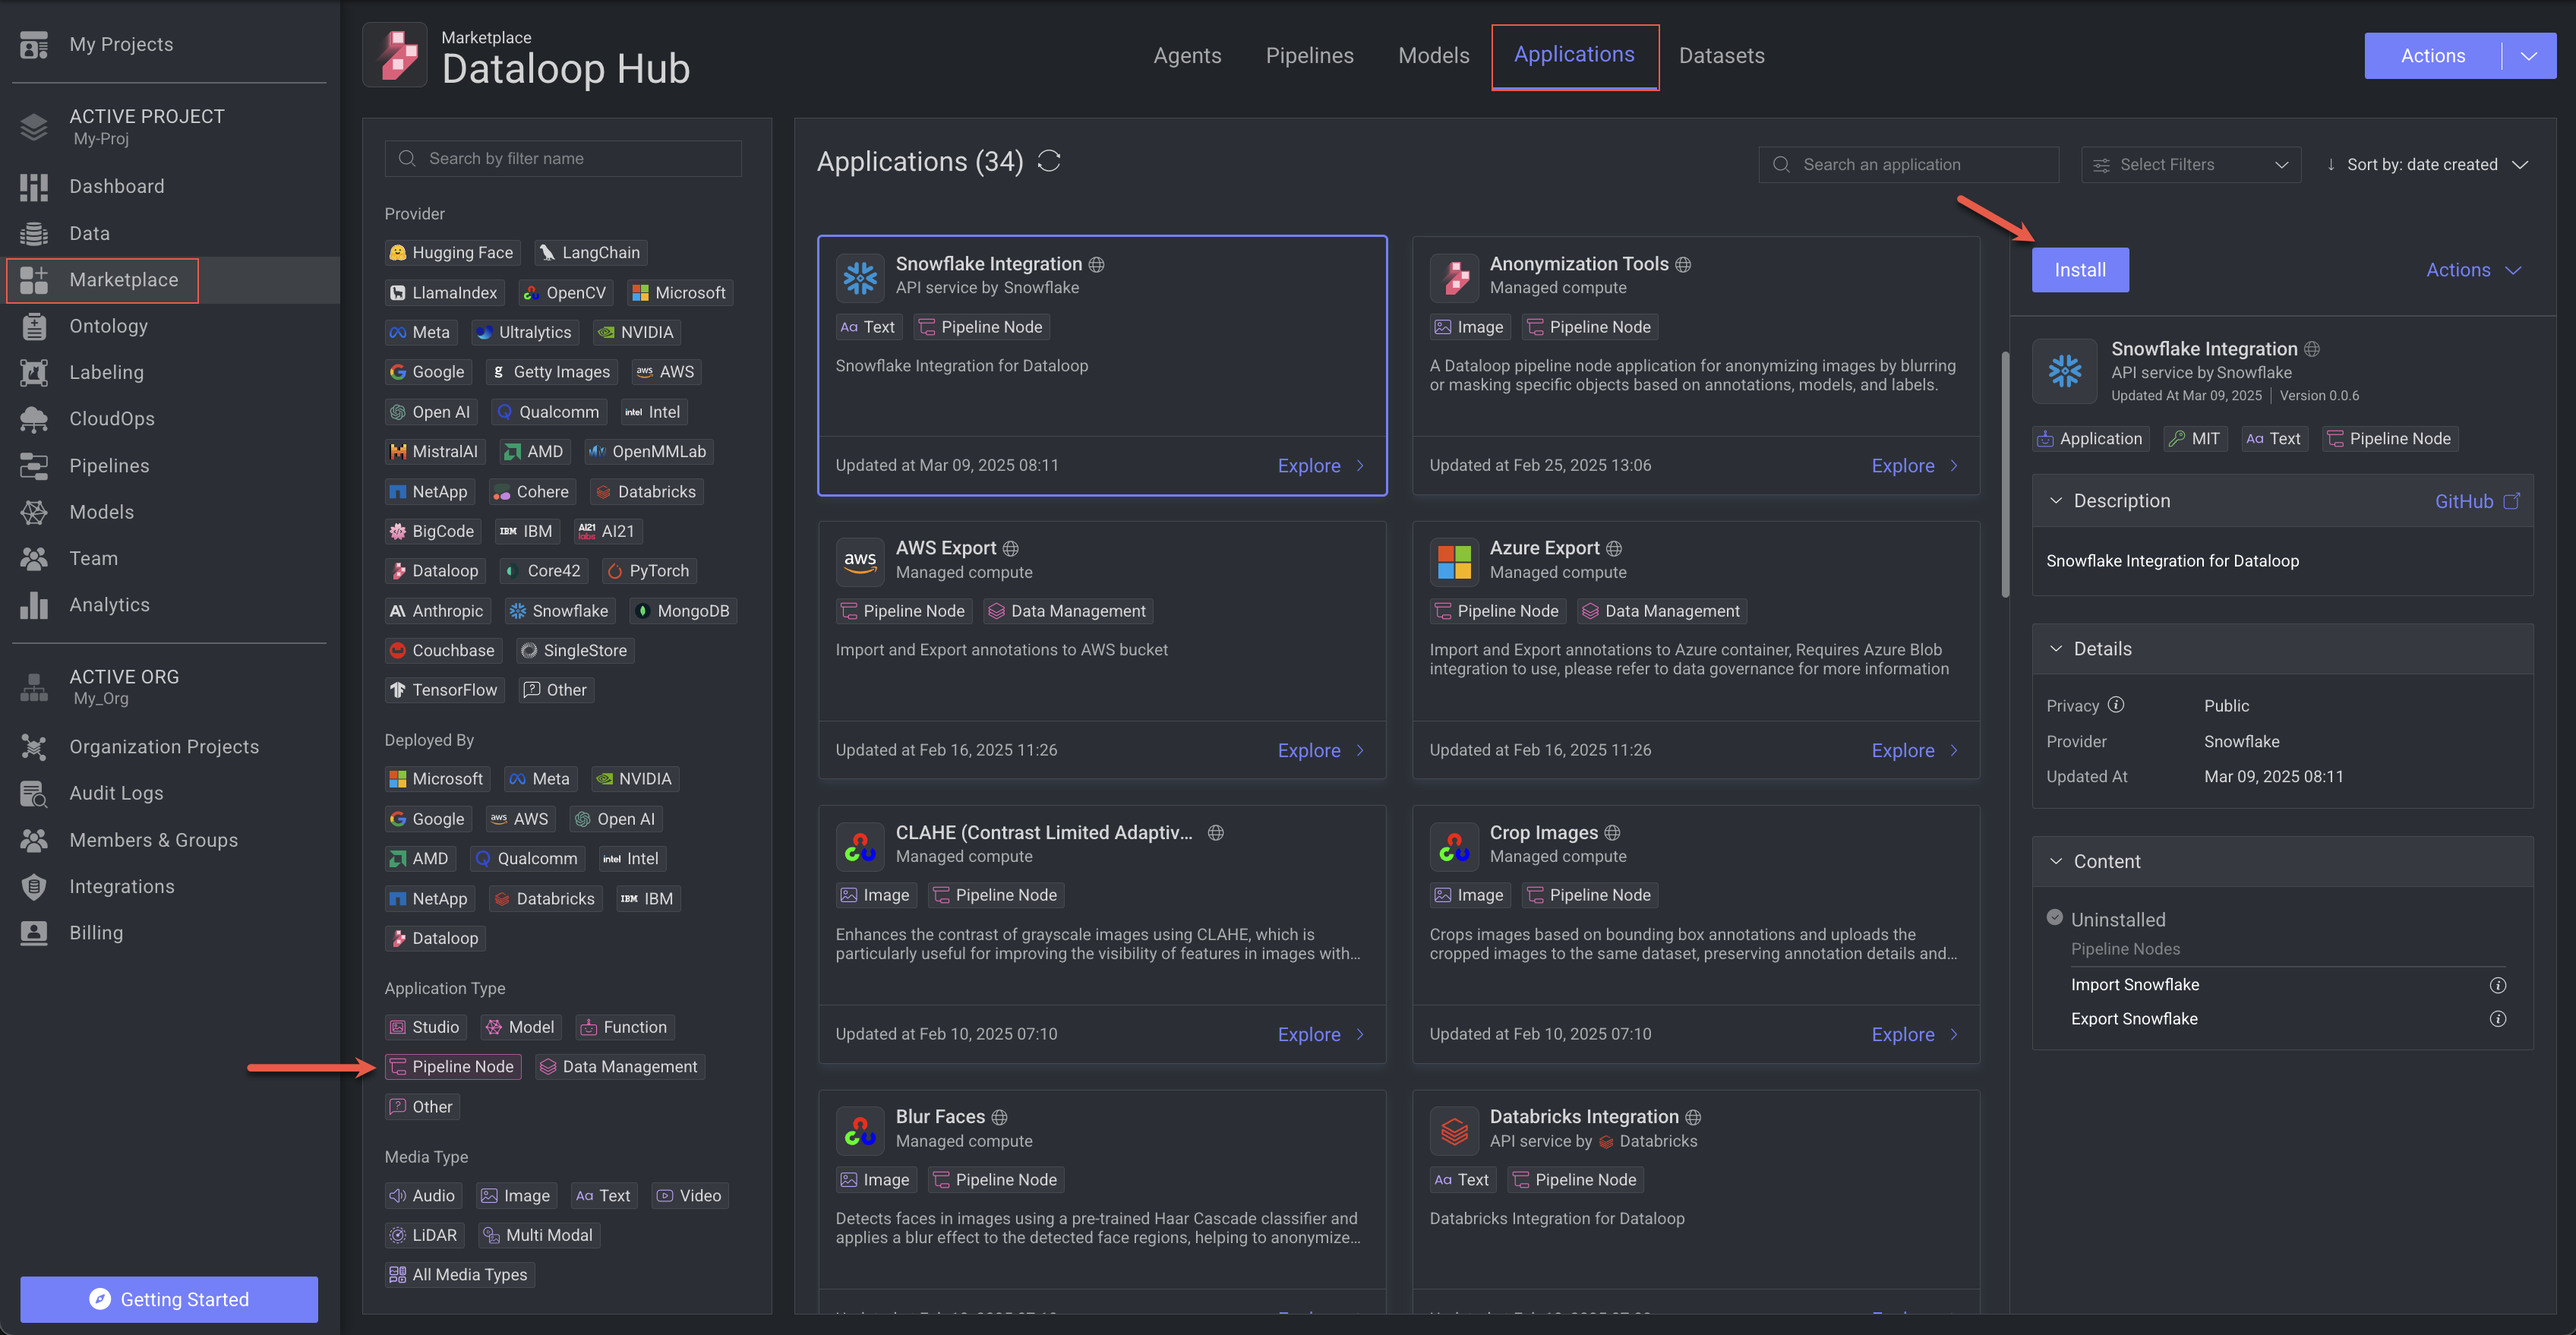
- Open the Marketplace from the left-side menu.
- Select the Applications tab.
- In the left-side filter -> Application Type, select the Pipeline Node.
- Select a pipeline node from the list according to the requirement.
- Click from the right-side panel. The Install Application popup is displayed.
- Click . The node will be installed successfully, click View Application for more details.
Activate or Deactivate an Application
Installing an application activates the application. Once you install an Application to your project, the application becomes activated. Learn how to Activate or Deactivate.
More Actions
For more actions, refer to the Manage Marketplace article.
Actions Based on Use Cases
You can perform actions that are available on each application based on the scope and installation status. Learn more section.